Black Screen After Cloning Disk
Fix a black screen after cloning a disk. Check boot order, clone layout, GPU output, UEFI mode, and repair startup without recloning blindly.
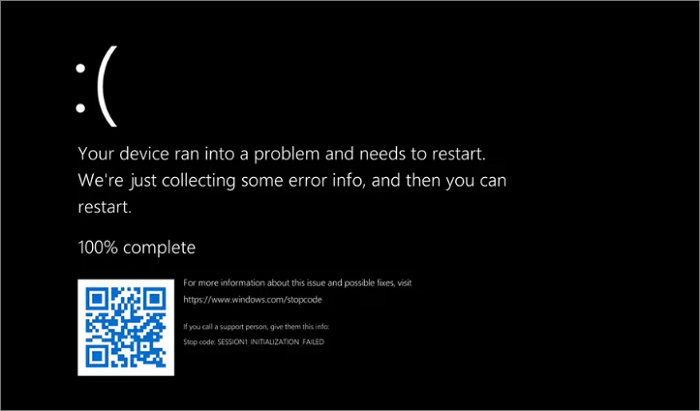
What This Problem Usually Means
A black screen after cloning can come from the wrong boot disk, missing EFI/System Reserved partition, wrong UEFI or Legacy mode, display output changes, or a clone that did not include every boot partition.
What to Check First
- Disconnect the old disk temporarily and boot from the cloned disk only.
- Enter BIOS and set the cloned SSD as the first boot device.
- Check whether the source and target use the same boot mode.
- Try another display port if the PC seems to start but shows no image.
- Repair boot files if the clone contains Windows but cannot start.
Clone or Move Windows with Qiling Disk Master
Use cloning when you need to replace a drive, change the primary boot disk, or move Windows without reinstalling. Back up the target disk first because cloning may overwrite it.
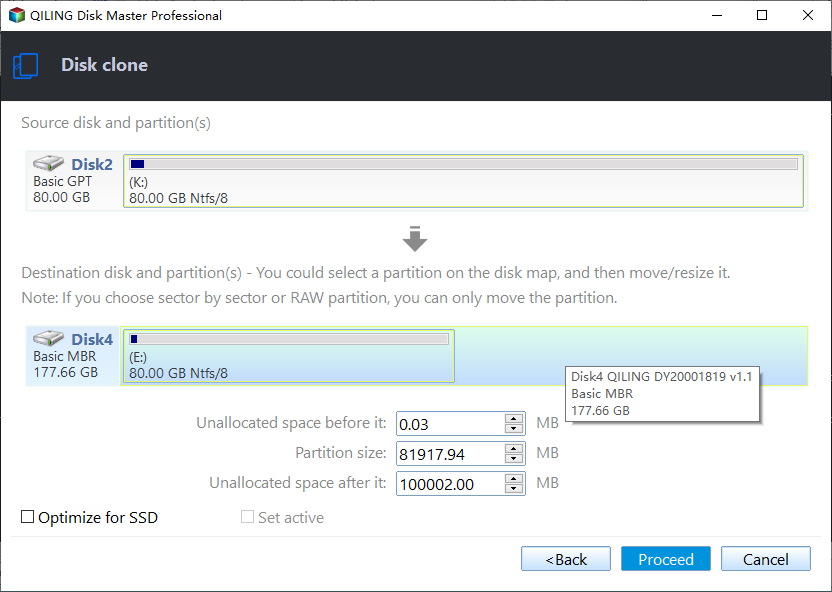
Step 1. Connect the target SSD or hard drive. Open Qiling Disk Master and choose the clone feature from the tools page.

Step 2. Select the source Windows disk. For a bootable clone, include the boot partition, EFI/System Reserved partition, and C drive.

Step 3. Select the target disk. Confirm its model and capacity so you do not overwrite the wrong drive.

Step 4. Preview the target layout. If the target is larger, adjust partition size before starting the clone.

Step 5. Click Proceed. After cloning, shut down, set the cloned disk as the first boot device, and test Windows before erasing the old disk.
FAQ
Should I make changes before backing up? If the disk is readable and the files matter, back up first. Repairs, formatting, conversion, and cloning can change boot records or partition data.
When should I use Windows built-in tools? Use Settings, Disk Management, Startup Repair, CHKDSK, SFC, DISM, or account recovery first when the issue is simple and the risk is low.
When does Qiling help? Use Qiling tools when you need a clearer disk map, a bootable recovery environment, backup before repair, partition preview, disk cloning, or controlled password recovery on an authorized PC.
Conclusion
Do not reclone immediately after a black screen. First confirm boot order, boot mode, display output, and whether all required Windows partitions were cloned.
Related Articles
- Windows Partition Management Tutorials
Find practical Windows partition guides for resizing, formatting, checking, converting, and repairing disks without unnecessary risk. - Windows System Backup and Restore Tutorials
Browse Windows backup and restore guides for system images, recovery drives, restore points, and safe repair preparation.
Products
Articles & Tutorials
- Data Recovery
- Data Backup
- File Recovery
- File Backup
- System Backup and Restore
- Disk and Partition Clone
- Technical articles
- Mobile articles
- Disk Master Help
- Windows Data Recovery Tutorials
- Windows Secure Delete Tutorials
- Windows Partition Management Tutorials
- Windows File Backup and Restore Tutorials
- Windows System Backup and Restore Tutorials
- Windows Disk Backup and Restore Tutorials
- Windows Clone Tutorials