Does a Clean Install of Windows Wipe All Drives?
No, a clean install does not automatically wipe every connected drive. Windows Setup changes the disk and partitions you choose, but one wrong selection can erase another drive. Even an untouched secondary drive is not a substitute for a backup if it is left connected during a risky operation.
Know what will be removed
When you delete partitions on the installation target, their files, applications, recovery environment, and boot data are removed. A separate internal or external drive normally remains unchanged if you do not select it. However, similar drive sizes, reordered disk numbers, or an existing boot partition on a second disk can make setup confusing. Avoid promises that drive letters such as C: and D: will mean the same thing in Windows Setup.
Reduce the risk before Setup
Step 1. In the running Windows system, note each physical drive's model and capacity in Disk Management. Copy your personal files, browser exports, license information, and BitLocker recovery key to separate storage.
Step 2. Shut down and physically disconnect secondary drives when practical. Leave only the intended system target and installation USB connected. If the machine cannot be opened easily, use model and capacity to identify the disk in Setup and stop if it is ambiguous.
Step 3. Boot official Windows installation media. At the drive selection screen, select the intended physical disk. Delete only its partitions if you intend a true clean installation, then install to the resulting unallocated space. Do not use a global disk-cleaning command. After installation, reconnect other drives and confirm their data before making changes to them.
Back Up Personal Files with Qiling First
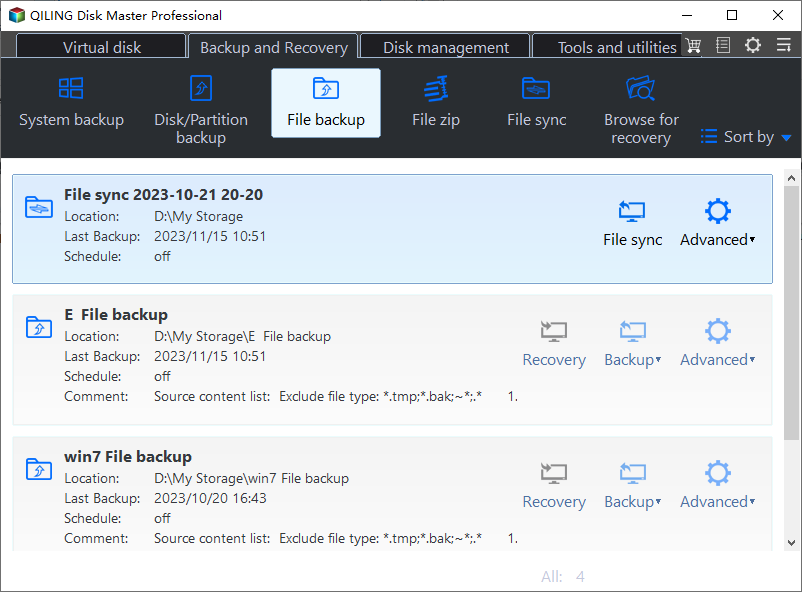
Step 1. Connect a separate external drive and open Backup and Recovery > File Backup in Qiling Disk Master.
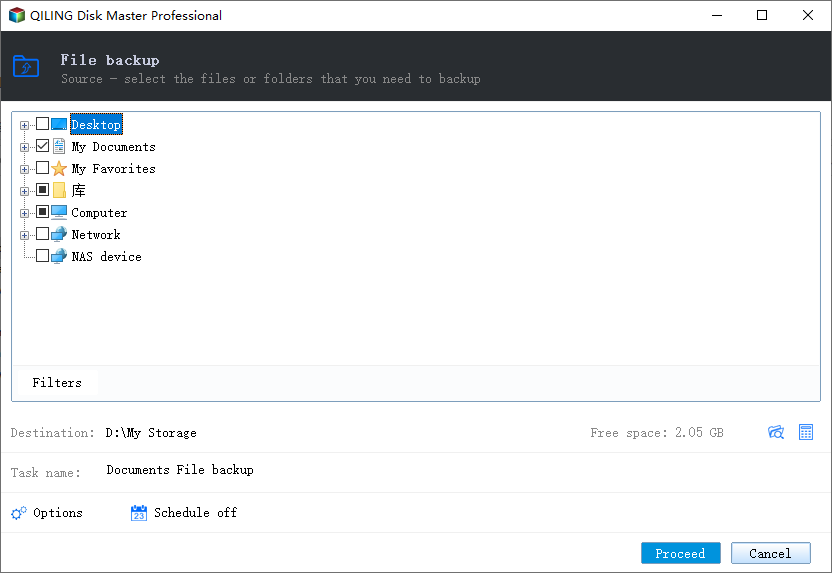
Step 2. Select the folders to protect directly from the source tree, including files outside the default user profile. Choose the external drive as the destination and confirm it is not the disk to be reformatted.
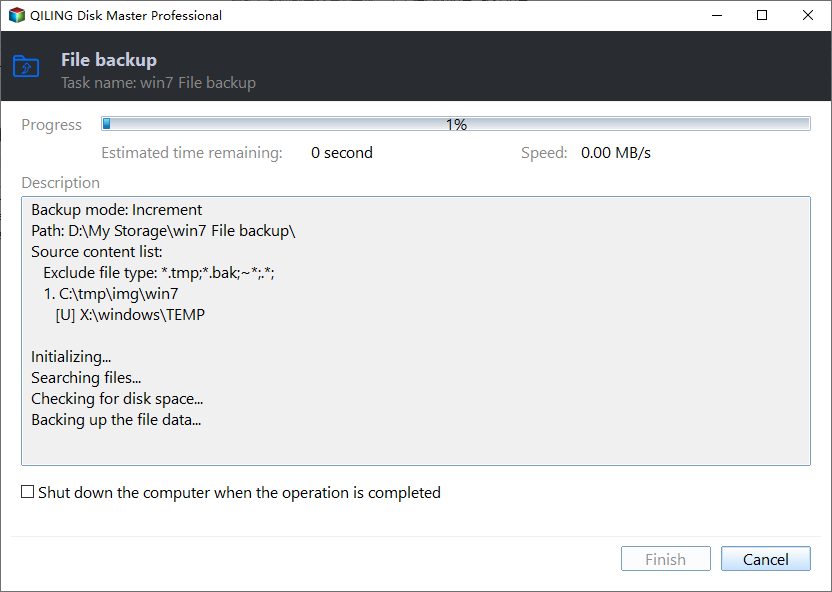
Step 3. Review the backup task, click Proceed, and wait for completion. Verify a representative set of files and disconnect the backup drive before launching Setup.
Conclusion
Setup erases what you explicitly target, not every drive by default. Disconnect non-target drives, identify the destination by physical device, and verify a separate backup first.
Related Articles
- Windows Cloning Tutorials
Find more boot-drive and SSD migration guides. - Windows System Backup and Restore Tutorials
Plan a separate image before changing Windows hardware.
Products
Articles & Tutorials
- Data Recovery
- Data Backup
- File Recovery
- File Backup
- System Backup and Restore
- Disk and Partition Clone
- Technical articles
- Mobile articles
- Disk Master Help
- Windows Data Recovery Tutorials
- Windows Secure Delete Tutorials
- Windows Partition Management Tutorials
- Windows File Backup and Restore Tutorials
- Windows System Backup and Restore Tutorials
- Windows Disk Backup and Restore Tutorials
- Windows Clone Tutorials