Clone SSD/HDD Sector by Sector
Overview of Sector-by-Sector Clone
Most backup software features a "sector-by-sector clone" option, which clones all sectors on a hard drive, including blank or logically bad sectors, when users want to duplicate their HDD or SSD. This feature is useful for users who are unfamiliar with the term sector, which is a subdivision of a track on a disk that stores a fixed amount of user-accessible data.
Generally, a sector-A sector-by-sector clone makes a bit-for-bit copy of the hard drive, including any bad sectors, which can be useful for data recovery purposes, but it doesn't offer any additional protection or benefits for a normal backup.
The sector-Cloning a disk by sector also offers another benefit. By creating an exact duplicate, you can migrate the Windows OS from an old HDD to a new SSD without needing to reinstall it. This method ensures that the target disk or partitions retain the same properties as the source, including drive status, size, letter, and volume count. This feature is particularly useful if you want the new disk to have an identical look and feel to the old one.
Sector-by-Sector Clone SSD/HDD Tutorial
Qiling Backup is a great tool that provides all-in-one computer backup and disk cloning solutions for home and office users. With it, you can instantly backup and restore everything, as well as clone, upgrade, and transfer your system with ease.
The disk clone feature allows users to transfer all data from an old disk to a new one, including system files, personal documents, and media files. This process, known as sector-by-sector cloning, copies every sector from the source disk to the destination disk, even if the sector on the source disk is blank or logically bad, resulting in a complete and accurate copy of the original disk. This feature is useful for upgrading to a larger or more efficient storage device, such as a higher-capacity hard disk drive (HDD) or a solid-state drive (SSD) with improved performance.
Learn how to perform a sector-by-sector clone of a hard drive (HDD) or solid-state drive (SSD) using Qiling clone software. With Qiling, you can clone your HDD/SSD sector by sector, ensuring a precise and reliable copy of your data.
Step 1. Connect the New Second Hard Drive to the PC
Preparations before cloning start:
1. To connect a target disk to your PC, you may need a screwdriver, a Power Splitter Adapter Cable, a SATA cable, or a USB to SATA adapter.
2. Before replacing the old drive, make sure the new drive has enough capacity to hold all the data from the old drive. This means the new drive should have an equal or bigger capacity than the used space of the old drive.
3. If the new disk's style is different from the old one, initialize it to either MBR or GPT to match the style of the old disk.
3. Download a Disk Cloning Tool – Qiling Backup

Qiling Backup is a cloning software that integrates multiple functions, including disk cloning, file backup, and more. It stands out in the disk clone field due to its ability to efficiently clone disks, making it a reliable choice for users.
- Support system/disk clone, backup, restoring , and system transfer.
- The software covers various disk cloning demands, including upgrading a hard drive to a larger one, cloning an operating system, and other similar tasks.
- Disk cloning has a high success rate among similar products on the market.
- The device supports various types of disk connections, such as IDE, EIDE, SATA, ESATA, ATA, SCSI, iSCSI, and USB 1.0, 2.0, and 3.0.
- Supports cloning of basic/dynamic disks and MBR/GPT disks.
Step 2. Step by Step Guide
System Clone: To clone the system, choose System Clone, select the destination disk, and click Next to start. Alternatively, in Advanced options, you can choose to create a portable Windows USB drive to clone the system to a USB drive.

Disk/Partition Clone: To clone a resource disk or partition, select Clone, then choose the resource disk or partition you want to clone, followed by the target disk where you want to clone it. Click Next to start the cloning process.

Step 3. Boot from the Clone Hard Drive
Case 1. If you want to keep both the old disk and the new disk
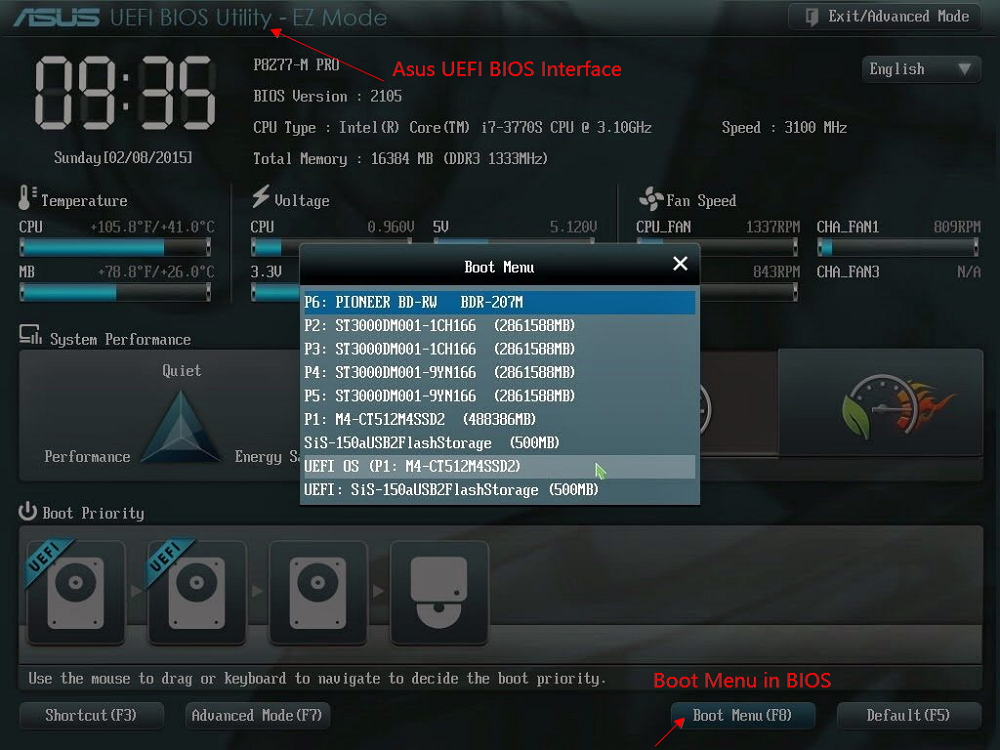
- To enter BIOS settings, restart your PC and press the designated key (usually F2, F8, F10, or DEL) as soon as the computer boots up. This will take you to the BIOS settings page, where you can make changes to your system's configuration.
- In the Boot option, select the new HDD/SSD as the new boot drive.
- Exit BIOS and restart the computer.
Case 2. If you want to only keep the new disk
- Unplug the old disk and ensure the new disk is properly connected.
- Connect the new disk to the computer, ensure it's detected, and then proceed with formatting and partitioning it to make it usable.
- Restart your computer.
After the operation is complete, close the Qiling clone software. Then, go to Windows Disk Management to check if the cloned disk is exactly the same as the source disk.
For Windows 7 computers, To access Disk Management, follow these steps: navigate to My Computer, then click on Manage, which is usually located in the context menu. From there, select Storage, and finally, choose Disk Management.
For Windows 10 computers, navigate to This PC -> Manage -> Storage -> Disk Management.
Bonus Tip: How Long Does Sector-by-Sector Clone Take?
Cloning a 1TB disk sector-by-sector can take around 20-30 hours, requiring a significant amount of time and patience.
Related Articles
- Ghost Windows 7 Using Hard Drive Ghost Software
- 2022 Windows XP Backup Software & Backup Utility Free Download
- How to Backup Only New or Changed Files in Windows 10 [2 Ways]
- How to Backup SD Card to Google Photos [Everything Your Need to Know]
- Proceed for All Drives with Wbadmin or Effective Tool
To protect data and system on all drives, you can run Wbadmin to proceed with backing up all drives. Alternatively, there's a simpler way to achieve this. - How to Use Wbadmin Proceed Backuptarget?
In this article, you will learn the Wbadmin Proceed backuptarget command line and backup to critical volume, shared folder, NAS.