How to Replace/Upgrade Laptop HDD with an SSD
Preparations Before Replace the Laptop HDD with an SSD
Upgrading your laptop to an SSD is a relatively simple process. Before you begin, there are a few things you'll need to prepare.
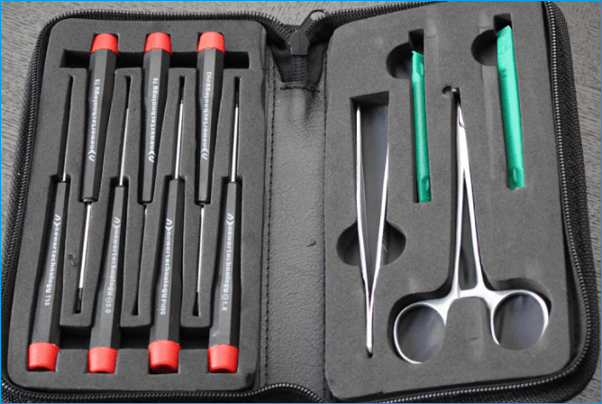
Suitable Tools.
To access the hard drive in a laptop, you may need to remove a panel from the bottom, which can be easy if your laptop has this feature. Alternatively, you'll need to use specialized toolkits containing tools like screwdrivers, suction cups, pry tools, and tweezers to carefully disassemble the laptop and reach the hard drive.
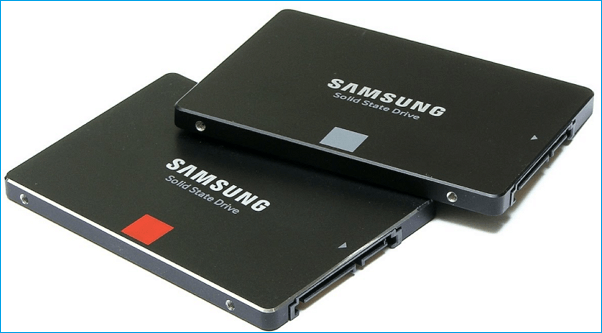
An SSD.
To upgrade the storage in your laptop, first determine the type of interface your drive is compatible with (usually SATA or PCIe), and the form factor that will fit (often 2.5-inch or the slim M.2). Then, balance price, performance, and size to choose the best option.
A Super Fast Disk Cloning Software.
You may wonder why you need a disk cloning software. You'd better backup your system or clone your disk before replacing the old disk with a new one to prevent data loss.
Step-by-step Guide to Upgrade Laptop HDD to an SSD
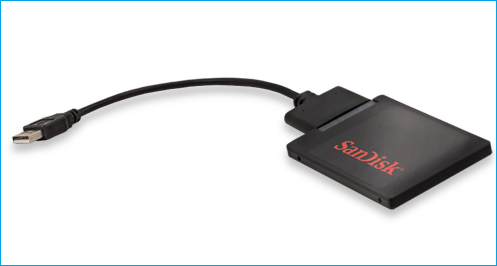
1. Connect the SSD to Your Laptop
Connect the SSD to your laptop by placing it in an enclosure or attaching it to a USB-to-SATA adapter, then linking it to your laptop with a USB cable.
2. Clone Your Hard Drive
To simplify the process of cloning your laptop hard drive, you can save time and energy by downloading the 100% secure disk cloning software Qiling Disk Copy.
This software is fully compatible with all Windows Operating Systems, allowing installation on any Windows computer or laptop to create a disk image.
Prior Notice:
The "Sector by sector copy" feature requires the destination disk to be at least the same size as the source disk, preventing the cloning of a larger disk to a smaller one. If you want to clone a larger disk to a smaller one, this feature should be left unchecked.
All data on the destination disk will be completely erased, so take care.
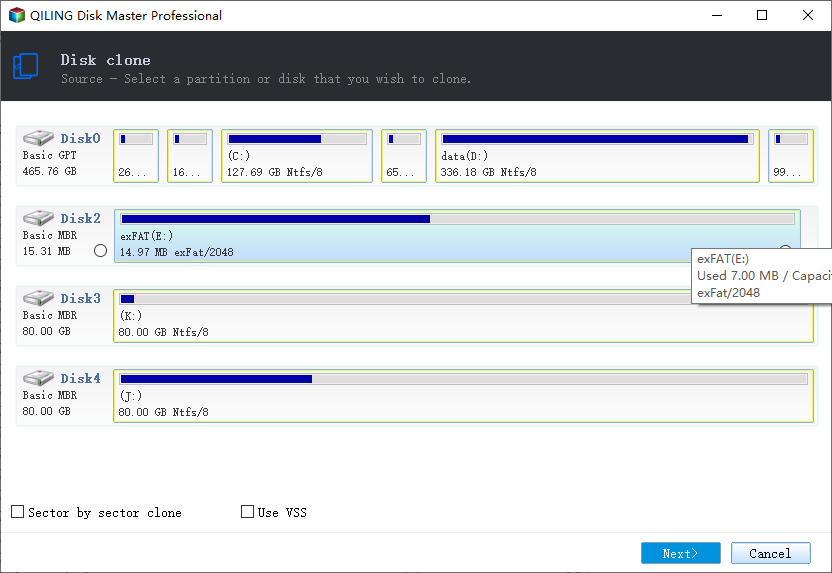
Step 1. To start copying/cloning an entire disk to another, and click "Disk/partition clone".

Step 2. choose this disk as the source disk and click "Next".
Step 3. Choose the other disk as the destination disk.

Step 4. After cloning, you can preview the disk layout to ensure a successful clone. Once verified, click "Proceed" to complete the cloning process with a single click.
To resize a partition on the destination disk, simply move the mouse to the edge of the partition and drag it to the desired size. This allows you to adjust the disk layout as needed.

A message now appears, warning you that data will be lost. Please confirm this message by clicking "OK" and then click "Next".
Tips:
- The destination disk should be a hard disk or SSD with sufficient free space to accommodate the data being transferred.
- Optimize for SSD - If the destination disk is an SSD, checking this option ensures that the process maintains sector alignment.
- Sector by sector clone - A sector by sector clone will copy every single sector from the source to the destination, even if the sector is blank or unused, ensuring an exact replica of the source disk or partition.
- Set Active - This option ensures that the cloned system disk is able to boot normally.
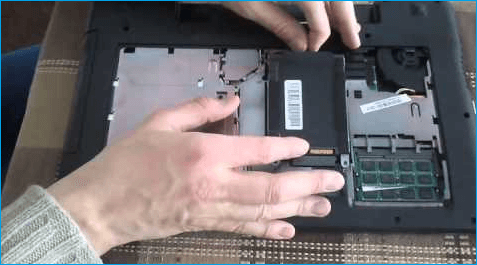
3. Physically Replace Your Laptop HDD with the SSD
Turn the computer off and remove the back panel.
To access your laptop's hard drive, first turn off the laptop, then disconnect the power cable and any other cables, including the SSD. Next, remove the back panel by unscrewing it, which provides you access to the hard drive.
Use your tools to secure your drive to the laptop. You'll need to unscrew those before you can remove the drive.
Lift the old drive up about 30 or 45 degrees and pull it out. In its place, install the SSD and put the back panel on.
4. Boot Up with the SSD
If your laptop boots normally and you see all of your programs and settings just the way they were before, but faster, then the process was successful.
Related Articles
- [Get it now!] Super Fast Disk Cloning/Copying Software
- How to Clone a Failing Hard Drive in Windows 10 Without Data Loss
- Free disk cloning software for Windows 10/8/7
- 2021 Tips | How to Create Bootable Clone of Windows 10/8/7 Disk to New HDD/SSD
- P2V Windows 10 | The Simplest Way to Convert Physical to Virtual
P2V Windows 10 has plenty of benefits. But if you're not computer savvy, the process may seem complicated and confusing. Therefore, I'd like to provide a very easy solution to convert physical machine to virtual machine. - Can I Use Recimg Windows 10 to Create a Custom Recovery Image
Is Recimg in Windows 10 available? Learn to create a custom recovery image in Windows 10 that is used to reset this PC like the way you did with Recimg in Windows 8.