How to Install Windows After Replacing an SSD
After replacing an SSD, you can perform a clean Windows installation or migrate the old installation. The right choice depends on whether the old disk is readable and whether you need its apps and settings.
Choose cloning or a clean install
Clone first if the old SSD still works and you want to keep Windows and installed software. Use a clean install if the old drive failed, Windows was corrupted, or you prefer a fresh setup. A clean install requires reinstalling applications and restoring files. Either path requires a separate backup of valuable data and a compatible replacement SSD.
Create official installation media
On another working Windows PC, obtain the installer from Microsoft and create a USB installation drive. Check the license and edition previously used on this PC, save the BitLocker recovery key, and gather the manufacturer storage or network drivers if necessary. Do not use modified activation images.
Install Windows and verify activation
Install the SSD, connect the installer USB, and open the PC's one-time boot menu. Use the intended UEFI mode. In setup, choose the matching edition and Custom, then identify the new SSD by capacity. On a blank SSD, select unallocated space and let setup create its required partitions. Avoid deleting any unrelated disk's partitions. After setup, connect to the internet, inspect Settings > Activation, install official drivers, restore files, and verify several restarts. A license tied to the same PC may reactivate, but hardware and license terms control the outcome.
Make a File Backup with Qiling Before Replacing the Disk
Use a separate healthy destination. Backup is especially important before a clean install or when you are not certain cloning will succeed.
Step 1. Before removing the old SSD, connect an external drive and open Backup and Recovery > File backup in Qiling Disk Master.
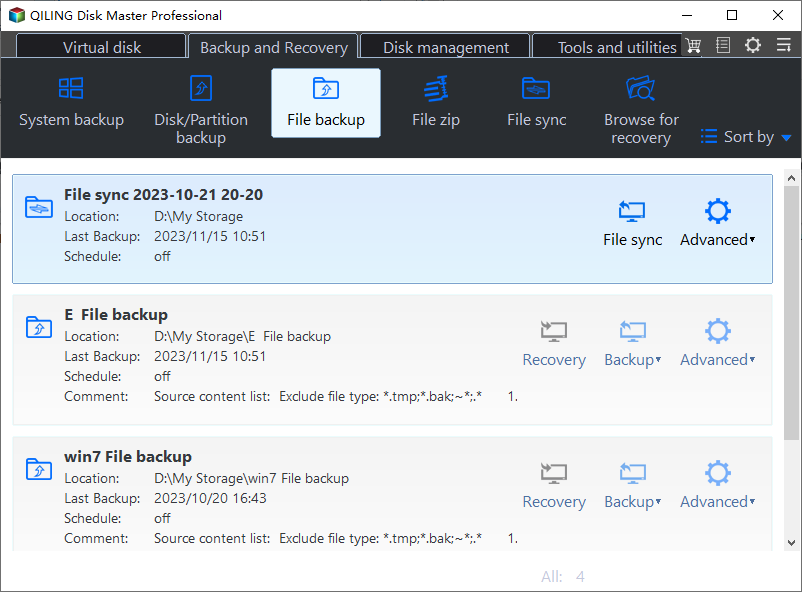
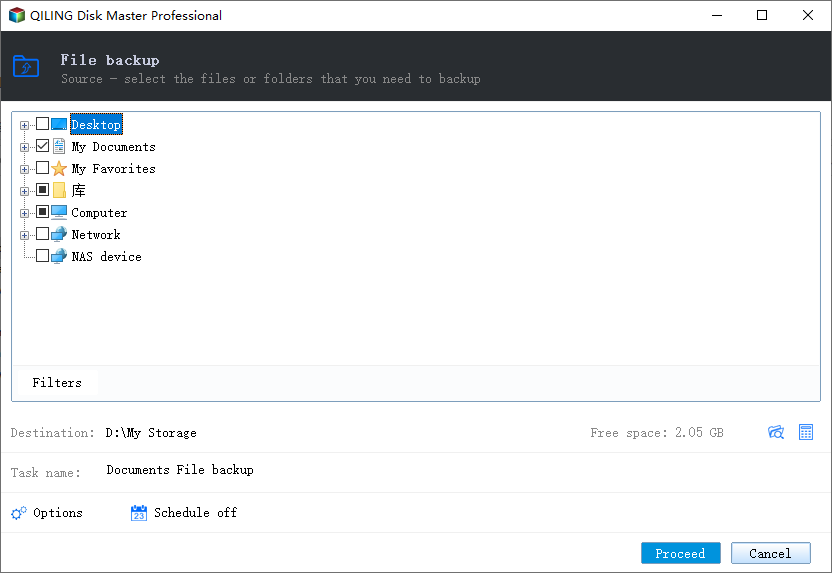
Step 2. Select the required folders in the source tree, including user documents and application exports.
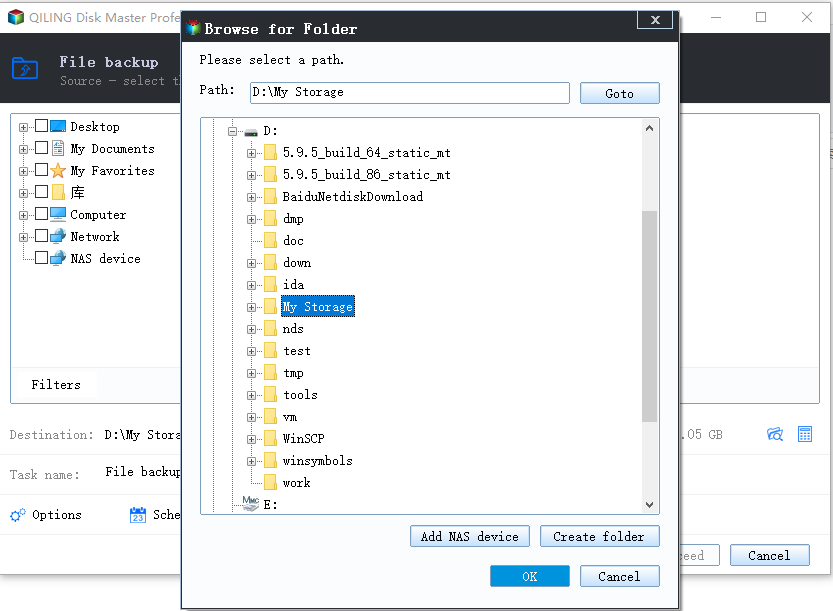
Step 3. Choose the external disk as destination and verify that it is not the disk being replaced.
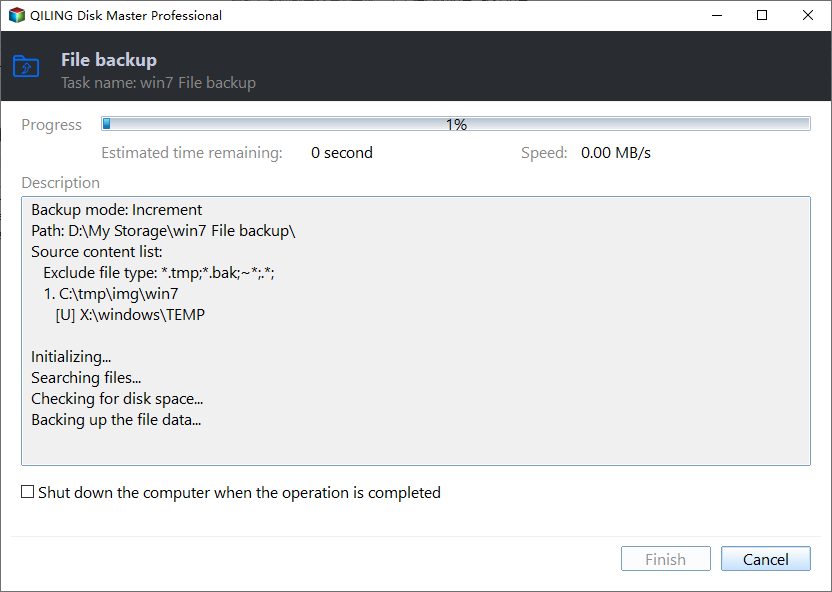
Step 4. Click Proceed and wait for completion. Open several files from the backup before changing hardware.
Step 5. After Windows is installed on the new SSD, restore the backup to the intended user folders and verify the documents again.
File Backup protects selected data, not the Windows license or installed applications.
Conclusion
Prepare a verified file backup and official installation media before opening the PC. After installation, check activation, drivers, and restored files.
Related Articles
- Windows System Backup and Restore
Compare system images, cloning, and recovery options. - Windows Disk Backup and Restore
Find disk backup and restore guides for Windows PCs.
Products
Articles & Tutorials
- Data Recovery
- Data Backup
- File Recovery
- File Backup
- System Backup and Restore
- Disk and Partition Clone
- Technical articles
- Mobile articles
- Disk Master Help
- Windows Data Recovery Tutorials
- Windows Secure Delete Tutorials
- Windows Partition Management Tutorials
- Windows File Backup and Restore Tutorials
- Windows System Backup and Restore Tutorials
- Windows Disk Backup and Restore Tutorials
- Windows Clone Tutorials