Stardew Valley Save Not Loading on Windows: Safe Recovery Steps
Protect the save before changing it
Do not start a new farm with the same name or repeatedly overwrite the affected save. On Windows, press Win+R and open %AppData%\StardewValley\Saves. Copy the entire affected farm folder to a separate drive before renaming or deleting any file. The normal folder name and main save file resemble FarmName_123456789; both the main save and SaveGameInfo matter.
Try the game's previous save
Step 1. Close the game and pause cloud synchronization temporarily if it keeps replacing local files. Work on a copy of the farm folder, not the only original.
Step 2. In the copied farm folder, check whether SaveGameInfo_old and a matching FarmName_123456789_old both exist. They represent the previous save. If either is absent, do not invent it.
Step 3. Move the current SaveGameInfo and main farm file to another backup folder outside Saves. Remove _old from both previous-save filenames, keeping the folder and farm filename consistent.
Step 4. Launch Stardew Valley and test the farm. If it still fails, restore the protected originals and try a different backup. SMAPI users can inspect its save-backups folder; cloud copies should be compared by date before accepting a sync conflict.
If the files disappeared
Check Recycle Bin, external backups, and any game/cloud version history first. Stop writing to the drive if a deletion is recent. File-recovery software may help find deleted files, but it cannot reliably repair a corrupted save's internal content. Save recovered files to a different physical drive.
Back Up Stardew Valley Saves with Qiling Disk Master
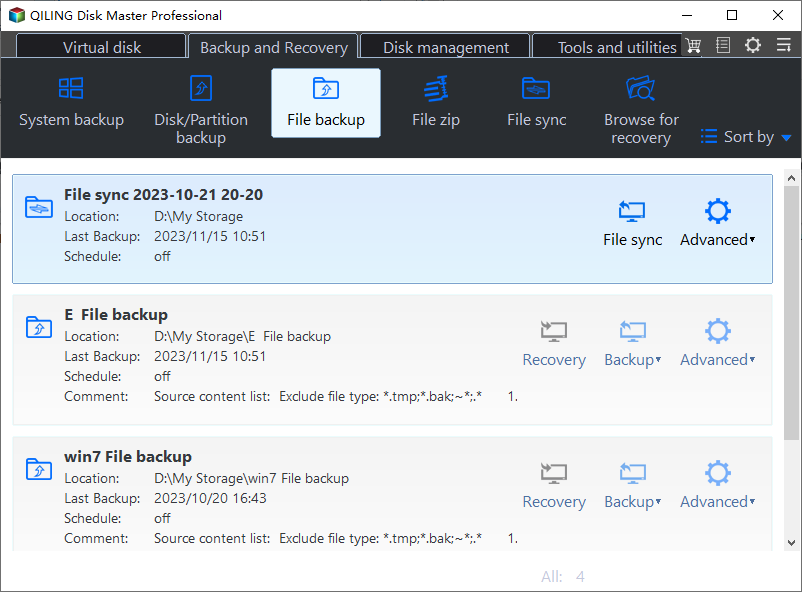
Step 1. Close the game or applications using the files. Connect a healthy external drive and open Backup and Recovery > File Backup.
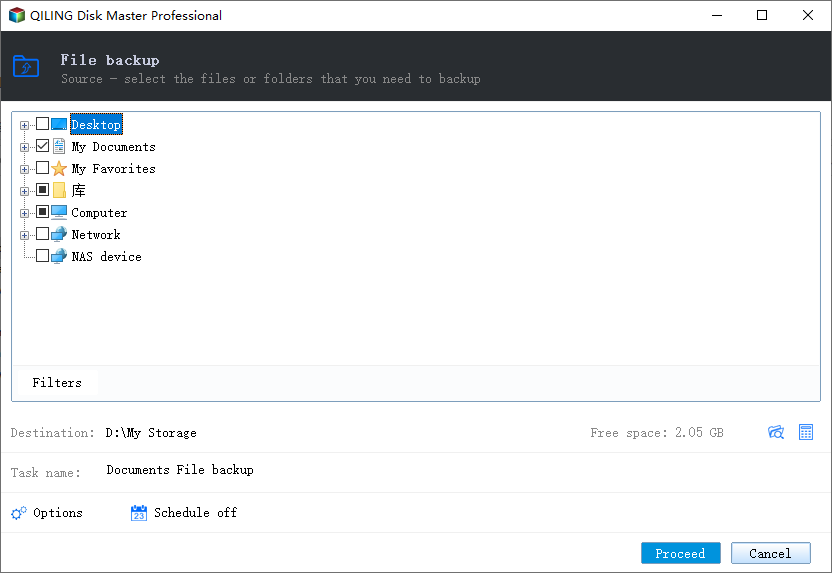
Step 2. In the source tree, select the complete %AppData%\StardewValley\Saves folder and any SMAPI save-backups folder you actually use. Confirm the folder actually contains the expected files.
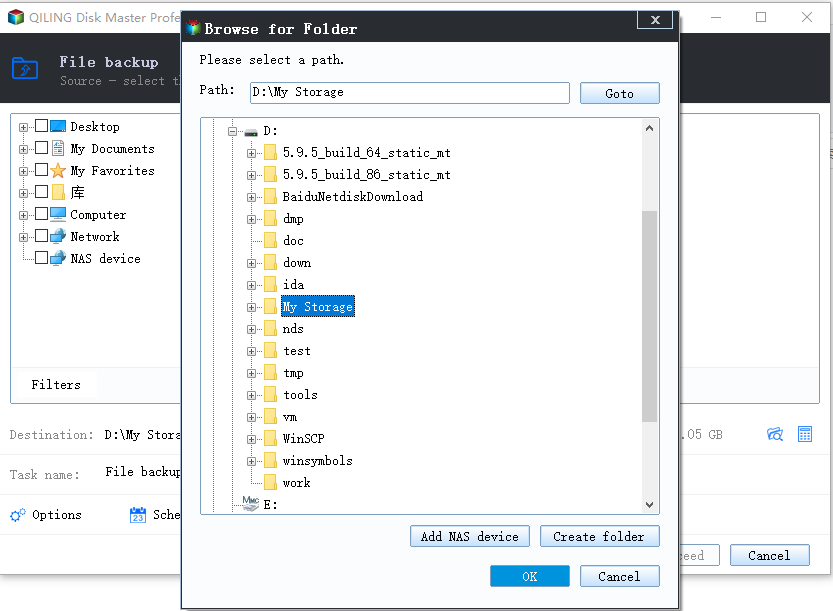
Step 3. Select an external drive or separate network folder as the destination and verify available space.
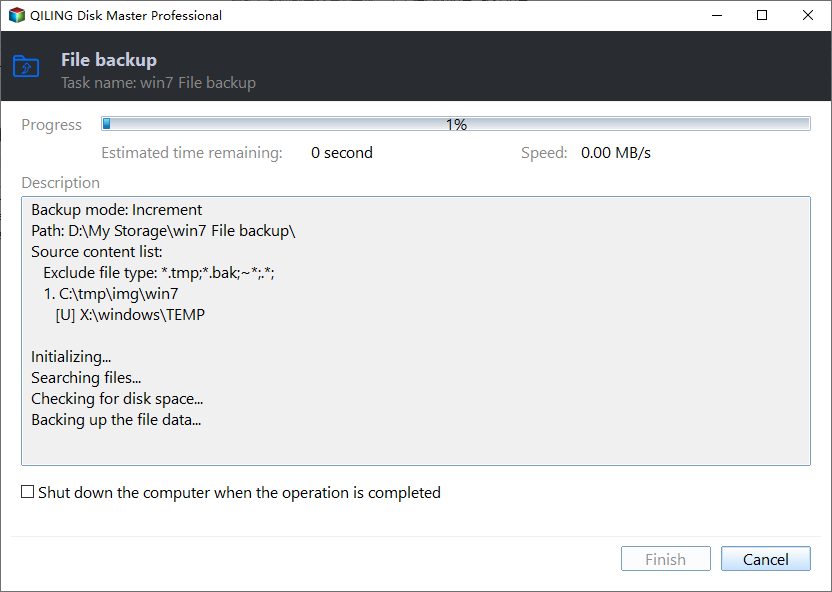
Step 4. Review source and destination, click Proceed, and wait for completion. Restore a test copy into a different folder before deleting or replacing any original save.
Conclusion
Preserve the save first, then try the paired previous-save files or a dated backup. Never edit the only copy.
Related Articles
- Windows File Backup and Restore Tutorials
Protect files before changing a system or save folder. - Windows System Backup and Restore Tutorials
Compare file and system recovery options.
Products
Articles & Tutorials
- Data Recovery
- Data Backup
- File Recovery
- File Backup
- System Backup and Restore
- Disk and Partition Clone
- Technical articles
- Mobile articles
- Disk Master Help
- Windows Data Recovery Tutorials
- Windows Secure Delete Tutorials
- Windows Partition Management Tutorials
- Windows File Backup and Restore Tutorials
- Windows System Backup and Restore Tutorials
- Windows Disk Backup and Restore Tutorials
- Windows Clone Tutorials