Transfer Zoom App for Windows|Moving Zoom to New PC
Applies: transfer meetings, webinars, and Cloud Recordings to another PC
This article provides two methods for moving the Zoom app to a new Windows device. The first method involves using the Qiling Disk Master app migration tool, which can simplify the transfer process. Alternatively, users can opt for a manual approach to move the Zoom app to their new device.
How to Moving Zoom App for Windows (Free and Simple)
Transfer Meetings, Webinars, and Cloud Recordings to New PC (Manual)
During the COVID-19 pandemic, Zoom meetings became a staple office software, offering practical functions like virtual meetings, webinars, and cloud recording that made it a go-to choice.
Zoom provides mobile and cloud-based video conferencing software that can be accessed on multiple operating systems, including Windows, Mac, iOS, and Android. The platform also supports H323/SIP protocol conference equipment, allowing for seamless connections. With Zoom, users can participate in high-definition video conferences with up to 1,000 interactive participants.
In the first part, the automatic method of calculating the number of ways to arrange the 8 queens on a chessboard was explained. This method involved using the concept of permutations and combinations to calculate the number of ways to place the queens on the board such that none of them attack each other.
How to Moving Zoom App for Windows (Free and Simple)
Qiling Disk Master's main feature is transferring data to a new laptop. The latest version includes Zoom on its migration list, allowing users to move Zoom to another PC without reinstalling it when replacing their computer or migrating to a different drive.
#1. Preparations
1. Download the Qiling Disk Master Free on both PC.
Click the DOWNLOAD icon and run it on the two computers to initiate the installation process.
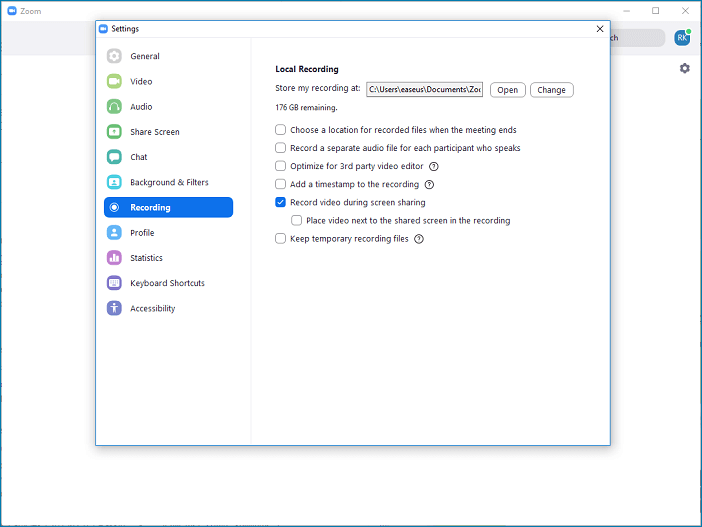
2. Locate the local recording location.
To transfer Zoom to another device, you can move the Zoom app to an external device, such as a USB drive, before transferring the app to the other device. This will allow you to easily move the app to the new device without having to reinstall it.
If you want to enjoy the 300+ app migration, unlimited file transfer, and more advanced features, you can upgrade it to the pro version.
#2. Steps to moving Zoom
Step 1. Run Qiling Disk Master on both PCs
On the source PC, select "File sync" on the main screen of Qiling Disk Master and proceed.

Step 2. Connect two computers
1. To connect to your target PC, select it from the list of available computers via its IP address or device name, and then click the "Connect" button.
2. To confirm your login credentials, enter the password for the target PC and click "OK".
If the target PC is not listed, you can manually add it by clicking "Add PC" and entering its IP address or device name.

Step 3. Select apps, programs, and software and transfer to the target computer
1. You can select and choose what you want to transfer from the current computer to the target PC, allowing you to pick and choose what's most important to move over.
2. Select the desired applications and programs, then click "Proceed" to initiate the transfer process.

On the same LAN, the "PC to PC" mode allows you to transfer apps from one PC to another, making it easy to share and install apps across multiple devices on the same network.
If you've transferred apps from your old computer to your new one using an online meeting app, you may still see Microsoft Office, Adobe, Windows Live Mail, and Dropbox in your transfer list, even though they've been successfully transferred. If your goal is to change the install location of these apps, we recommend checking out our guide on how to transfer Microsoft Office to a new computer.
Transfer Meetings, Webinars, and Cloud Recordings to New PC (Manual)
#1. Transfer Zoom Recording to another device
Step 1. Sign in to the Zoom Client.
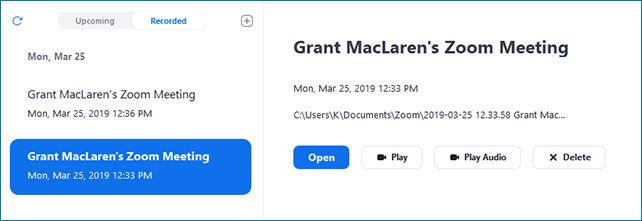
Step 2. Choose Meetings.
Step 3. Click the Recorded tab and choose Open.
You'll find the recording files in the folder, and you can upload them to the cloud using services like Dropbox or Google Drive. Once uploaded, you can access and download the files on another device.
Step 4. Re-download Zoom on the official website.
#2. Transfer Meetings, Webinars, and Cloud Recording
Multiple account sharing is not allowed on Zoom, but if a user is deleted, the meetings, webinars, and cloud recordings can be transferred to another user.
A detailed guide of Zoom transfer:
Step 1. Sign in to the Zoom web portal.
Step 2. Choose User Management on the left pane > Users
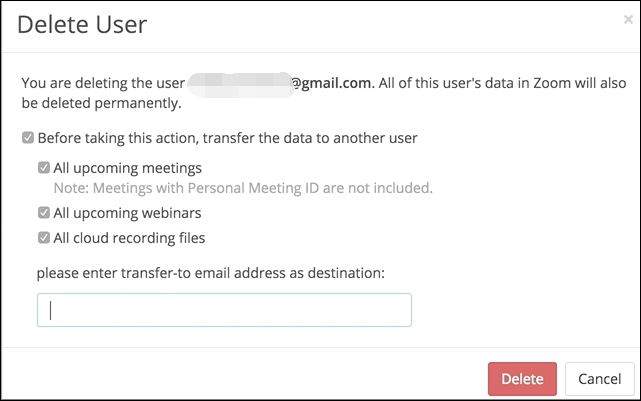
Step 3. Search the users you want to delete > More > Delete
Step 4. To move all upcoming meetings, webinars, and cloud recordings to a new email address, go to the pop-up window and enter the transfer-to email address. This will relocate all scheduled events and media files to the specified new email address.
Related Articles
- Windows Profile Migration Tool Free Download with How-to Guide 2022
- [2022 Guide]How do I Transfer Firefox Bookmarks from One Computer to Another
- How to Move Dropbox Folder in 2022 [Your Full Guide Is Here]
- How to Move Notepad ++ to Another Computer
- How to Migrate System/Data/Programs from One Hard Drive to Another
Free drive or data migration software for Windows allows users to transfer their system, data, and programs from one hard drive to another without reinstalling the operating system and applications, making it a convenient and time-saving option. - Fresh Install of Windows 10 on SSD Without Losing Data?
Do you know how to fresh install of Windows 10 on ssd without losing data? This article will tell you how to clean install Windows 10 on SSD without losing data and offer a tool to help you.