Stuck on 'This device was reset' screen? Here's how to bypass the error
Quick Navigation:
- Basic understanding of the prompt message
- How to get rid of "This device was reset" error?
- A complete guide for you to solve "This device was reset" and use the phone properly
Summary
This tutorial aims to solve the Google Account Verification issue that prevents accessing the phone due to the error message "This device was reset. To continue, sign in with a Google Account that was previously synced on this device".
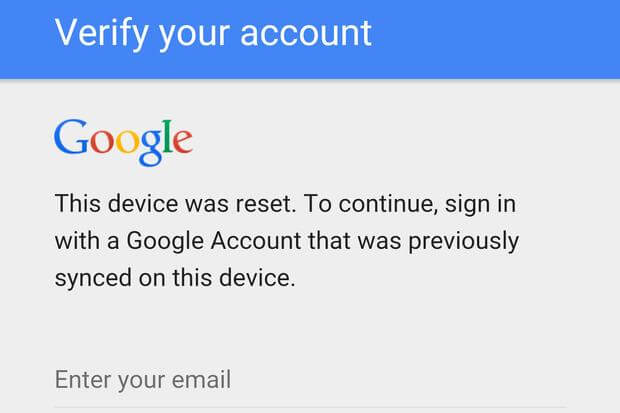
Verify your account
This device was reset. To continue, sign in with a Google Account that was previously synced on this device.
"I had lent one of my Samsung phones to someone who returned back but when I turned on, the error message appeared. I used my account to log in and it didn't work. Now I'm unable to go beyond the screen and access the phone. Can you help?"
If you're stuck on the same error screen, don't worry - it's a common issue with a solution! We've made a concerted effort to help you overcome this problem, so please take a moment to carefully read this page and see if it helps you resolve the issue. Your persistence will pay off!
Basic understanding of the prompt message
Google's security feature, which is triggered when a phone is reset outside of the Settings app, prompts users to verify their Google account credentials to ensure the device's owner is attempting to reactivate it. This is a security measure to prevent unauthorized access and theft of devices. If you're seeing this message, it means the device has been reset and the FRP is active, requiring you to enter your Google account credentials to unlock the device.
If you're unable to bypass the error by signing in the Google account that was signed in when you reset the phone, you can try other fixes. These include using the "Find My Device" feature to remotely reset the phone, using a computer to reset the phone, or using a third-party tool to bypass the Google account verification. However, these methods may have varying degrees of success and may require technical expertise. It's also worth noting that attempting to bypass the Google account verification may void the phone's warranty and potentially cause data loss.
How to get rid of "This device was reset" error?
Source link: https://android.stackexchange.com/questions/127739/how-to-bypass-verify-your-account-factory-reset-protection
The recommended method on the source link provides a solution that works for most major brands, including Samsung, LG, Huawei, OnePlus, Sony, Nexus, and Motorola. The solution can be accessed by pasting the link and finding the corresponding method for your specific brand.
A useful tip:
To recover data on your Android device after encountering the Google Account Verification error, you can try booting your device in safe mode, checking the Google account settings, and attempting to verify the account using the Google account settings on another device. If these steps don't work, you can use Qiling MobiSaver for Android to recover your data.
- Perform Factory Reset on your Android.
- Ask professionals flashing the ROM.
Download the app version if you prefer to recover Android data without using a computer.
A complete guide for you to solve "This device was reset" and use the phone properly
Step 1. To reboot into Recovery mode, hold the Home button, Volume Up button, and Power button simultaneously, releasing the Power button when the device turns on or reboots.
Step 2. To perform a factory reset, press the Volume Down button until the option "wipe data/factory reset" is selected, then press the Power button. Next, scroll down to "Yes -- delete all user data" and press the Power button again.
Step 3. The Setup Wizard will guide you through the process of setting up your device. You will be prompted to enter your Google account credentials, which include your email address and password.
For a Samsung device, save the RootJunky APK onto a USB flash drive and connect it to the device via OTG.
>> For LG:
- Back up, connect to Wi-Fi. The accessibility feature allows users to easily navigate the system and access various features and functions. By enabling this feature, users can customize their experience and make the system more user-friendly.
- To enable the "Switch Access" feature, go to Settings, then Accessibility, and toggle the switch to turn it on. Next, navigate to the Settings within Switch Access and configure the key for the Overview feature, such as setting the Volume Down key.
- To access the Talkback settings and download the APK, go to Vision in the Accessibility menu, then select Talkback, followed by Settings and Privacy Policy. From there, open the browser and download the APK from rootjunkysdl.com, specifically the Apps section.
Step 4. To access the file browser in the OneDrive app, press the key you've set up for Overview, then select Dual Window, and finally choose the file browser.
Step 5. When File Explorer opens, navigate to the APK file and tap it to install. If prompted about unknown sources, select the Settings option and enable the Unknown Sources option.
Step 6. After completing the installation process, choose to open the application, which will then open the Settings.
>> For LG:
Add a new user account under Users, switch to it, add your own Google account via Setup, switch back to the main user, and exit Settings.
Go to Backup & Reset, and do a Factory Data Reset to remove FRP from the device. This will erase all data on the device.
Step 7. The APK in (4) is very simple and just opens Settings, you could use any other that does the same if you don't want to trust that source.
Again, in case that your device is not mentioned here, copy and paste the given link and search answers there.
Related Articles
- Recover Pictures after Factory Reset on Android
- WeChat Photo/Video Recovery on Android Devices
- Recover Snapchat Photos/Videos from Android Phones
- How to Recover Files on Samsung Galaxy S4