Remove Mystery Partitions After Upgrading to Windows 10
Remove mystery partitions after upgrading to Windows 10 safely. Identify EFI, recovery, OEM, and unused partitions before deleting anything.
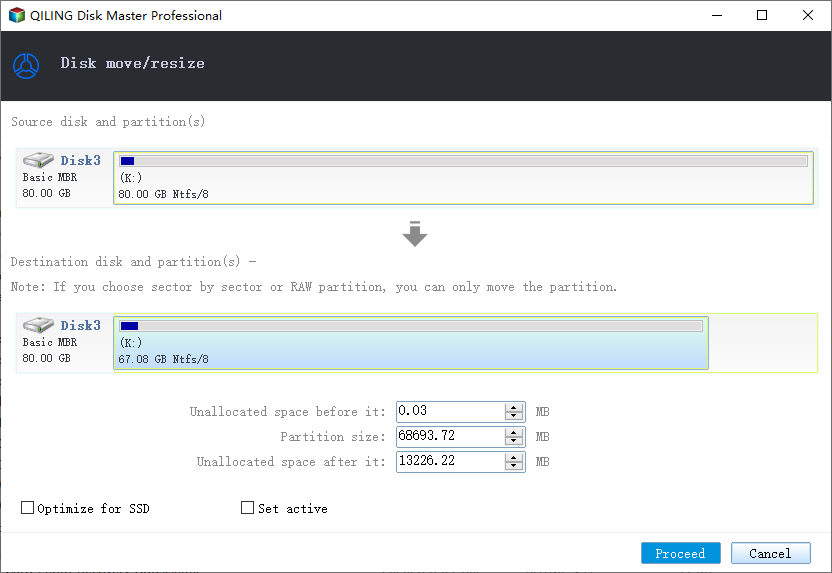
What Those Partitions May Be
After upgrading to Windows 10, you may see EFI, MSR, Recovery, OEM, or old system partitions. Some are required for booting and recovery, while others may be leftovers from the previous installation.
Identify Before Removing
- Check partition labels and sizes in Disk Management.
- Confirm the active Windows recovery partition with reagentc /info.
- Do not delete EFI or System Reserved partitions.
- Back up the disk before removing old OEM or unused partitions.
Use Qiling Disk Master When Windows Tools Are Not Enough
Qiling tools give you a visual way to review the disk state, protect files, and confirm risky operations before Windows repair, formatting, resizing, or cloning changes are applied.
Step 1. Identify the partition type before removing it. After a Windows 10 upgrade, small partitions may be EFI, MSR, Recovery, OEM, or old system partitions.
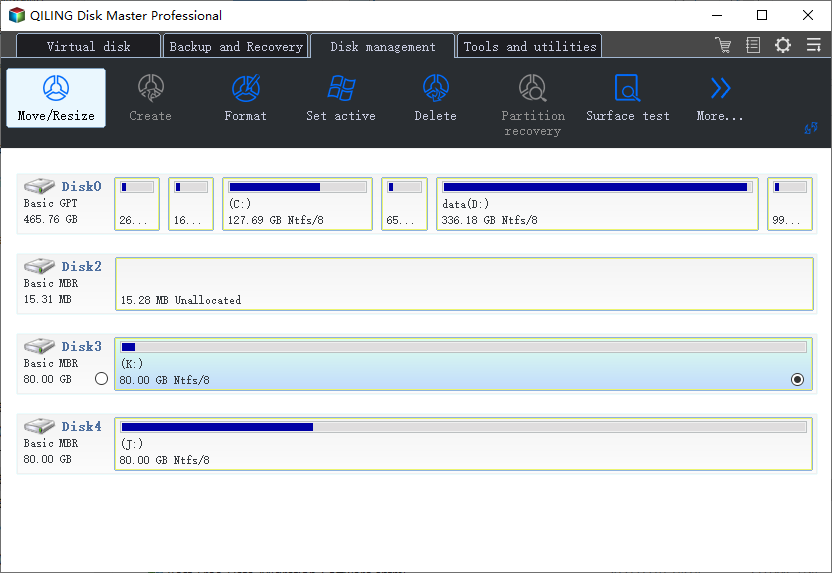
Step 2. Use Disk Management and reagentc /info to confirm which recovery partition is active. Keep EFI/System Reserved and the active recovery partition.
Step 3. Open Qiling Disk Master and select only the confirmed unused OEM or old recovery partition after creating a backup.
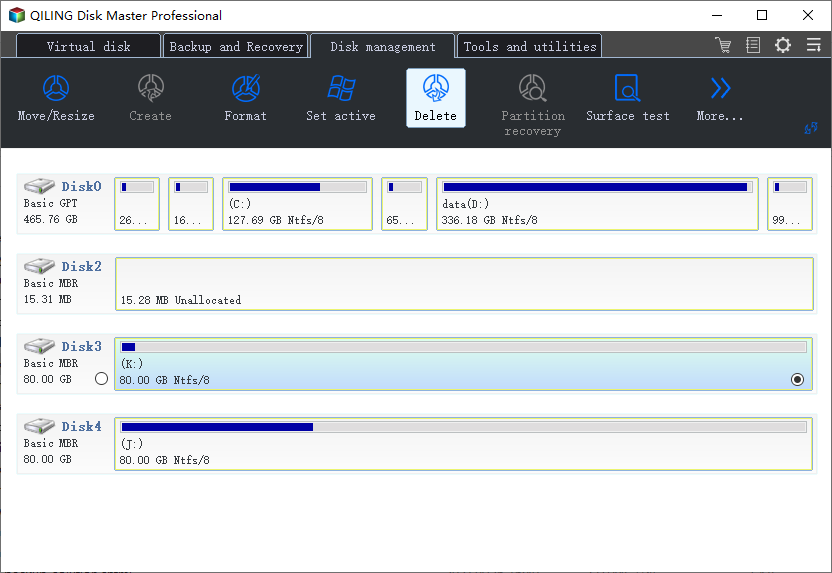
Step 4. Choose Delete for the unused partition, or leave it untouched if you cannot identify it confidently.
Step 5. Preview the pending change and confirm that no boot or active recovery partition is listed.
Step 6. Click Proceed. After Windows restarts, confirm boot and recovery options still work before reusing the freed space.
Conclusion
Start with the Windows checks that match your symptom, protect important data before formatting or repartitioning, and use the Qiling workflow when you need a clearer, safer way to repair the disk or move data.
Related Articles
Products
Articles & Tutorials
- Data Recovery
- Data Backup
- File Recovery
- File Backup
- System Backup and Restore
- Disk and Partition Clone
- Technical articles
- Mobile articles
- Disk Master Help
- Windows Data Recovery Tutorials
- Windows Secure Delete Tutorials
- Windows Partition Management Tutorials
- Windows File Backup and Restore Tutorials
- Windows System Backup and Restore Tutorials
- Windows Disk Backup and Restore Tutorials
- Windows Clone Tutorials