Yellow Triangle Warning on C Drive: Causes and Fixes
Fix the yellow triangle warning on C drive by checking BitLocker, disk errors, storage, and partition health.
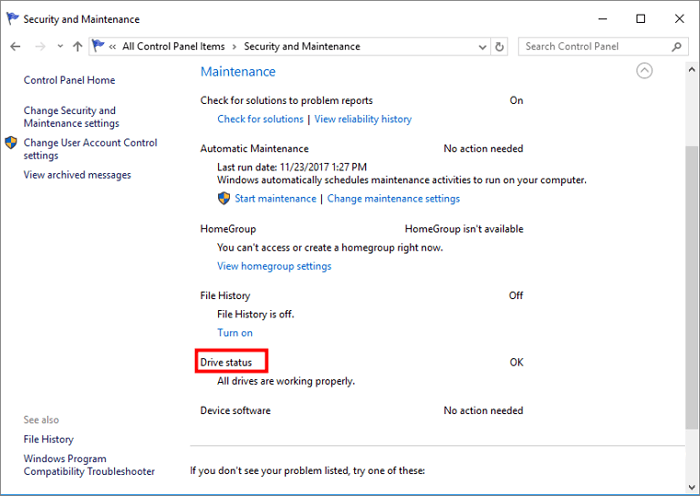
What the Yellow Triangle on C Drive Means
A yellow triangle on C drive usually points to a Windows warning, not always a failing disk. Common causes include BitLocker needing attention, low free space, file system errors, update problems, or device encryption waiting for a recovery key backup.
What to Check First
- Open BitLocker or Device Encryption and check protection status.
- Check C drive free space and remove temporary files.
- Run Windows Error Checking or CHKDSK when file system errors appear.
- Back up the system before resizing C drive or repairing partitions.
Check Disk Health with Qiling Disk Master
Testing a drive helps separate software errors from hardware trouble. If the drive clicks, disconnects, or reports many bad sectors, back up or clone it before running heavy repair operations.
Run a Surface Test
- Open Disk management, select the disk or partition, and choose Surface test.
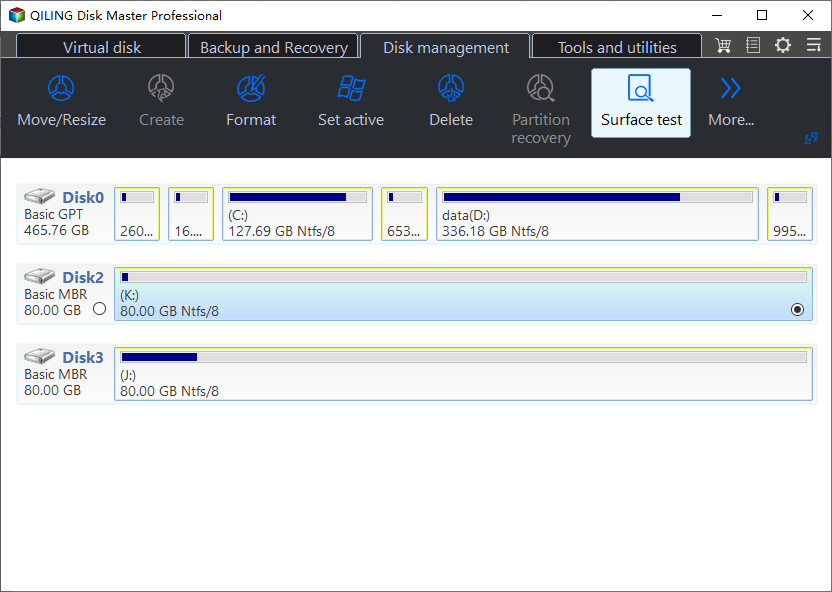
- Start the scan and wait for the result. Do not interrupt the test on a drive that is already unstable.
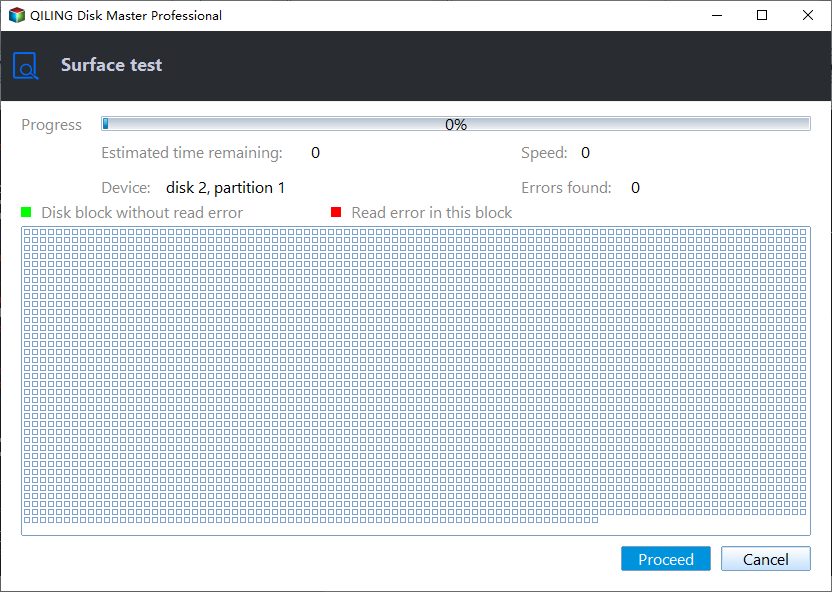
Decide the Next Step
- If no bad sectors are found, continue with Windows checks such as CHKDSK, driver updates, or cable replacement.
- If many bad sectors appear, stop using the disk for daily work. Create a disk image or clone it to a healthy drive before the condition gets worse.
Create a System Backup with Qiling Disk Master
A system backup protects Windows, boot files, installed programs, and system settings. Use it before repairing C drive warnings so you can roll back if Windows repair, update, or hardware changes fail.
Choose System Backup
- Open Qiling Disk Master and choose System Backup. The program selects the Windows-related partitions automatically, including boot partitions when required.

- Review the selected partitions. Do not remove EFI, System Reserved, Recovery, or C drive from the backup set.

Select Destination and Run Backup
- Select an external disk, NAS, or another internal disk as the destination. Avoid saving the image on the same disk you are about to repair or replace.
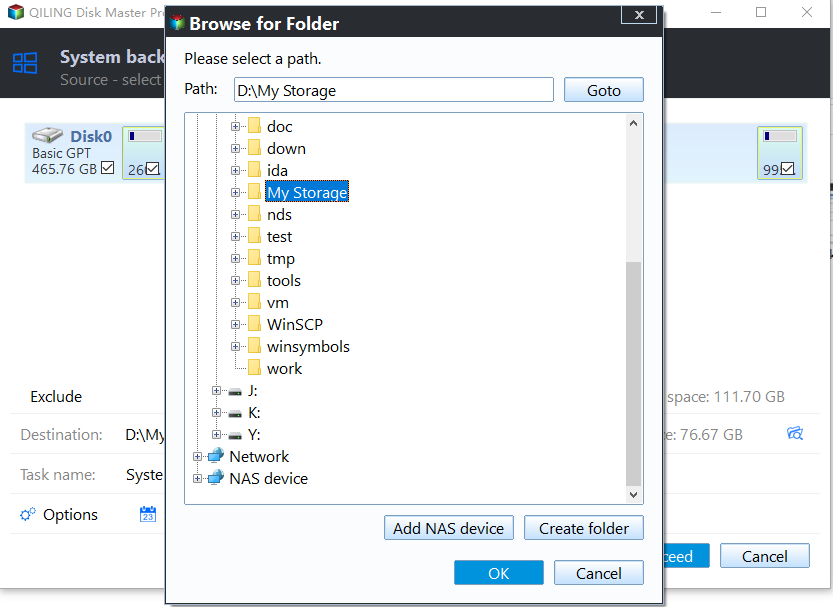
- Click Proceed and wait for completion. Keep the backup drive connected until the task is finished and verified.

Related Articles
- Windows Partition Management Tutorials
Find practical Windows partition guides for resizing, formatting, checking, converting, and repairing disks without unnecessary risk. - Windows System Backup and Restore Tutorials
Browse Windows backup and restore guides for system images, recovery drives, restore points, and safe repair preparation.
Products
Articles & Tutorials
- Data Recovery
- Data Backup
- File Recovery
- File Backup
- System Backup and Restore
- Disk and Partition Clone
- Technical articles
- Mobile articles
- Disk Master Help
- Windows Data Recovery Tutorials
- Windows Secure Delete Tutorials
- Windows Partition Management Tutorials
- Windows File Backup and Restore Tutorials
- Windows System Backup and Restore Tutorials
- Windows Disk Backup and Restore Tutorials
- Windows Clone Tutorials