Migrate Windows to a Samsung M.2 NVMe SSD
Samsung M.2 NVMe SSDs can replace a slower system drive, but the connector, firmware boot mode, and complete Windows partition layout matter more than the brand name alone.
Confirm Samsung SSD compatibility
Check that the motherboard or laptop supports the Samsung SSD's M.2 length, PCIe generation, and NVMe protocol. An M.2 SATA slot is not automatically NVMe-capable. If the PC has only one slot, use an NVMe-capable USB enclosure for the new SSD during the migration.
Compare actual target capacity with the partitions to be copied. Save important files and the BitLocker recovery key. If the old drive has errors, address data protection before cloning; the operation copies existing problems as well as files.
Include everything Windows needs to start
A supported UEFI Windows installation normally needs its EFI System Partition, Windows volume, and recovery layout. Copying only C: can leave the new SSD without a usable boot entry. Use a system clone if you need just Windows-related partitions, or a whole-disk clone for additional data volumes.
The target is overwritten. Formatting the Samsung SSD before cloning is not required; the clone creates its own partition layout. Do not confuse Samsung's data migration utility with a general-purpose file backup.
Install and test the Samsung drive
Power down, install the new SSD internally, and choose its Windows Boot Manager in UEFI. If the old drive remains connected, the PC may silently boot the old copy; disconnect it temporarily where practical for a clean first test.
Verify Windows startup, apps, disk capacity, Device Encryption, and several restarts. If it does not boot, check detection, UEFI mode, and the copied EFI partition before performing any repair on the source.
Use Qiling System Clone for the Samsung SSD
This procedure copies Windows and its necessary boot partitions. Select whole-disk clone instead if separate data partitions must also move.
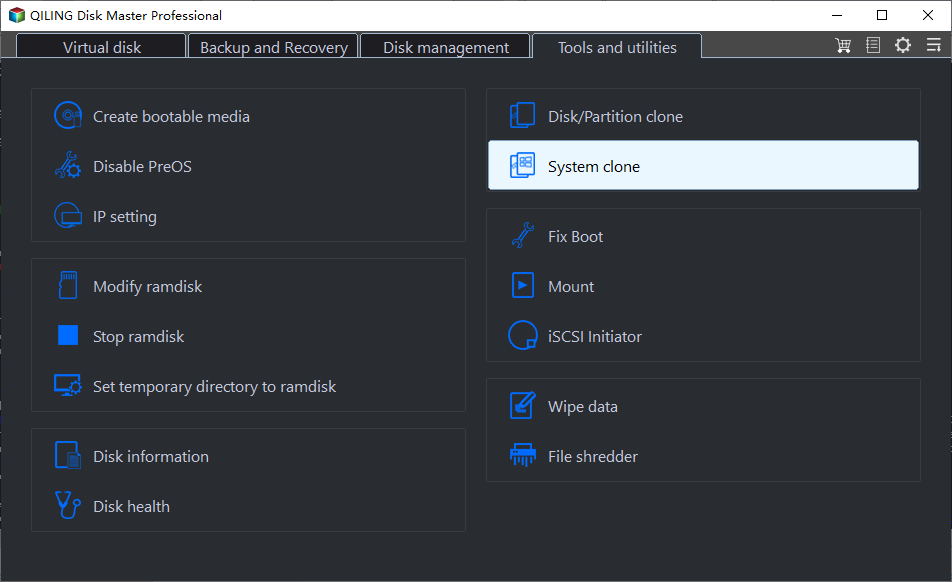
Step 1. Connect a compatible destination SSD and open Qiling Disk Master. Choose Tools and utilities > System clone. Connect the Samsung SSD through an NVMe-compatible enclosure and verify its model.
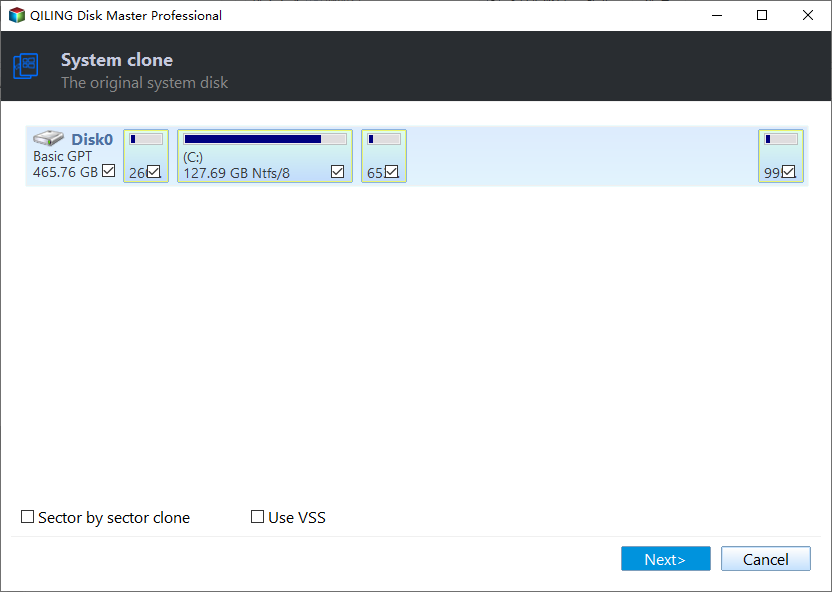
Step 2. The wizard automatically selects the Windows system partitions. Confirm that it found the intended installation, then click Next. Confirm the selected Windows source includes EFI, C:, and recovery partitions.
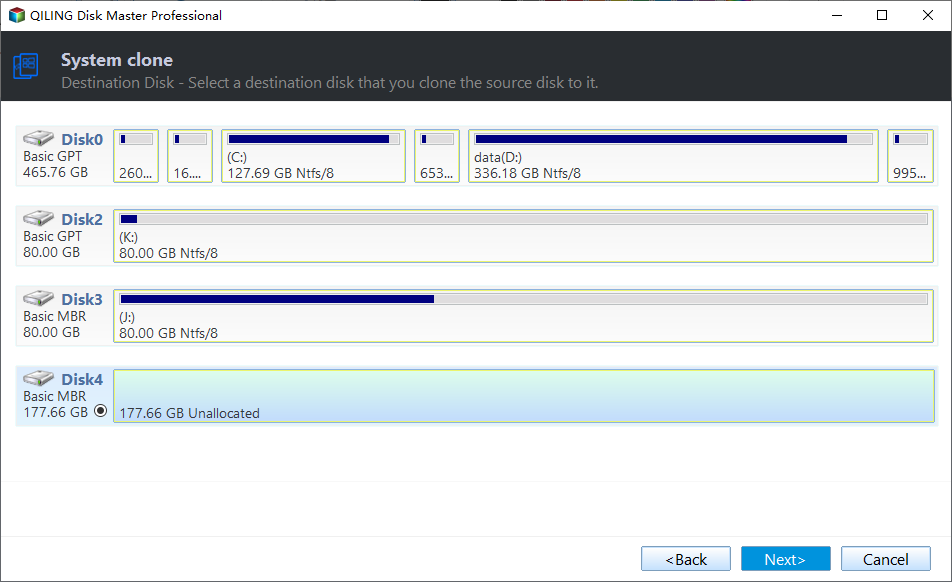
Step 3. Select the destination disk by model and capacity and click Next. Choose the Samsung SSD as the destination and verify the target is the drive you intend to overwrite. The destination will be overwritten.
Step 4. Review the source, target, and proposed layout. Inspect the target layout and capacity; select SSD optimization if available. Click Proceed, confirm the overwrite warning, and wait for the operation to finish.

Step 5. Install the Samsung SSD internally, boot from its Windows Boot Manager, and test apps and files. Keep the old boot disk unchanged until you have verified the new one.
A Samsung-branded SSD does not remove the need to check NVMe support in the PC firmware and slot.
Frequently Asked Questions
Can Samsung Data Migration be used instead?
That utility is another option when its version supports the source and Samsung destination; check its own compatibility requirements.
Why is the Samsung SSD visible in Windows but not bootable?
Confirm it was cloned with the EFI or System Reserved partition and that firmware is set to the correct boot mode.
Conclusion
Confirm hardware fit, clone all Windows boot partitions, and verify the Samsung NVMe SSD boots independently before reusing the old disk.
Related Articles
- Samsung Migration Interrupted
Troubleshoot a failed vendor-tool migration. - Clone HDD to SSD
See a comparable full-disk migration workflow.
Products
Articles & Tutorials
- Data Recovery
- Data Backup
- File Recovery
- File Backup
- System Backup and Restore
- Disk and Partition Clone
- Technical articles
- Mobile articles
- Disk Master Help
- Windows Data Recovery Tutorials
- Windows Secure Delete Tutorials
- Windows Partition Management Tutorials
- Windows File Backup and Restore Tutorials
- Windows System Backup and Restore Tutorials
- Windows Disk Backup and Restore Tutorials
- Windows Clone Tutorials