Clone Windows 11 to an NVMe SSD
An NVMe drive must be physically and electrically compatible with the PC's M.2 slot. A USB NVMe enclosure can help during migration, but booting from it is not the same as booting from the installed internal drive. Check UEFI support, destination capacity, and whether the existing system uses BitLocker before cloning.
Prepare the destination safely
Confirm the NVMe model and capacity in Disk Management. Its existing contents will be erased by cloning, so move them to a verified backup. Save the BitLocker recovery key, prepare a separate system image, and make sure the destination can hold the source system and boot partitions. If the drive is connected through a USB enclosure and does not appear, resolve the adapter or drive detection problem first.
Qiling Disk Master System clone
Use System clone for a Windows migration. Use Disk clone only when the whole source disk, including data partitions, must move and the target has enough space.
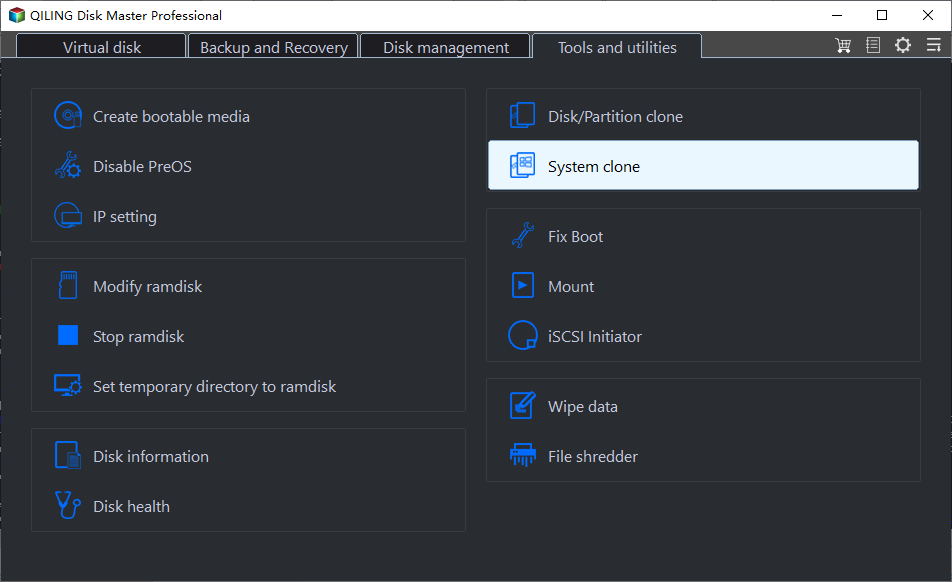
Step 1. In Tools and utilities, choose System clone.
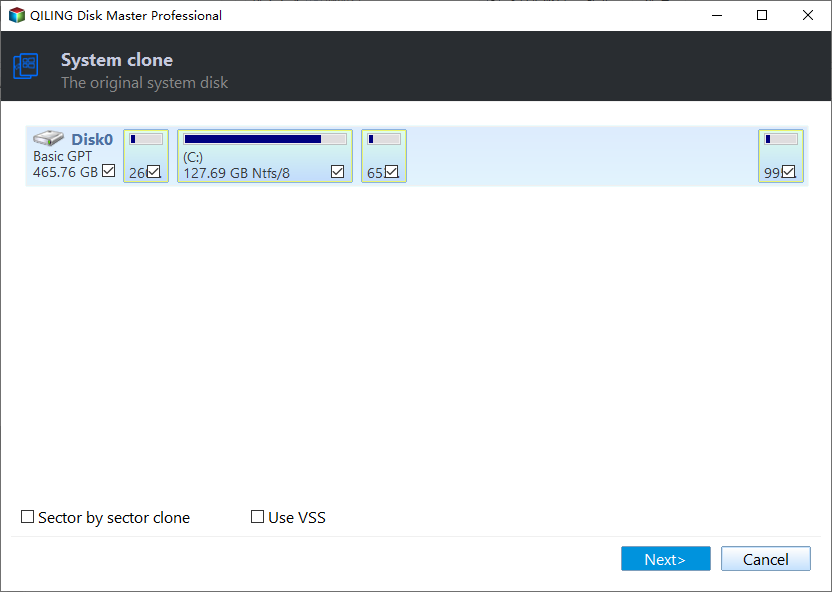
Step 2. Confirm the Windows source and required boot partitions, then click Next.
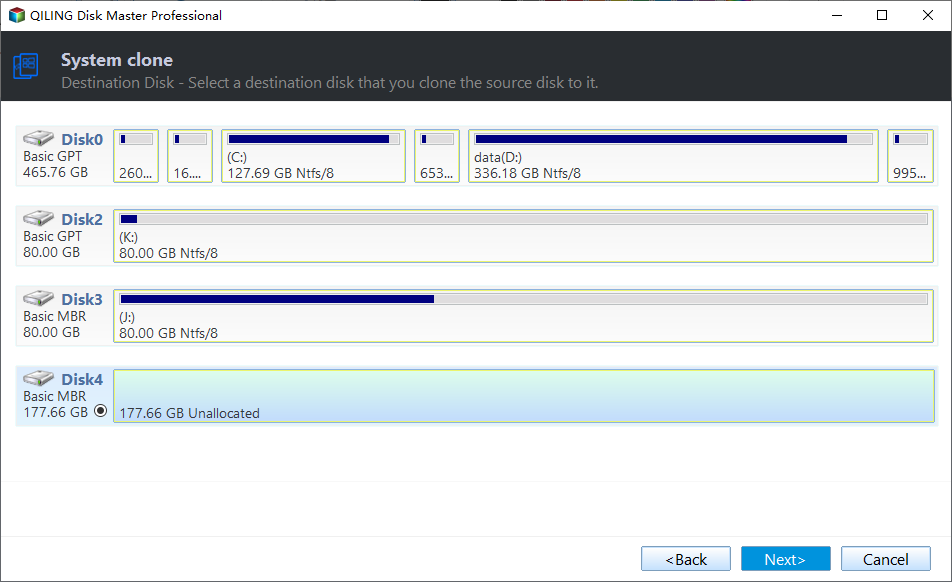
Step 3. Select the NVMe destination by model and capacity. Verify it is not the source disk, then click Next.
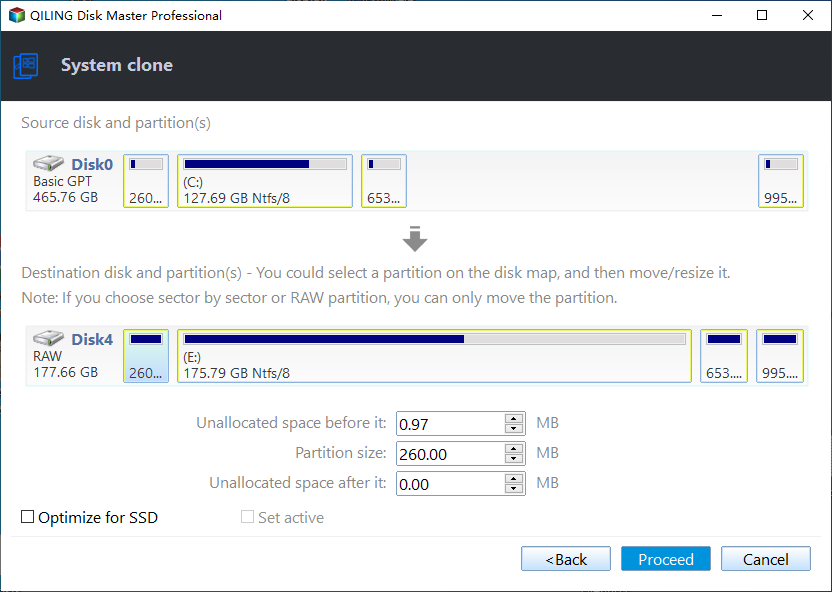
Step 4. Review the partition layout, enable Optimize for SSD if suitable, click Proceed, and confirm the overwrite warning. Wait for the task to finish.
Verify the internal NVMe boot
Shut down, install the NVMe internally, and select it in UEFI boot order. Temporarily disconnecting the old drive can help confirm that the new SSD is truly booting. Check Windows, applications, and files before reusing the old disk. For broader software options, see the NVMe cloning overview.
Related Articles
- Clone a Larger HDD to a Smaller SSD
Check capacity before a smaller-target migration.
Products
Articles & Tutorials
- Data Recovery
- Data Backup
- File Recovery
- File Backup
- System Backup and Restore
- Disk and Partition Clone
- Technical articles
- Mobile articles
- Disk Master Help
- Windows Data Recovery Tutorials
- Windows Secure Delete Tutorials
- Windows Partition Management Tutorials
- Windows File Backup and Restore Tutorials
- Windows System Backup and Restore Tutorials
- Windows Disk Backup and Restore Tutorials
- Windows Clone Tutorials