Burn ISO to USB in Windows 11: Bootable USB Guide
Burning an ISO to USB lets you install, repair, or recover Windows from a bootable drive. The process usually erases the USB drive, so copy important files elsewhere first.
Before Creating the USB
- Use an 8GB or larger USB drive for Windows installation media.
- Download ISO files only from trusted sources.
- Use GPT/UEFI for most Windows 11 PCs.
- Use MBR/Legacy only for older computers that do not support UEFI.
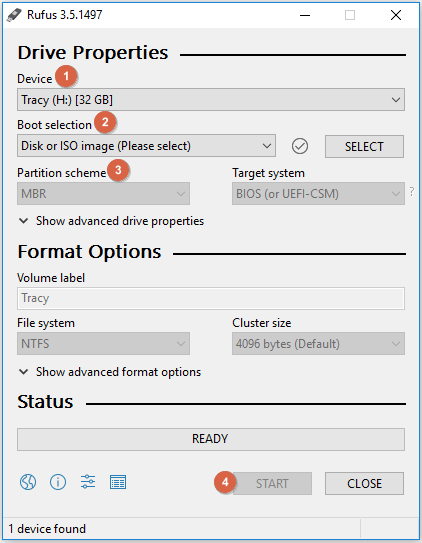
Use Windows Media Creation Tool
- Connect the USB drive to the Windows 11 PC.
- Open the Media Creation Tool and accept the license terms.
- Choose USB flash drive and select the correct USB device.
- Wait for the tool to download files and create the bootable drive.
- Restart the PC and choose the USB drive from the boot menu if you need to install or repair Windows.
Back Up the USB or System First
If the USB contains files or the PC is unstable, back up before creating bootable media. Qiling Backup can create a system image before reinstall or repair work.
Step 1. Open Qiling Backup and choose a system or file backup task.

Step 2. Save the backup image to an external disk that will not be formatted.
Step 3. Review the task and confirm the USB target is not your backup destination.

Step 4. Click Proceed, then create the bootable ISO USB after the backup completes.
Conclusion
Creating a bootable ISO USB is straightforward, but it overwrites the USB drive. Use the correct boot mode and keep a backup before reinstalling or repairing Windows.
Related Articles
Products
Articles & Tutorials
- Data Recovery
- Data Backup
- File Recovery
- File Backup
- System Backup and Restore
- Disk and Partition Clone
- Technical articles
- Mobile articles
- Disk Master Help
- Windows Data Recovery Tutorials
- Windows Secure Delete Tutorials
- Windows Partition Management Tutorials
- Windows File Backup and Restore Tutorials
- Windows System Backup and Restore Tutorials
- Windows Disk Backup and Restore Tutorials
- Windows Clone Tutorials