Storage Spaces Drive Not Visible to Clone Software on Windows
Windows Storage Spaces combines physical drives into a pool and presents a virtual disk to File Explorer. A cloning tool's physical-disk list may not show that virtual disk the way it shows a standalone SSD. Do not delete the pool or initialize a member drive just to make it appear in a clone list.
Identify the storage layer
Step 1. In Windows Settings, open System > Storage > Advanced storage settings > Storage Spaces, or use the Storage Spaces item in Control Panel. Record the pool, virtual disk, and drive letter. Menus vary by Windows version.
Step 2. Open Disk Management and compare the visible virtual volume with each physical disk's model and capacity. Confirm whether the data you need is on the Storage Spaces volume, a single member disk, or a separate ordinary drive.
Step 3. In Qiling Disk Master Pro, view the disks offered for clone without starting a task. If the Storage Spaces volume is missing from the physical-disk list, do not choose a similar-sized pool member as a substitute; a single member may not contain a complete readable copy.
Back up the accessible files
Step 1. If the Storage Spaces volume is accessible in File Explorer, choose Backup and Recovery > File backup. Select the folders on its drive letter directly in the source tree.
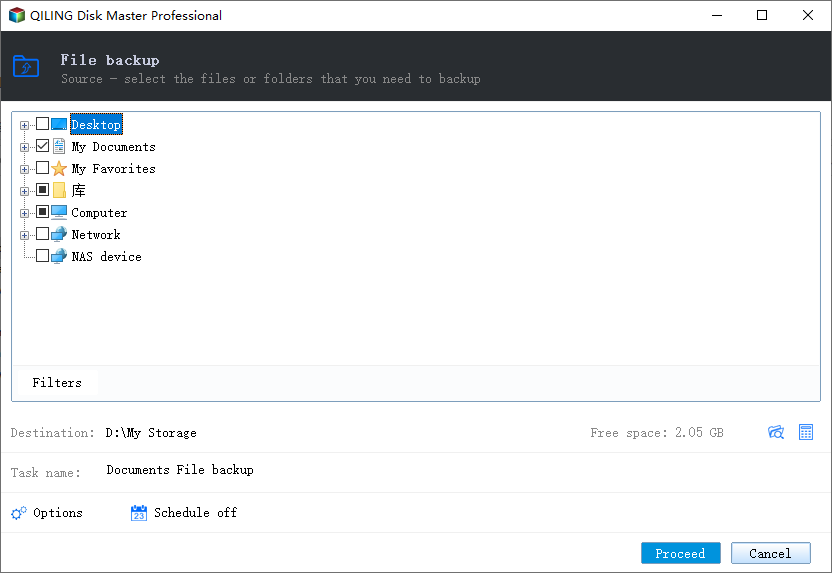
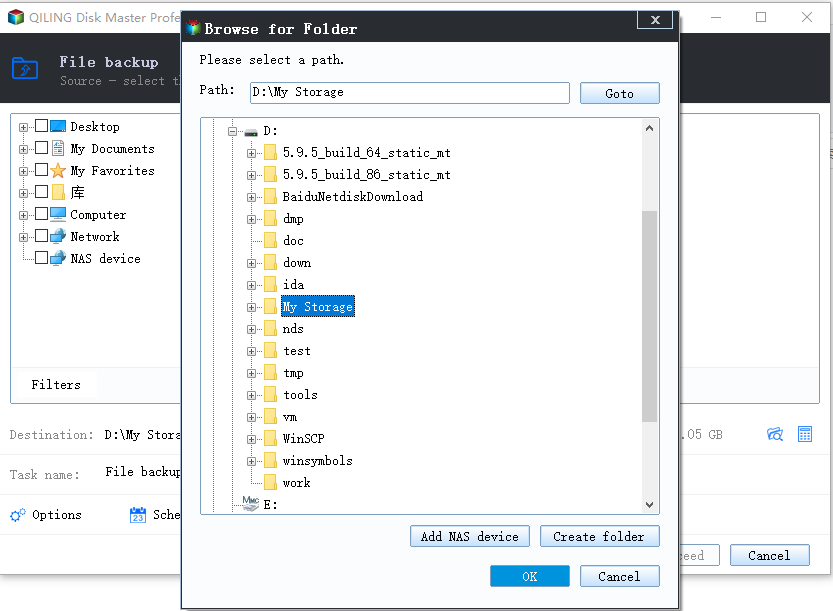
Step 2. Choose a separate destination that is outside the same storage pool. Check the displayed path and available space, click Proceed, and verify the backup by browsing its task or restoring a small sample to another folder.
If the virtual disk is offline or degraded, resolve the pool health issue using Windows Storage Spaces guidance before attempting file backup. For a full migration, plan a file-level restore to a new storage configuration; a raw clone of one pool member is not equivalent to migrating the virtual disk.
Related Articles
- Back Up to an External Drive
Choose a destination separate from the source storage. - Back Up a Multi-Partition Drive
Review partitions and backup scope before moving data.
Products
Articles & Tutorials
- Data Recovery
- Data Backup
- File Recovery
- File Backup
- System Backup and Restore
- Disk and Partition Clone
- Technical articles
- Mobile articles
- Disk Master Help
- Windows Data Recovery Tutorials
- Windows Secure Delete Tutorials
- Windows Partition Management Tutorials
- Windows File Backup and Restore Tutorials
- Windows System Backup and Restore Tutorials
- Windows Disk Backup and Restore Tutorials
- Windows Clone Tutorials