Surface Pro Black Screen: Fix Boot and Protect Data
Fix Surface Pro black screen with safe checks, boot repair, and backup steps before reset or reinstall.
What This Problem Usually Means
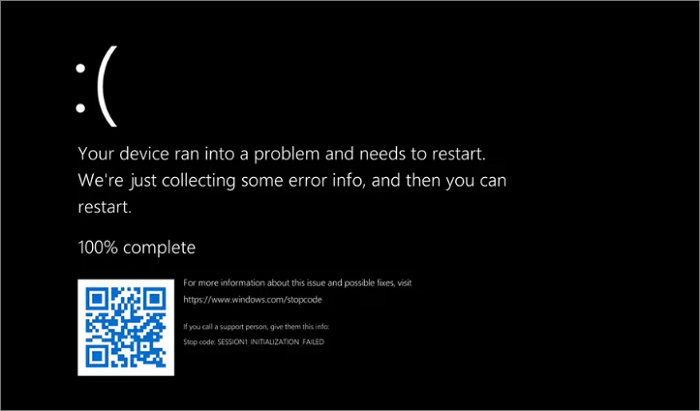
A Surface Pro black screen can come from a drained battery, display sleep, firmware trouble, Windows boot damage, BitLocker, or a failing SSD. The repair path depends on whether the device powers on, shows the Surface logo, or remains completely blank.
What to Check First
- Charge the Surface for at least 30 minutes with the original charger.
- Hold Power for 20 seconds, then try Power + Volume Up to enter UEFI.
- Disconnect docks, USB drives, SD cards, and external monitors.
- If UEFI opens, treat it as a Windows boot problem instead of a dead screen.
Repair Boot Problems with Qiling Disk Master
If Surface Pro black screen is caused by damaged boot files, an incorrect boot mode, or a disk layout problem, repair the boot environment before reinstalling Windows. Do not format the disk while important files may still be recoverable.
Before You Start
Step 1. Disconnect unnecessary USB drives, memory cards, and external disks. Leave only the system disk and the bootable repair media connected.
Step 2. Start the PC from Qiling bootable media or from another working Windows environment. Confirm the system disk is detected by model and capacity.
Step 3. If files are still accessible, make a disk or system backup first. Boot repair changes startup records and should not be your only recovery plan.
Method 1: Use Fix Boot for Startup File Errors
Step 1. Open the boot repair tool and choose Fix Boot when Windows exists on the disk but Windows Boot Manager, BCD, or startup files are damaged.
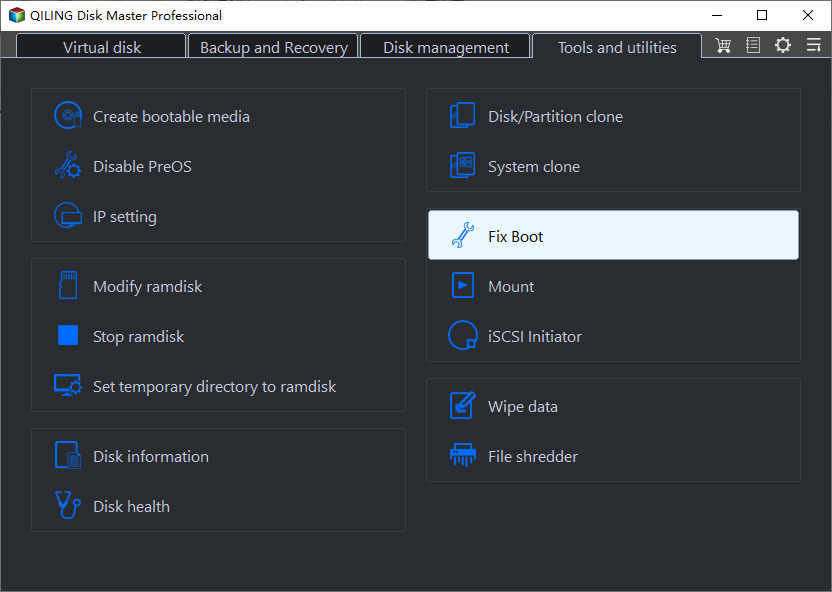
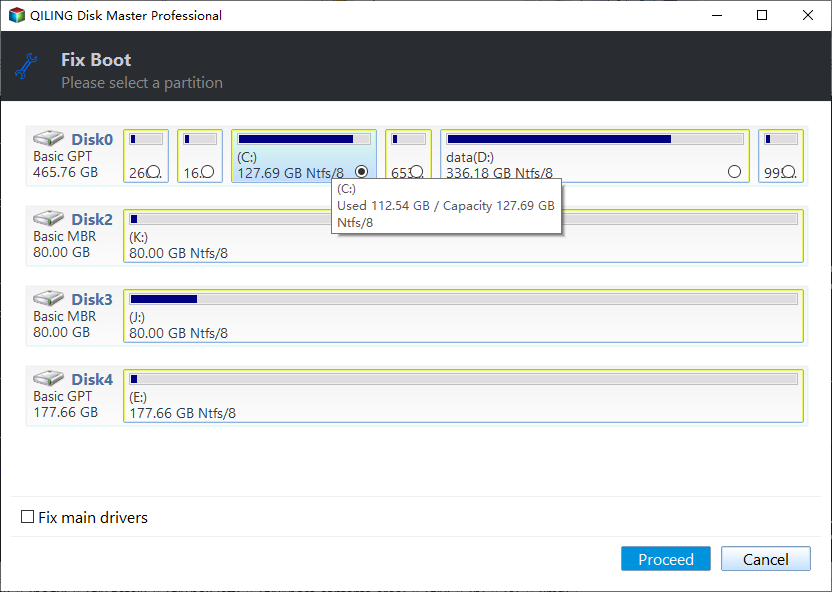
Step 2. Select the correct Windows disk and click Proceed. After the repair finishes, restart the computer and set Windows Boot Manager or the repaired disk as the first boot option.
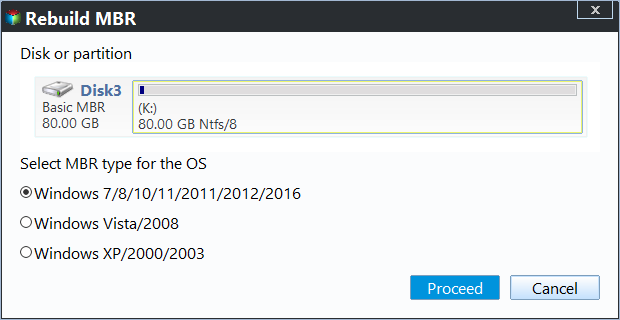
Method 2: Use Rebuild MBR Only for Legacy Boot
Step 1. Choose Rebuild MBR only when the disk uses MBR and the PC is configured for Legacy BIOS boot. For GPT and UEFI systems, use Fix Boot and check UEFI settings instead.
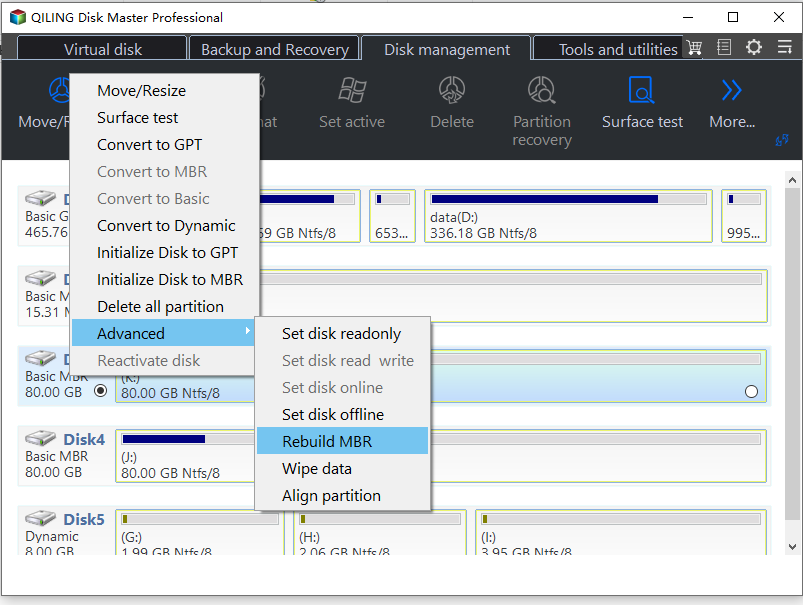
Step 2. Select the correct MBR type, review the target disk, and click Proceed. Restart and test the boot result.
Related Articles
- Windows Partition Management Tutorials
Find practical Windows partition guides for resizing, formatting, checking, converting, and repairing disks without unnecessary risk. - Windows System Backup and Restore Tutorials
Browse Windows backup and restore guides for system images, recovery drives, restore points, and safe repair preparation.
Products
Articles & Tutorials
- Data Recovery
- Data Backup
- File Recovery
- File Backup
- System Backup and Restore
- Disk and Partition Clone
- Technical articles
- Mobile articles
- Disk Master Help
- Windows Data Recovery Tutorials
- Windows Secure Delete Tutorials
- Windows Partition Management Tutorials
- Windows File Backup and Restore Tutorials
- Windows System Backup and Restore Tutorials
- Windows Disk Backup and Restore Tutorials
- Windows Clone Tutorials