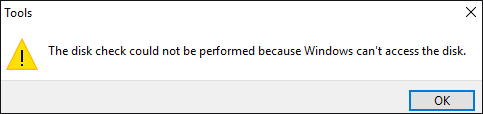
The Disk Check Could Not Be Performed" Solutions
Buying an external hard drive is a crucial investment for computer users, allowing them to back up important files and data or store files to take with them. However, issues can arise, such as an external hard drive not showing up on the computer or displaying an access denied error message.
The user's external hard drive shows 0 bytes when clicking Properties, and when attempting to run the disk check, Windows receives an error saying it can't access the disk.
If you have encountered the same problem, you can find solutions in this article. Keep reading and check more details.
| Workable Solutions | Step-by-step Troubleshooting |
|---|---|
| Fix 1. Check External Hard Drive Connection | Check the connection cable and USB port...Full steps |
| To change the drive letter of your external hard drive, there are two ways to do so. Firstly, you can simply disconnect your external hard drive, then go to the Disk Management console in Windows, right-click on the drive and select "Change Drive Letter and Paths". From there, you can select a different drive letter from the list of available letters. |
1. Change Drive Letter in Disk Management...Full steps 2. Use Free Software to Change Drive Letter...Full steps |
Method 1. Check External Hard Drive Connection
This error message can occur if the external hard drive has a poor connection with your computer. To resolve this, check the connection cables and the USB port to ensure they are securely connected.
If Windows can’t access your external hard drive, try swapping the cable or plugging it into a different USB port to see if the issue persists. If both the cable and port are functioning correctly, try troubleshooting by checking the drive's power source, restarting your computer, and ensuring the drive is properly formatted. If none of these steps resolve the issue, consider reinstalling the drive's drivers or seeking further assistance.
Method 2. Two Ways - Change the Drive Letter of Your External Hard Drive
Windows may not be able to access your disk due to a mismatch or inconsistency with the default drive letter, especially if you've recently plugged in a new drive. When you add a new drive, the system assigns a new drive letter, and if there's a conflict with the existing drive letter, you may receive the error message "The disk check could not be performed because Windows cannot access the disk."
To resolve the issue of a drive letter being assigned to a partition that's not the correct drive, you can change the drive letter using either the Disk Management tool in Windows or a third-party partition manager like Qiling Partition Master. This can be done by accessing the Disk Management tool or using Qiling Partition Master to assign the correct drive letter to the partition.
#1. Change Drive Letter in Disk Management
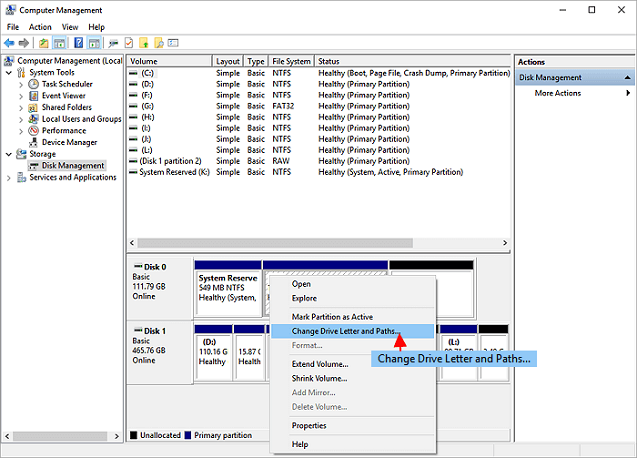
Step 1. Right-click the Windows icon, and select Disk Management to enter.
Step 2. In the Disk Management console, right-click on your external hard drive.
Step 3. Choose Change Drive Letter and Paths.
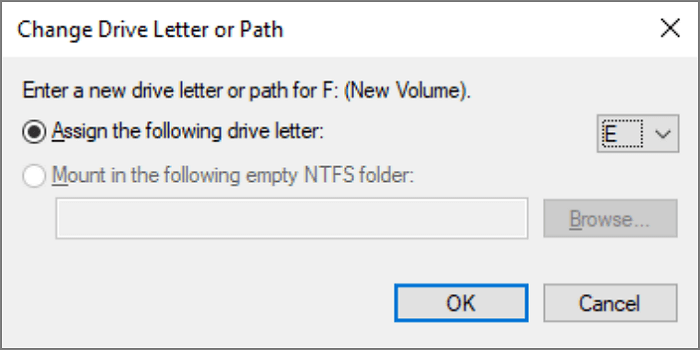
Step 4. To change the letter, click on the "Change" button, select a new letter from the drop-down menu, and then click "OK" to confirm the change.
After changing the drive letter, restart your computer and check the Properties again, or run CHKDSK again to see if Windows can access your disk.
#2. Change Drive Letter with Qiling Partition Master
You can use the free tool Qiling Partition Master to change drive letters and perform a disk check, making it easier to manage partitions with its simplified interface and operation. Even if you have basic partition knowledge, you can use this tool to resize partitions, format partitions, check partition, and wipe partition data.
You can download the Qiling Partition Master for free and use it to change the drive letter, following the guide.
Step 1.To change the drive letter of a partition, you can use Qiling Partition Master. Simply run the program, right-click on the target partition, and select the option to "Change Drive Letter".
Step 2. To change the drive letter of a partition in the new window, select the partition and click the down arrow next to the drive letter, then choose a new drive letter from the drop-down menu and click "OK" to apply the change.
Bonus Tip: Run Check Disk with Qiling Partition Master
Qiling Partition Master not only helps you change the drive letter of an external hard drive but also allows you to perform disk checks with ease. Unlike the usual process of opening the Windows Command Prompt and entering multiple command lines, this tool enables you to check and fix partition errors with just a simple click. The detailed steps for this process are also available.
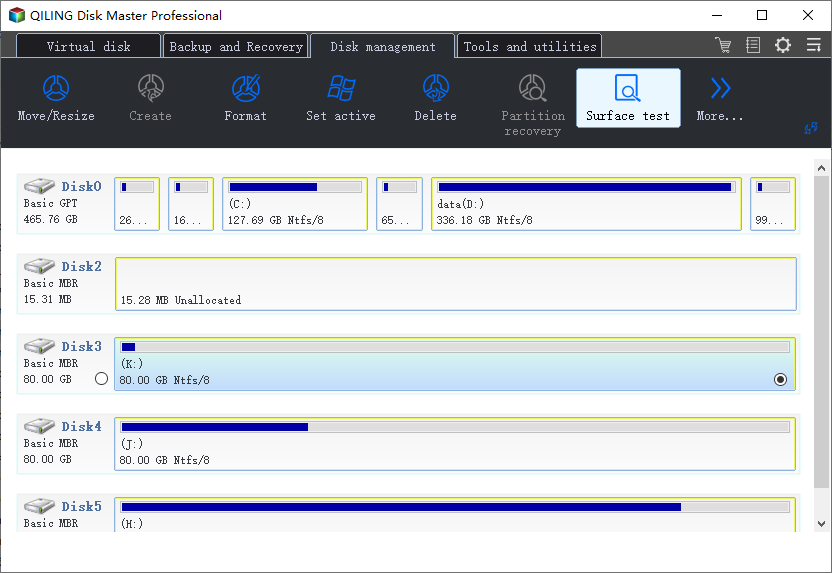
Step 1. To check the health of a partition on your computer using Open Qiling Partition Master, simply open the software, locate the disk containing the partition you want to check, click on the partition, and select the "Surface test" option.
Step 2. In the Check File System window, selected and click "Proceed".
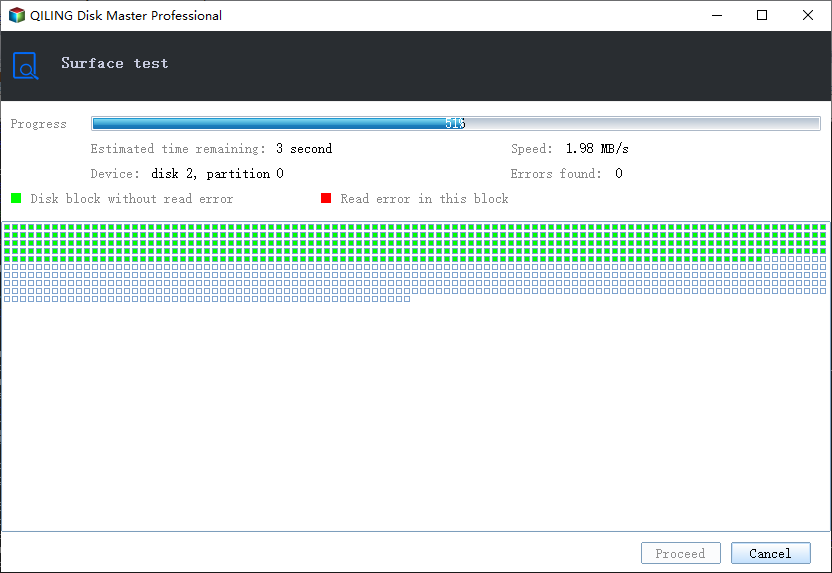
Step 3. The software will start scanning your partition file system on your disk.
The Bottom Line
If you're experiencing the "The disk check could not be performed because Windows cannot access the disk" issue, try checking the connection between your external hard drive and computer, then try changing the drive letter to resolve the problem.
If you need to run the chkdsk command to check the disk and fix errors, it's essential to recover the data from the target drive to a safe location first. This is because running chkdsk can reconstruct the data structure, potentially causing data loss and making it unrecoverable.
Related Articles
- Format USB Drive to NTFS in Windows 10 (All 4 Ways)
- The 7 Best Disk Partitioning Tools Free Download for Windows 11/10 [2022]
- Resolve 100% Disk Usage in Windows 11
- What Is Command Prompt, How Do I Open and Use It [2022 Guide]
- How Do I Perform Windows Password Reset with USB? 2024 Guide
If you want to reset your Windows password with a USB but don't know how then this article is for you. Continue reading as we share all the methods that you could use to reset your Windows password. - Solved: Windows Recovery Environment Servicing Failed.
If you're encountering the Windows recovery environment servicing failed. (CBS_E_INSUFFICIENT_DISK_SPACE) error while updating the Windows KB5034441 patch, this guide will help you extend the recovery partition and resolve the issue.