Change File Extension One-by-One and in Bulk
The installed applications on your computer can only open specific files, such as PNG images or PPT files, but not others like JPGs or PPTX. To open these files, you need to change their file extension to the corresponding one, which can be done in Windows 10.
What is File Extension
The file extension, also known as a filename extension, is a suffix at the end of a computer file. It's part of the complete file name, which includes both the file name and extension, separated by a dot. The operating system uses file extensions to determine which application to open when a file is double-clicked.
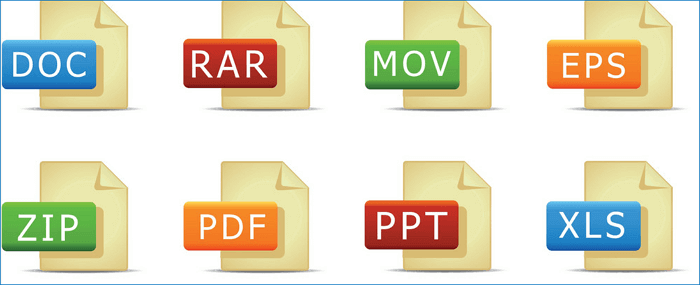
There are, like hundreds of existed file extensions. Below we have listed some common file extensions.
PNG stands for Portable Network Graphics, a lossless image file format.
HTML, short for HyperText Markup Language, is the standard markup language used to create web pages. It is the backbone of any website, allowing users to structure and format content, images, and other media on the web. HTML is used to define the different elements of a web page, such as headings, paragraphs, links, images, and more, making it the fundamental language of the web.
PDF stands for Portable Document Format, a file type originated by Adobe that maintains formatting in distributed documents.
EXE: An executable format used for programs you can run.
The original Microsoft Word document file extension was DOC, but it was later changed to DOCX in 2007, when Word documents transitioned to using the XML format.
XLSX is a file format used by Microsoft Excel, a spreadsheet program. It was introduced in 2007 as a replacement for the older XLS format, and it has since become the standard for saving Excel files. XLSX files are actually a type of ZIP archive, containing multiple XML files that describe the spreadsheet's structure and data.
How to Change File Extension in Windows 10
To change the file extension, follow these steps: open the file in a text editor or a word processor, then save it with a new file name and extension using the "Save As" option, selecting the desired file type from the drop-down menu, and finally, clicking on "Save" to apply the changes. This way, you can change the file extension by yourself without needing any additional software or technical expertise.
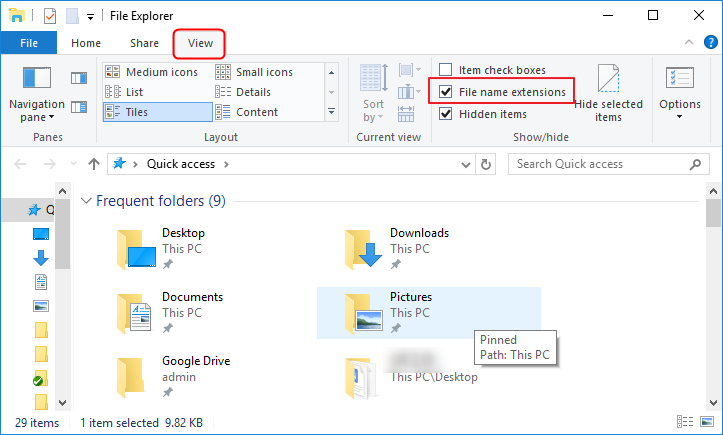
Step 1. Open Windows File Explorer.
Step 2. Click the "View" tab. Tick the "File name extensions" option.
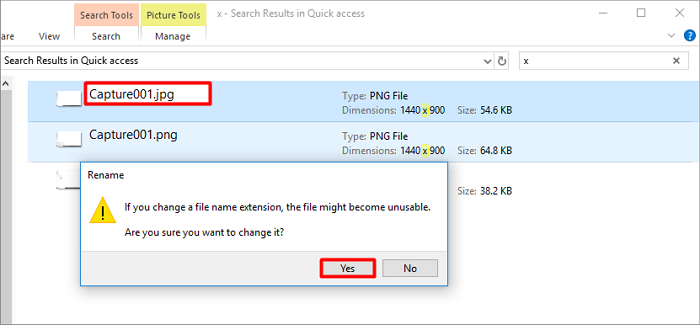
Step 3. To change a file's extension, right-click the file, select "Rename", and replace the existing extension with the desired new extension. For example, if you want to change a file from ".txt" to ".
How to Change File Extension in Bulk
The first method allows users to change file extensions one by one, but what if you want to change several file extensions at once? We're curious about this question and wonder if there's a method that can accomplish this task all at once.
Unfortunately, NO.
We've tried using the method of selecting all files and right-clicking to bulk change the file extension, but unfortunately, it doesn't work. Even though you can select all the files, Windows will prompt you for confirmation each time you change a file extension, making it a tedious and time-consuming process.
You're saying that the methods pages are suggesting to change file extensions in bulk are actually not valid.
Bonus Tip: How to Check File System in Windows 10
After learning how to change file extensions, you may want to explore a handy tool that not only helps you check and fix system errors but also enables you to manage partitions with ease.
Checking for disk errors can help prevent unknown hard disk troubles and troubleshoot disk read errors, storage-related errors, and even system boot problems, and is also essential for managing a new hard drive.
Qiling Partition Master Free version is a tool that allows users to check and fix file systems with ease, using a few clicks. It also supports resizing, moving, merging, and copying disks or partitions.
The Bottom Line
To change the file extension in Windows 10, you can follow the steps outlined in this article. If you're having trouble, don't hesitate to try the FREE Qiling Partition Master, which can help you fix your problem. The process is straightforward and should be completed in no time.
Related Articles
- How to Format 64GB SD Card/USB Flash Drive to FAT32
- Free FAT32 Formatter Tool
- How to Fix PS3 Can't Read NTFS USB Drive
- How to Fix 'Can't Extend Volume' in Windows Server [2022 Guide]
- Fix 'The Specified Disk Is Not Convertible' Error in Windows
- How to Format 128GB USB Flash Drive to FAT32
- Fixed | System Image Restore Failed 0x80042412 in Windows 7/8/10
If you encountered system image restore error 0x80042412 in Windows 7 or 10, what could be the reason? How to fix it? Here you'll find several solutions along with an alternative to restore system image without such errors.