File History Not Working After a Windows Update
A Windows update may coincide with a disconnected backup disk, a changed drive letter, a full destination, or a File History task that has stopped running. Start by checking the time of the last successful backup. Do not delete the old File History folder while diagnosing the problem; it may contain your only earlier versions.
Find out whether File History is still saving files
Open Control Panel, choose System and Security > File History, and inspect the displayed destination and last run. Open the destination in File Explorer to confirm that the drive is accessible and has space. Try restoring a small, older file to a different folder. A green status alone does not prove that recent files were captured.
If Windows shows a reconnect warning, use the Windows 11 File History drive reconnect guide. If the drive makes unusual noises, repeatedly disconnects, or reports I/O errors, stop writing to it and examine the hardware before restarting backup.
Repair the task without discarding old versions
Step 1. Reconnect the original backup drive directly to the PC and confirm its volume label and capacity in File Explorer. If File History points to a different drive, select the correct existing destination in its settings.
Step 2. Check that the folders you need are included and that the destination is not full. Run Run now in File History, then inspect the latest backup date and open a backed-up file.
Step 3. If the task still fails, install the latest applicable Windows quality update, restart, and try again. Microsoft documented and later fixed a File History issue in the Windows 11 26H2 update series. Check your actual Windows build before assuming that issue applies to your PC.
Make an independent Qiling file backup
While File History is unreliable, Qiling Disk Master can protect selected folders to another physical drive. This does not repair File History or automatically import its old versions; it creates a separate current backup.
Step 1. Attach a healthy destination disk. In Qiling Disk Master, open Backup and Recovery and choose File backup.
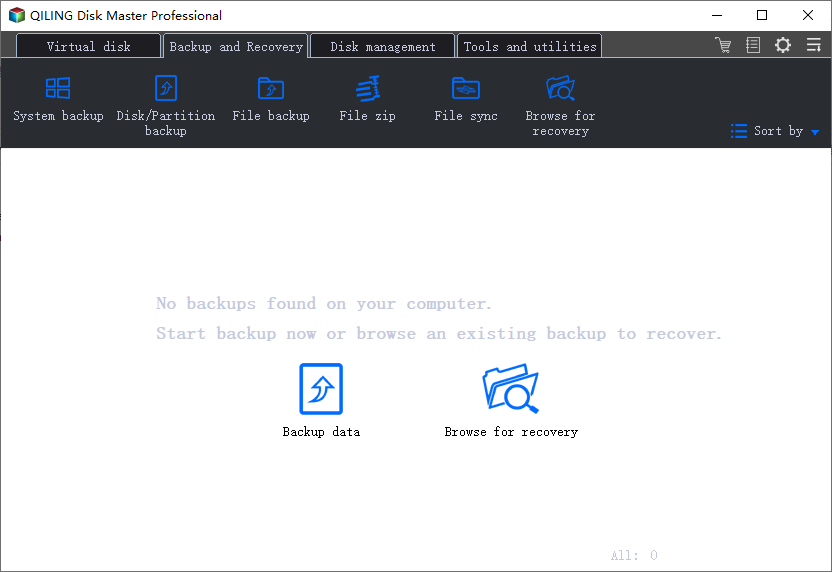
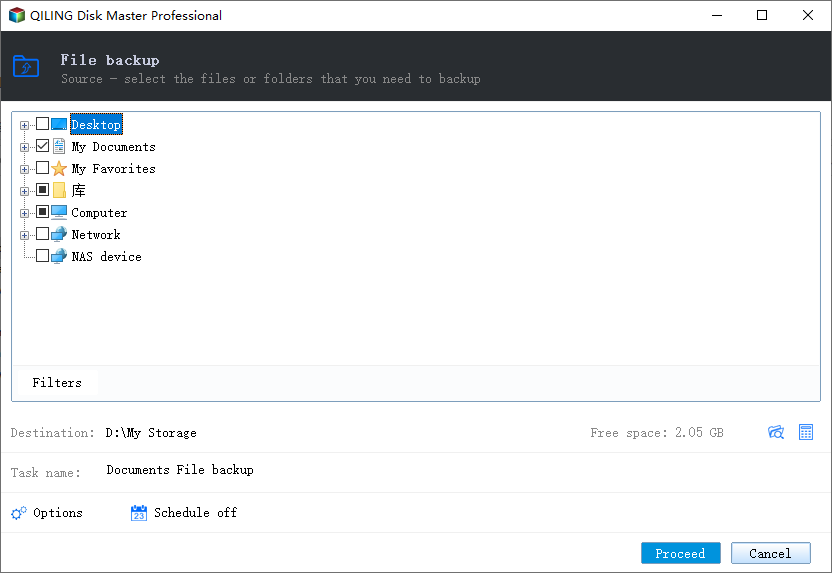
Step 2. Select the folders that actually contain your documents and photos in the source tree; include nonstandard folders if you use them.
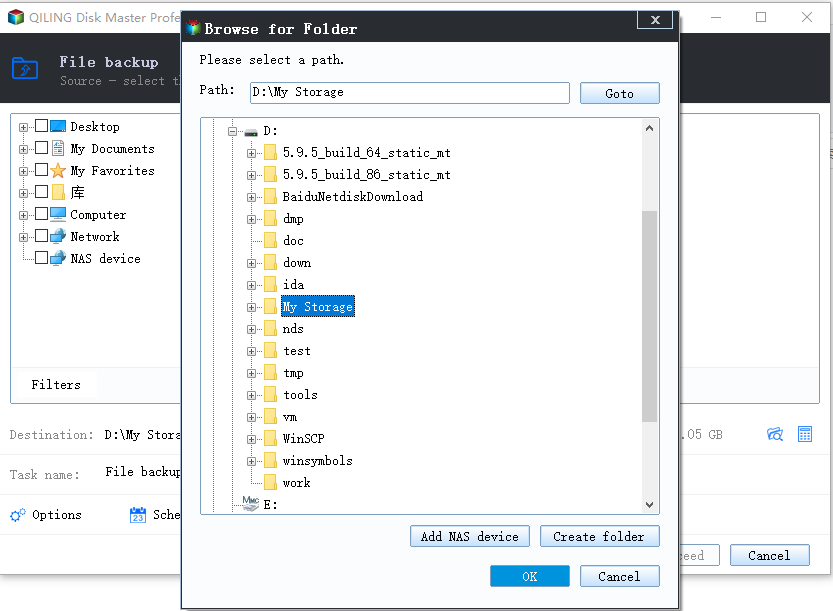
Step 3. Open the destination browser and choose a folder on the healthy external drive, not another folder on the affected source disk. Confirm the drive name and available space before clicking OK.
Step 4. Review the source and destination, click Proceed, and keep the drive connected until the task finishes. Confirm the completed status, then restore a test file to a different location.
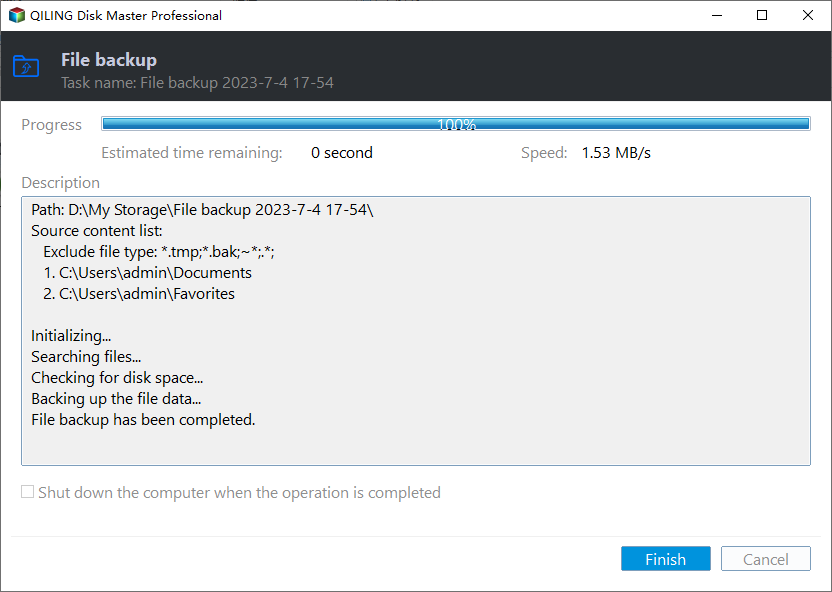
Verify that the new backup can be used
Find the completed backup task and restore one test file to a different folder. Compare its contents with the original. Continue troubleshooting File History only after you have a verified independent copy. A system image is a different task if you also need Windows and installed applications restored.
Related Articles
- More File History Fixes
Additional causes and Windows troubleshooting steps. - Back Up Windows 11 to an External Drive
Choose between file backup and a system image.
Products
Articles & Tutorials
- Data Recovery
- Data Backup
- File Recovery
- File Backup
- System Backup and Restore
- Disk and Partition Clone
- Technical articles
- Mobile articles
- Disk Master Help
- Windows Data Recovery Tutorials
- Windows Secure Delete Tutorials
- Windows Partition Management Tutorials
- Windows File Backup and Restore Tutorials
- Windows System Backup and Restore Tutorials
- Windows Disk Backup and Restore Tutorials
- Windows Clone Tutorials