How to Create a Dell Recovery Disk for Windows 7/8/10/11 (Three Ways)
Why Need to Create a Dell Recovery Disk?
If you're a Dell computer user, you may need to create a recovery disk to restore your system or reset it to factory settings in case of a problem, such as a system crash, malware or virus attack, or other issues.
If your Dell computer encounters problems and you don't have a recovery partition, a recovery drive can be a lifesaver. It allows you to troubleshoot and fix issues, even if your computer won't start, by providing access to recovery tools. Additionally, a recovery disk can also help you free up storage space, making it a necessary tool for Dell laptop users.
How to Create Recovery Disk for Dell Laptops with 3 Available Ways
Then let's see how to back up your Dell computer. You can use many methods to create a recovery disk for your Dell laptops. Here, I will show you how to create a recovery USB for your Dell users.
- Solution 1. Create Dell Recovery Disk Using OS Imaging Software
- Solution 2. Create Recovery Drive for Dell Computer Using Dell Backup and Recovery
- Solution 3. Create Dell Recovery USB with Windows Built-in Tool
Solution 1. Create Dell Recovery Disk Using OS Imaging Software
Creating a recovery disk allows you to make a bootable recovery drive or deploy the system to a new computer. This can be achieved by creating a system image, which can be done using professional backup software like Qiling Backup, allowing you to create a system backup for your Dell laptop.
Qiling Backup Home is a professional, easy-to-use backup solution that meets diverse backup needs, including system, disk, partition, and file backups, and can also be used for Dell backup and restore in Windows 10, with the option to create automatic backups.
To create a recovery drive using OS imaging software, you can follow these steps. First, download and install the software, such as Windows 10's built-in tool or a third-party app like Qiling.
Step 1. Launch Qiling Backup on your computer, click System Backup on the home screen, and start the backup process.

Step 2. Your Windows operating system information and all system-related files and partitions will be automatically selected, so you don't need to manually select anything at this step. Next, you'll need to choose a location to save the system image backup by clicking on the illustrated area.

Step 3. The backup location can be another local drive on your computer, an external hard drive, network, cloud, or NAS. We recommend using an external physical drive or cloud to preserve system backup files.

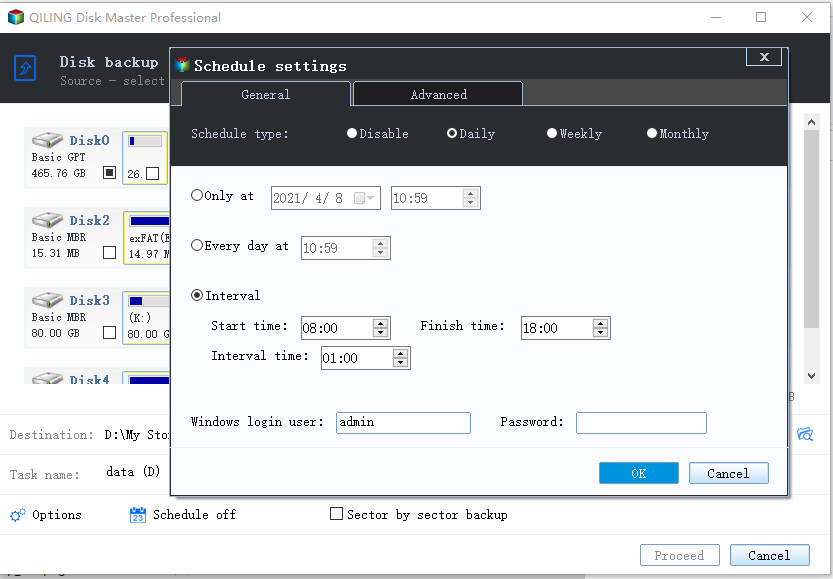
Step 4. The Windows system backup process can be customized with settings such as enabling an automatic backup schedule for daily, weekly, monthly, or upon an event, and making a differential and incremental backup, all accessible through the Options button. Upon selecting the desired settings, clicking "Proceed" initiates the backup process, which is then displayed on the left side in a card style once completed.
Solution 2. Create Recovery Drive for Dell Computer Using Dell Backup and Recovery
Dell Backup and Recovery allows Dell laptop users to back up and restore their operating system, create a recovery disk, and back up specific files, making it a convenient solution for Dell users in Windows 10.
To create a recovery disk using Dell Backup and Recovery, start by launching the Dell Backup and Recovery application on your computer. Then, click on the "Tools" tab and select "Create a System Image" or "Create a System Repair Disc" depending on your preference.
Step 1. To use Dell Backup & Recovery, download and install the software from Dell's official site. If you already have a copy installed, you can skip this step.
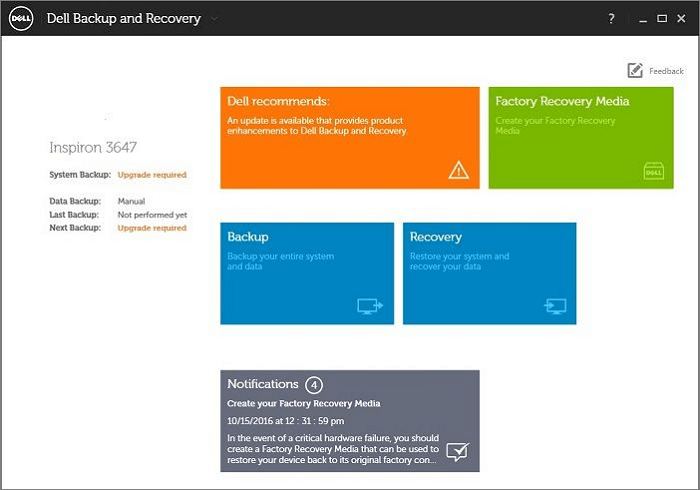
Step 2. Launch the Dell Backup and Recovery.
Step 3. In the main interface, select Reinstall Disk/Rescue Disk.
Step 4. Select either a USB flash drive or a disc. After selecting it, click on Continue. Make sure your USB flash drive has enough space.
Step 5. Then connect the USB flash drive to your computer.
Step 6. Click on Start to continue.
Step 7. If you use a USB flash drive, it will warn you that the data on the USB flash drive will be erased. Make sure you've backed up your data before proceeding. Then, click Yes to continue.
Step 8. Wait patiently for the backup process to be finished.
Solution 3. Create Dell Recovery USB with Windows Built-in Tool
Microsoft recommends creating a recovery drive using the built-in tool on Windows computers, allowing users to create a recovery USB or system repair disc to restore the computer from a system image in case of a problem.
To create a recovery drive in Windows 10, start by inserting a blank USB drive into your computer. Then, go to the Settings app and click on "Update & Security.
Step 1. Connect a USB drive or an external hard disk to your computer, ensuring the USB drive is larger than 8GB.
Step 2. In Windows 10, type recovery drive in the search box.
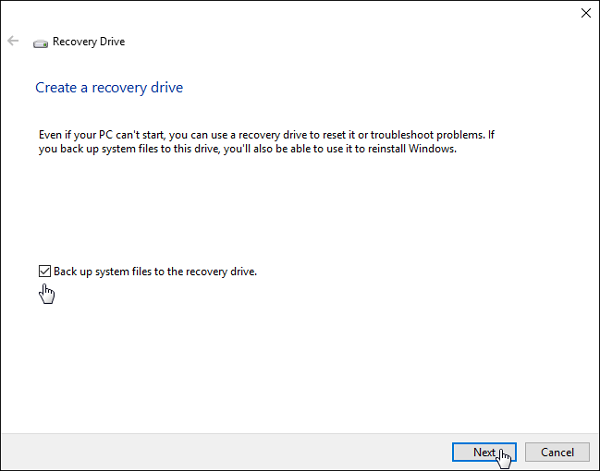
Step 3. Check the box next to "Back up system files to the recovery drive" and click on "Next" to proceed.
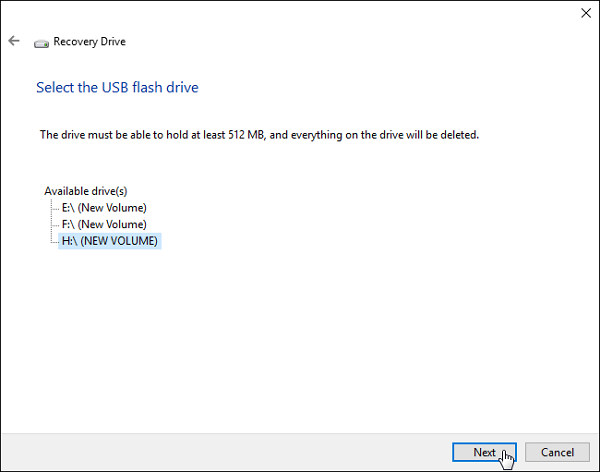
Step 4. Insert the drive into the computer, select it and click on Next.
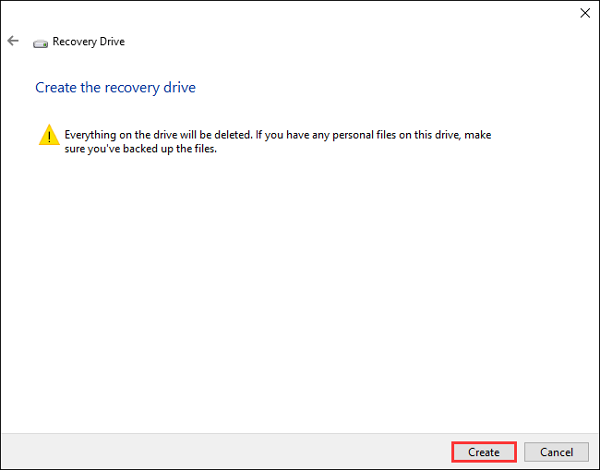
Step 5. You will receive a warning that everything on the drive will be deleted. Therefore, you'd better back up the drive before clicking on Create to continue.
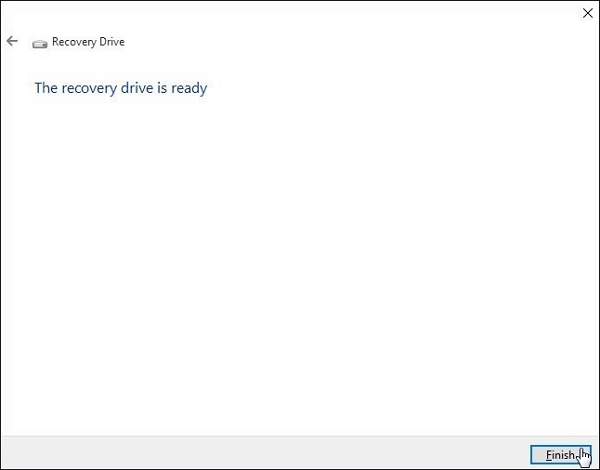
Step 6. To create a recovery drive, the process will start and you'll need to wait until it's finished. Once it's done, click on "Finish" to close the window.
A Comparision of the Three Ways of Creating Dell Recovery Drive
Creating a Dell recovery disk can be achieved through various tools, including Qiling Backup, Dell Backup and Recovery, and Windows built-in tools. However, there are some important considerations to keep in mind.
Dell Backup and Recovery is preinstalled on Windows 7 or 8 Dell laptops, but requires download or update on Windows 10 Dell laptops. It's exclusive to Dell computer users, while Windows native tools are free for all Windows users, though sometimes creating a recovery drive on a new Dell with Windows 10 can be an issue.
Qiling Backup is a solution that can run on various Windows systems, including Windows 11/10/8/7, and offers different types of backups, such as full, incremental, and differential backups, as well as automatic file backups and a 250G free cloud storage option.
Final Words
Creating a Dell recovery disk Creating a Dell recovery drive is crucial for Dell computer users, as it enables booting and performing rescue actions when the computer is unbootable. To create a recovery drive, you can utilize Qiling Backup, Dell Backup and Recovery, or the Windows 10 built-in tool. However, we recommend using Qiling Backup, as it offers additional features beyond creating a recovery disk.
FAQs
1. Should I create a system repair disc?
In most cases, you don't need a recovery disk or system repair disc. If a Windows computer fails to start, it may automatically boot from the recovery partition on the third restart, giving users access to advanced startup options, which provide the same tools as a recovery drive.
2. Is system repair disc same as recovery disc?
You don't need both a USB drive and a DVD reader/writer as they serve the same purpose. A USB drive is likely the better option for most people, being less prone to damage and faster for data transfer.
3. Where is Dell recovery partition?
To access the Dell recovery partition, go to the Storage menu and choose "Disk Management". In the Computer Management window, a list of storage drives will appear in the center section, and the hidden Dell recovery partition will be listed in the Volume field under Recovery.
Related Articles
- (2022 Roundup Review) Best M.2 SSD Cloner Software for Windows 11/10/8/7
- Download SanDisk Cloning Software to Migrate Data/OS (2021 Update)
- Solved 2022: Windows 10 File History Not Working
- How Do I Fix Windows 7 Backup Taking Forever Issue? Check the How-To Guide Here
- How to Use Windows Easy Transfer to Migrate XP to Windows 11/10
If you're looking for a professional tool to transfer your XP system to Windows 11 or 10, Qiling Disk Master is a great option. This software allows for a seamless transfer of your XP system to the newer operating system, making the process easy and hassle-free. - Windows Server 2016 Upgrade or Migrate to 2019/2022
Check solutions about Windows Server 2016 upgrade to 2019 or 2022. You can also get methods to upgrade Windows Server 2016 or migrate server 2016 to 2019/2022.