Windows 7 Create System Image USB Not a Valid Backup Location
Windows 7 Backup and Restore may reject a USB flash drive as a system image destination. The tool was designed around internal disks, external hard drives, DVDs, and network locations, so some removable USB drives are not accepted.
Check the USB Drive First
- Use an external hard drive or large USB SSD instead of a small flash drive.
- Format the drive to NTFS and make sure it has enough free space.
- Connect it directly to the PC, not through an unstable hub.
- Check the disk for file system errors before backup.
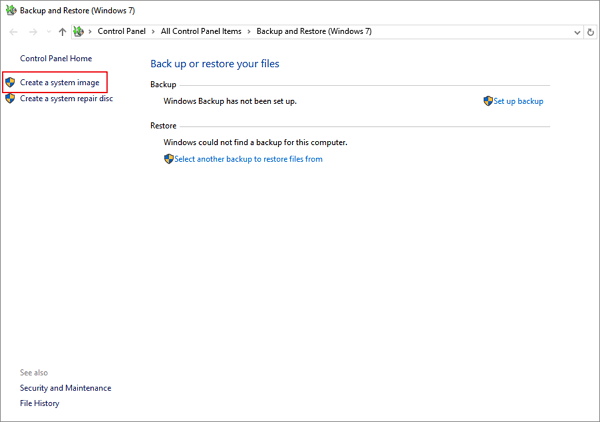
Create a System Image to USB with Qiling Backup
Step 1. Open Qiling Backup and choose System Backup. Required Windows partitions are selected automatically.
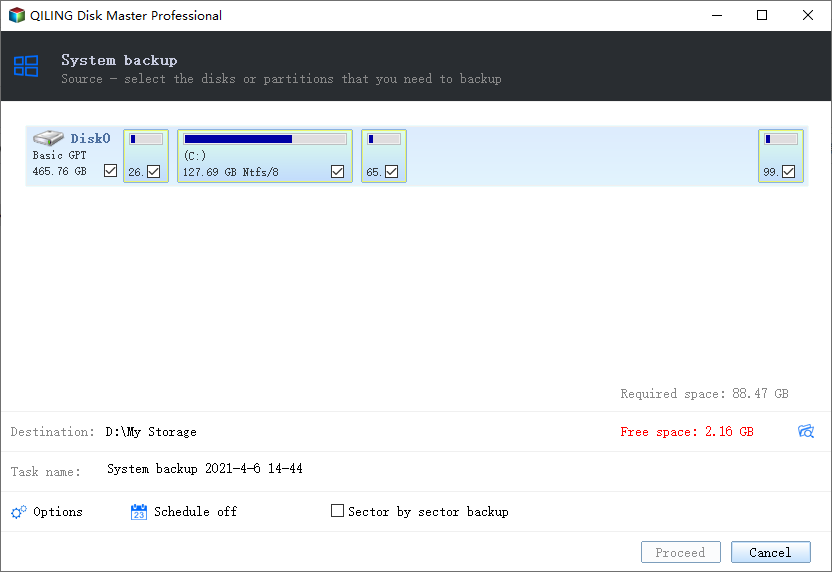
Step 2. Choose the USB external drive as the backup destination.
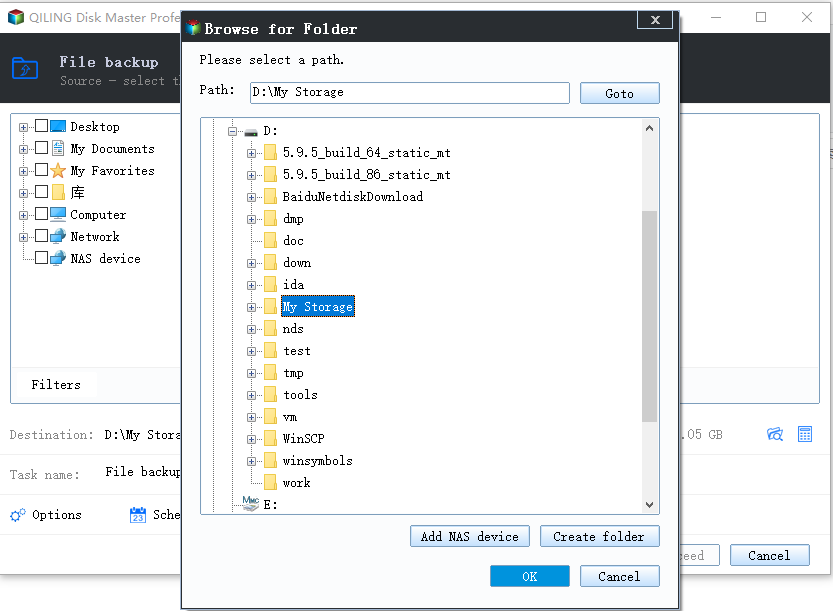
Step 3. Open Options if you want to compress the image, split the backup file, or add password protection.
Step 4. Click Proceed to create the Windows 7 system image.
Step 5. After the backup finishes, open the destination drive and confirm that the backup image exists. Keep the USB drive connected only when you need backup or restore.
Fix the Windows 7 Built-in Error Manually
- Use an external hard drive instead of a small removable flash drive if possible.
- Format the backup drive as NTFS because Windows system image backup does not work well with FAT32 for large image files.
- Open Disk Management and confirm the USB drive has one healthy partition.
- Try another USB port if Windows Backup cannot detect the drive correctly.
- If the built-in tool still rejects the drive, use Qiling Backup or save the image to another internal/external disk.
Conclusion
If Windows 7 says a USB is not valid for system image backup, check drive type and file system first. A backup tool can give you more flexible USB destination support.
Related Articles
Products
Articles & Tutorials
- Data Recovery
- Data Backup
- File Recovery
- File Backup
- System Backup and Restore
- Disk and Partition Clone
- Technical articles
- Mobile articles
- Disk Master Help
- Windows Data Recovery Tutorials
- Windows Secure Delete Tutorials
- Windows Partition Management Tutorials
- Windows File Backup and Restore Tutorials
- Windows System Backup and Restore Tutorials
- Windows Disk Backup and Restore Tutorials
- Windows Clone Tutorials