Does Upgrading to Windows 10 Delete Programs | Prevent Data Loss Now
Introduction
Windows offers an Upgrade Assistant program that helps in easy migration from an older version of Windows to Windows 10, ensuring files and programs are backed up and restored after the upgrade process. All backed up files are stored in the Windows.old folder, which remains available after the upgrade is complete.
Upgrading to a newer version of Windows may result in the removal of some third-party programs, files, and settings due to compatibility issues, requiring manual restoration post-upgrade, particularly for Windows 8, 7, XP, and Vista.
Windows 10 Upgrade may not delete files and programs, but abrupt failures, BSODs, or crashes can result in data loss, which is irreversible.
Upgrading is usually successful, but it's essential to back up your data before doing it, either manually copying files to an external drive or using software to back up or create an image for later restoration.
PAGE CONTENT:
Preparation Before Upgrading to Windows 10
How to Back Up Your Programs, Files, and Settings
How to Upgrade to Windows 10
Preparation Before Upgrading to Windows 10
Before upgrading your computer, it's crucial to take a backup of your programs, files, and settings using third-party software, and also ensure you have sufficient space available on your installation drive.
To create a backup of the first part of your system, you'll need software or a program that can create an image of your system drive. Ensure you have a flash drive or external drive with sufficient space, calculated based on the occupied space on your system drive.
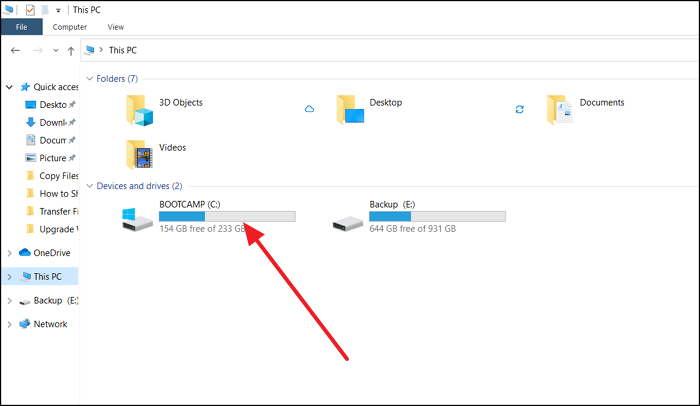
Windows Upgrade requires a minimum of 30 GB of free storage space on the system drive to proceed. If you're low on space, check the download folder and consider uninstalling unused applications to free up room for the upgrade. This ensures a smooth and successful upgrade process.
How to Back Up Your Programs, Files, and Settings
It's a good idea to take a backup of your programs, files, and settings after upgrading your operating system, in case you need to roll back and restore to the old OS. Using professional software like Qiling Disk Master can be helpful for this purpose.
Qiling Disk Master offers features for file transfer, backup/restore, system cleanup, extensive file cleanup, app management, and product key scanning.
The Backup and Restore feature allows you to create a copy of your data, which can be later restored to the same PC or another one, making it useful for data redundancy and disaster recovery.
- Restore application of old PC to new PC.
- Supports applications, pictures, music, document, user account, and settings.
- Compression technique to save space usage.
- To make the restore process a breeze, create a system image. This involves backing up your entire computer system, including the operating system, applications, and settings, to a single file.
Step 1. Create a backup file.
1. To back up your data, connect your USB (flash) drive or external hard drive to your source computer. Then, launch Qiling Disk Master and click on the "File backup" button within the "Backup & Restore" section on the main page.

2. Select location to move on.

3. To create a backup file, hover over the "Applications", "Files" and "Accounts" columns to select the specific data, applications, etc. that you want to include, then click "Proceed" to initiate the backup process.

Step 2. Recover via the created backup file.
1. To restore a backup, plug your USB drive containing the backup file into the target PC and open Qiling Disk Master. Then, click on the "Backup & Restore" page.

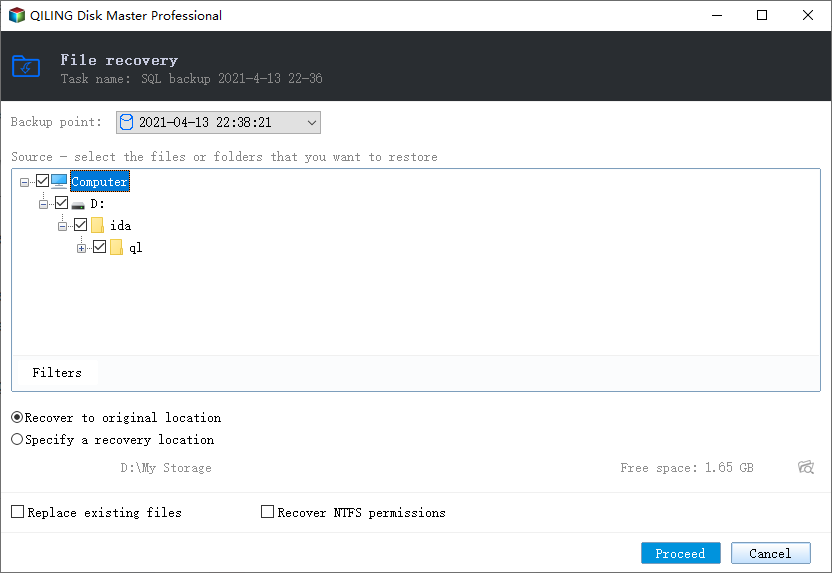
2. To select an image file, click the "Browse for old" button, locate the image file on your device, and click "OK". This will allow you to proceed to the next step.

3. Now, you can select Applications/Files/Accounts you want to restore.
To transfer data, go to Applications, Files, or Accounts and select the specific data you want to transfer. Click "Proceed" to confirm, or use the browse icon to change the target path to recover and save the files.
When upgrading from 32-bit to 64-bit, a full reinstallation is required. Additionally, some applications may need to be re-downloaded and re-installed after the file transfer, and if the destination file already exists, the folder will be renamed.
How to Upgrade to Windows 10
Step 1. Create a backup of all files and applications using backup software or create a system image to restore in case of failure, ensuring the system drive has enough storage space. A warning message will be displayed if the storage space is insufficient.
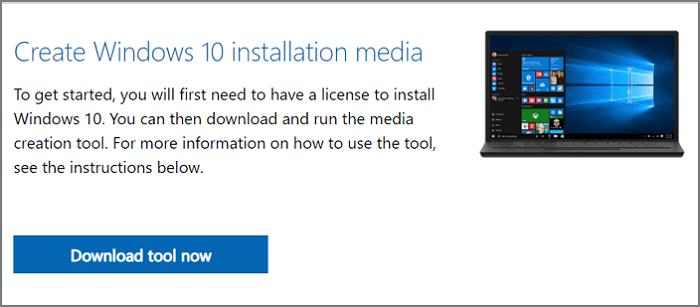
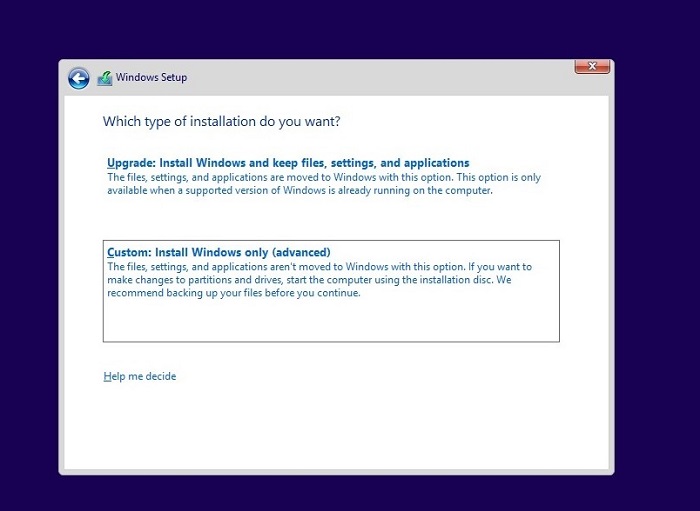
Step 2. To upgrade your Windows, download the Upgrade Assistant or Media Creation Tool from the Microsoft website. This will start the upgrade wizard, which will check if your system is compatible and take a backup of your existing files and folders. Alternatively, you can choose to do a clean install, but in this case, the wizard won't take any backup of your existing files.
Step 3. The PC will restart and the upgrade process will begin, displaying progress on the screen. Once complete, you can log in with your existing account credentials.
Before shutting down, make a final check to ensure everything is in order, including files and programs. If you notice anything missing, explore the Windows.OLD folder on the system drive to see if the files are there.
Bottom Line
Upgrading to Windows 10 can be a smooth process, but hardware issues or driver problems may cause it to fail, resulting in rollback, BSOD, or crashes. In such cases, data backup and system image are crucial, and tools like Qiling Disk Master can provide an easy and effective solution.
Related Articles
- How to Transfer Adobe Photoshop from Windows 10 to Windows 11 without Reinstallation
- A Step-by-Step Guide for Transferring Mozilla Firefox from Old PC to New PC
- How to Transfer Files from iCloud to PC [Full Guide]
- How to Transfer Opera with Bookmarks to a New PC
- Auto Backup Folders to USB Drive in Windows 10 (When Plugged in)
This tutorial demonstrates two methods for automatically backing up a folder to a USB drive, with the second method being the recommended approach if you don't want to constantly connect the drive. - Backup Active Directory on Server 2019 – Learn Top 2 Ways Here
Backing up Active Directory 2019 can be achieved in two simple ways. Windows Server Backup can be used to create a backup of the directory, or a third-party tool can be utilized to complete the task.