[2022 Update] How to Use Lenovo Migration Assistant and its Alternatives
| Workable Solutions | Step-by-step Troubleshooting |
|---|---|
| Lenovo Migration Assistant |
Mode 1: The Same Local Network...Full steps Mode 2: USB...Full steps |
| Alternatives of Lenovo Migration Assistant | Solution 1: Qiling Disk Master...Full steps Solution 2: Shared Folder...Full steps Solution 3: Email...Full steps Solution 4: Cloud device...Full steps |
Lenovo Migration Assistant is a tool that allows for fast and smart file transfer in Windows. It enables users to transfer files from one computer to another, making it easier to migrate data when upgrading or replacing a device. The tool is user-friendly and efficient, making it a convenient option for those looking to transfer files quickly and easily. Additionally, there are alternative tools available for file transfer, such as Windows Easy Transfer, which can also be used for this purpose.
What is Lenovo Migration Assistant
Ready to enjoy your new PC? Upgrade your computer is cool, but how to seamlessly migrate files and settings from the old one may confuse you. You may hear about Lenovo Migration Assistant but don't know how to use it.
Lenovo Migration Assistant is a software that helps transfer files and settings from an old PC to a new one, allowing users to log in with their Lenovo ID, and offering fast and user-defined migration options, with cloud-based migration capabilities, and compatible with Windows 7 and Windows 10.
You may want to download the migration assistant for transferring files and setting up your new computer. Go ahead and do that, and we'll guide you through using the migration assistant in the next part.
How to Use Lenovo Migration Assistant
To meet users' need to move data in Windows, Lenovo Migration Assistant prepares two modes for LAN users or USB users. It offers a simple and efficient way to transfer data from one computer to another, either via LAN or USB drive, allowing users to easily migrate their files, settings, and applications to a new computer.
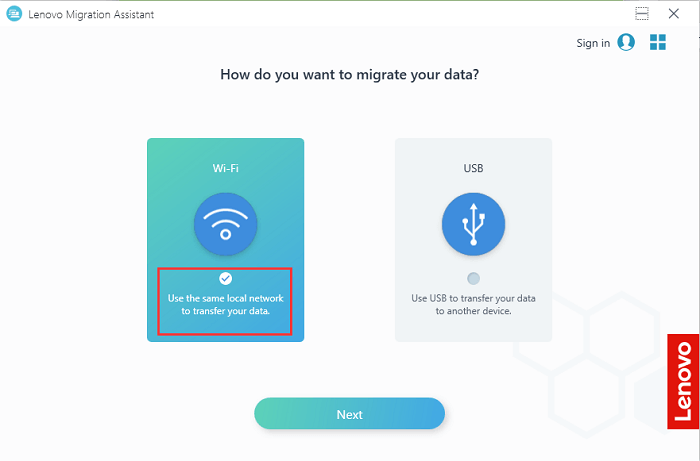
Mode 1: Use the same local network to transfer your data.
If your two PCs are on the same LAN network, Mode 1 is the recommended choice, allowing you to transfer files and other data between the two computers without the need for any external devices.
Step 1. Download and Launch the Lenovo Migration Assistant on both PCs.
Step 2. Choose the WiFi option on the left side and click Next.
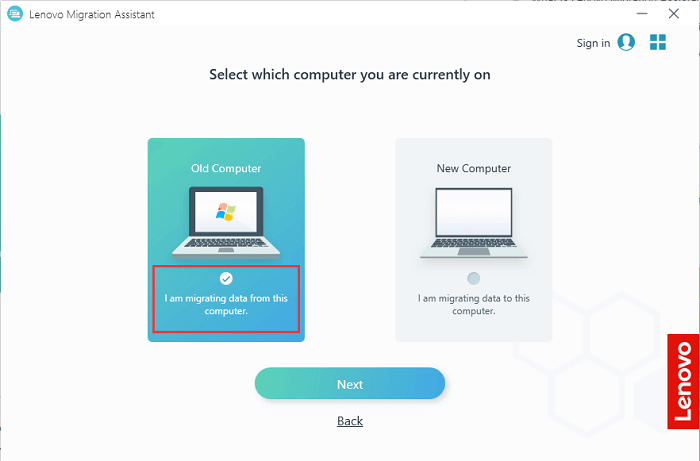
Step 3. Choose the computer you're currently using, then click Next. If you're on the local PC, select "Old Computer", if you're on the remote computer, select "New Computer".
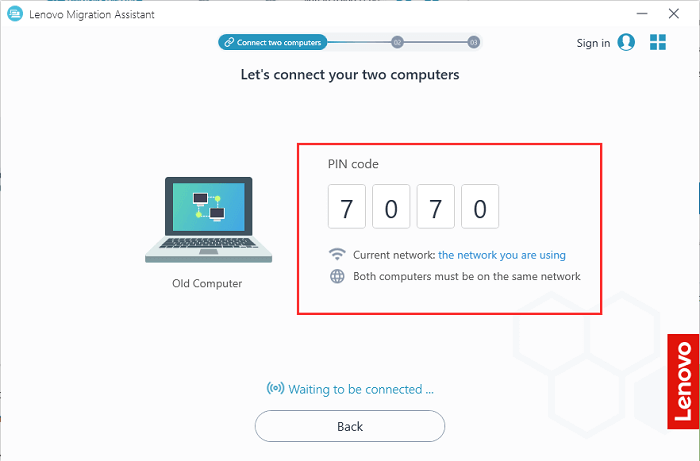
Step 4. You can see a PIN code on the target PC, which you should file for future use when connecting to it.
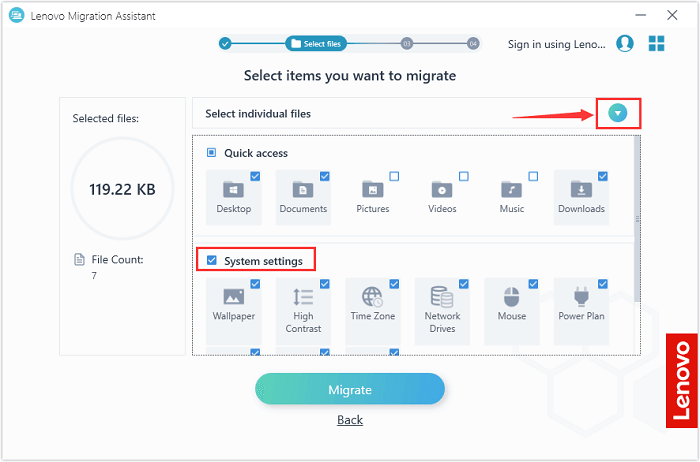
Step 5. After connecting two computers, you can choose the items you want to transfer.
You can choose between Quick Access or System Settings to customize your preferred files or settings, or select the arrow icon to choose more individual files.
Step 6. Lenovo Migration Assistant will migrate the selected data.
- Tip
- The files transferred from the old PC will be saved in the same storage path on the new PC.
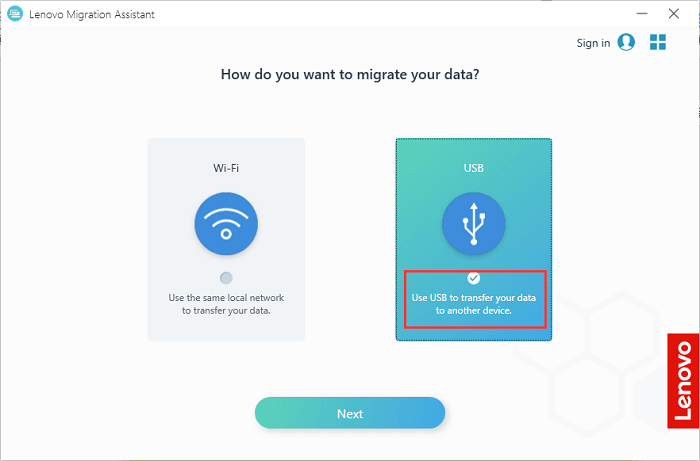
Mode 2: Use USB to transfer your data to another device.
If your two devices are not on the same network, you can use USB to migrate data with just one click, saving you time compared to copying and pasting.
Step 1. Download and Launch the Lenovo Migration Assistant on both PCs.
Step 2. Connect your USB to the source computer and select the USB option.
Step 3. To create a backup, select the option "Create a backup" and then click "Next" to back up files from your computer to a USB disk.
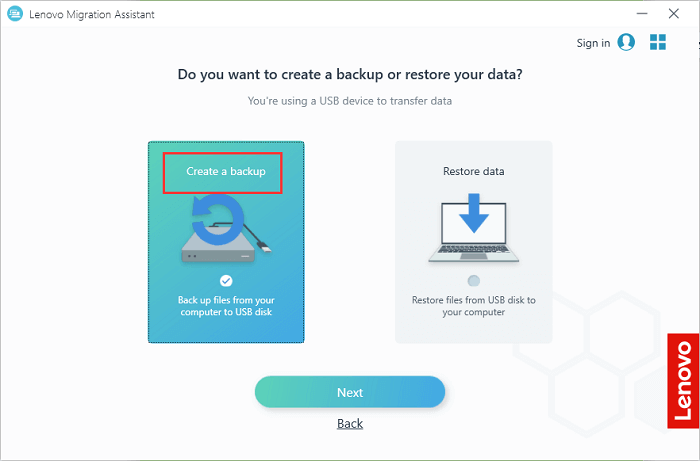
Step 4. The software will automatically detect any inserted USB, allowing you to select the desired files to back up. It will then create a backup file on the USB, making it easy to transfer and store your important data.
Step 5. To restore files from a USB disk to your computer, simply connect the USB to the target computer and choose the option "USB and Restore data". This will allow you to recover files from the USB disk and transfer them to your computer.
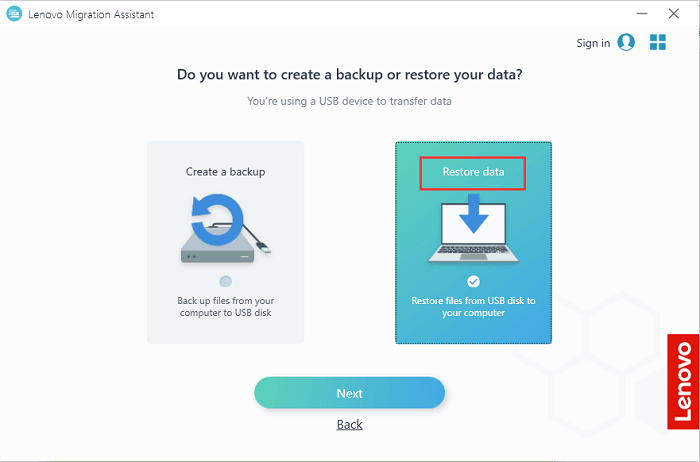
Step 6. Select the backup you want to restore and click Migrate.
Alternatives of Lenovo Migration Assistant
According to comments on the Reddit forum or other platforms, the Lenovo Migration Assistant may not work or get stuck, causing difficulties during file transfers from PC to PC. As a result, users are looking for alternative solutions to achieve this functionality.
Solution 1: Using Qiling Disk Master.
Qiling Disk Master is a simple software for PC transfer, allowing the transfer of files, applications, and accounts, with WiFi transfer as an example.
Step 1. Launch Qiling Disk Master on your source and target computers, and connect both PCs via the internet.
1. At the "Backup and recovery" section, click "File sync" to continue.

2. To initiate a file transfer, select the target computer via its device name, enter its account password or verification code, and choose the transfer direction. After that, click "Connect" to proceed.
You can check the verification code on the main screen, top right, of the "PC to PC" screen on the target computer.

Step 2. To transfer files, applications, and accounts via the internet, select the categories that you want to transfer. This could include files stored on your computer, applications installed on your device, and accounts you use online such as email, social media, and cloud storage.
To transfer data selectively, click "Edit" under each category and choose the specific items you want to transfer.

Step 3. To transfer apps/files/accounts from one computer to another via the Internet, click "Proceed" to initiate the process. This will allow you to securely move your digital content to the new computer, ensuring a smooth transition.
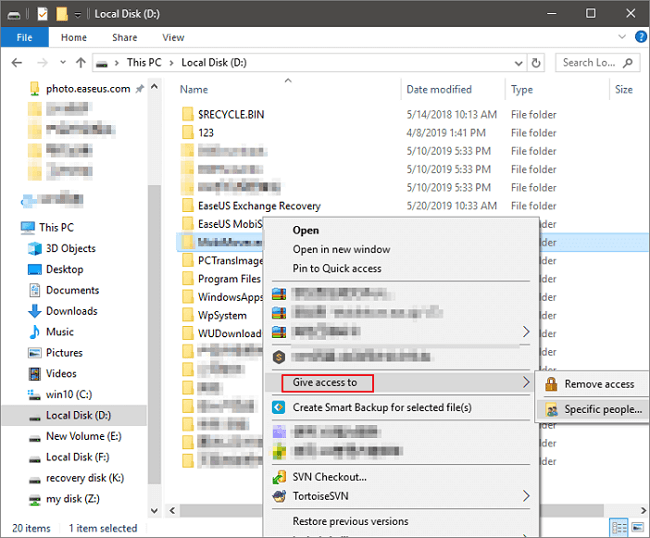
Solution 2: Create a Shared Folder.
To share files over the network, you can create a shared folder, which is a more complicated solution than the first one.
Step 1. Right-click the files > Give access to > Specific people
Step 2. To add a user or group, select it from the list, click "Add", and then click "Share".
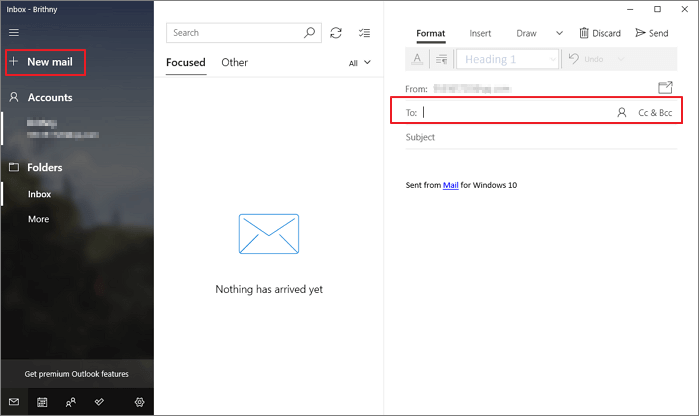
Solution 3: Use Email.
You can send an email from the old computer, then access your email account on the new PC to transfer small files.
Step 1. Add file to email.
Step 2. To access your files, you need to log in to your email account on the new device, which will allow you to download the files you need.
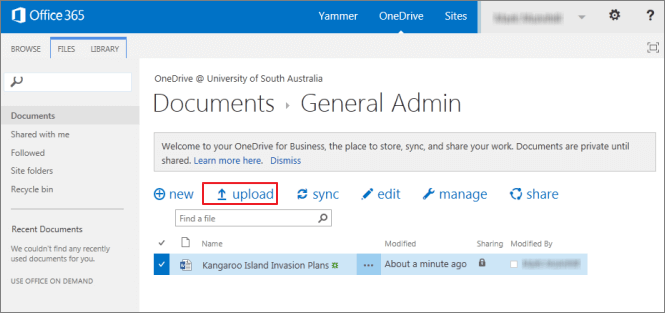
Solution 4: Use Cloud device.
To ensure OneDrive has enough space for data transfer, you can check your available storage space and consider upgrading your subscription plan if necessary. This will allow you to transfer more files and data to and from OneDrive without running out of space. You can also consider deleting or archiving files that are no longer needed to free up space on your OneDrive account.
Step 1. Upload files to OneDrive.
Step 2. Download files on the new PC.
Related Articles
- How to Transfer Files from PC to PC on Windows 11 (5 Quick Ways)
- How to Transfer Twitter from One Account to Another
- How to Save/Run Microsoft Office to/from External Hard Drive
- [Best Solutions] The Fastest Way to Transfer Files from PC to PC
- Windows Server Backup Not Doing Incremental Backup? Solved Now!
Windows Server Backup incremental not working? This guide explains why Windows Server Backup not doing incremental backup but always perform full backups even when the settings are right. - Windows Server Backup Retention Policy-Can It be Specified
You will learn the Windows Server backup retention policy precisely and how to delete old backups using Wbadmin and professional server backup software.