How to Move Games from C Drive to D Drive? All You Want Know is Here
The Windows C drive often stores system files and software installation files, and downloaded files are also saved there by default. However, the C drive has limited space, and installing games or software can quickly fill it up. If you're running out of space or want to move games from the C drive to the D drive, there are steps you can take to transfer them. This article will guide you through the process, providing a solution to this common problem. Read on to learn how to move games from the C drive to the D drive using various methods.
Is It Good to Save Games on C Drive? Should I Change Location?
Saving games on the C drive is not a good idea, and it's best to change the location. Since the Windows system files are stored on the C drive, saving games there can lead to lagging issues and slow system performance over time.
To maintain your computer's performance and prevent lag, it's best not to save games on the C drive. Instead, change the installation location to the D drive or another external storage device when installing a game, or save it on the D drive. This will keep your system's C drive clean and smooth, ensuring a perfect experience on your computer.
How to Transfer Games from C Drive to D Drive?
Transferring games from the C drive to the D drive requires a step-by-step approach to successfully move the full game data. To do this, follow the guidelines outlined in this article, which will provide solutions on how to transfer games from the C drive to the D drive.
Method 1. Move Games from C Drive to D Drive by Powerful Software
To move games from the C drive to the D drive effectively, use a powerful software like Qiling Disk Master, which guarantees successful data transfer. This all-in-one data transfer and recovery tool allows you to quickly transfer all kinds of data between drives in a few clicks, and can also recover data from a dead computer. With various transfer modes, effective transfer methods, and simple processes, Qiling Disk Master is accessible to both new and advanced users, making it easy to transfer or move files between different drives or devices.
Features:
- It's one of the fastest tools to transfer content between devices or drives, making it ideal for quickly moving files between different locations.
- With this feature, you can easily migrate your files from one computer to another without worrying about data loss, and it can be done with just one click, making the process quick and hassle-free.
- It's safe and easy to transfer large files.
- It even allows you to transfer user accounts and settings.
- Different transfer modes are available to move data in various situations, each suited for specific needs.
To move games from the C drive to the D drive, you can use a powerful software that allows you to easily transfer games and other files to a different drive. This software will guide you through the process, making it simple to relocate your games to the D drive and free up space on your C drive.
Step 1. Connect the destination drive to your computer
To transfer games from their original location, connect the drive to your computer where Qiling Disk Master is installed, using the correct method. Then, run the games transfer software, select "Backup and recovery", and click "File sync" to initiate the transfer process.

Step 2. Choose the games you want to change the location
On the left bar, choose the original drive where your game programs are installed, select the games, and check the boxes. Then, click the triangle icon to choose the target drive as the file path. Finally, click "Proceed".

Step 3. Transfer the games to the destination drive
The software will relocate selected games from their original location to your chosen destination, completing the process once finished.

Method 2. Move Games from C Drive to D Drive by Registry
The registry, which contains information used by programs and Windows itself, plays a crucial role in managing your computer by assisting the operating system. While changing the registry can allow you to relocate installed apps, it's generally not recommended for newbies as it can cause system crashes if done incorrectly. However, if you're interested in learning how to transfer games from the C drive to the D drive, you can follow specific steps to achieve this.
Steps to move games from C drive to D drive by the Registry:
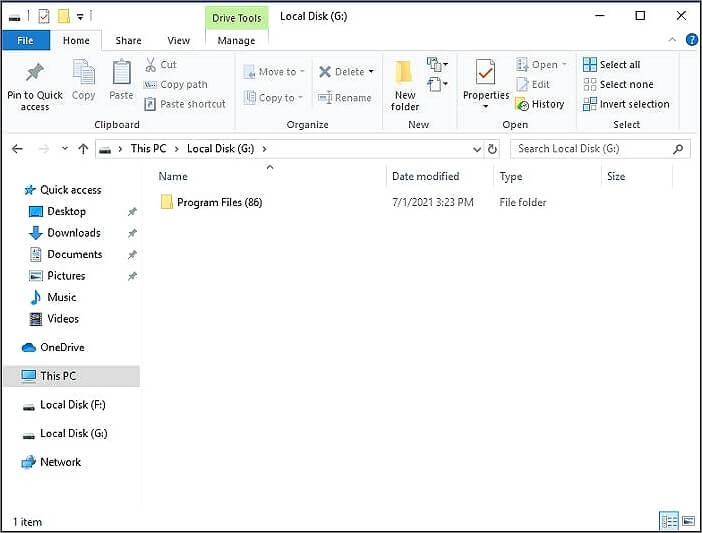
Step 1. To create a new folder named "Program Files (86)" in the D drive, open the File Manager and navigate to the D drive location. From there, create a new folder with the specified name.
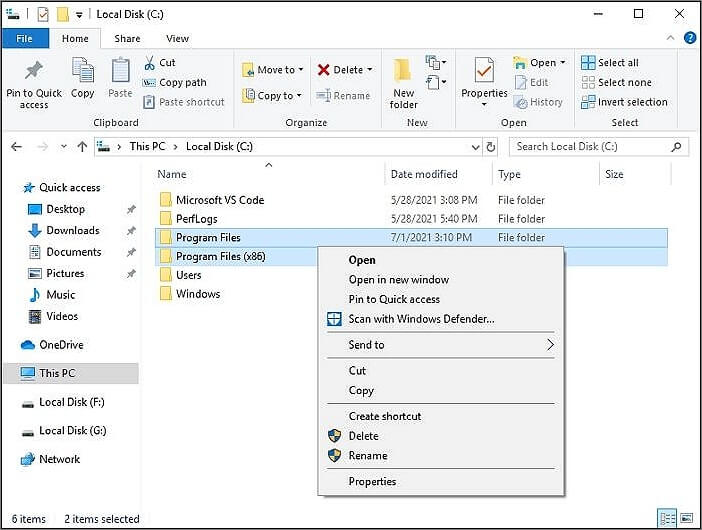
Step 2. Copy the "Program Files" and "Program Files (x86)" directories from the old system to the new system's "C:\Users\username\AppData\Local\Temp\New Folder" location.
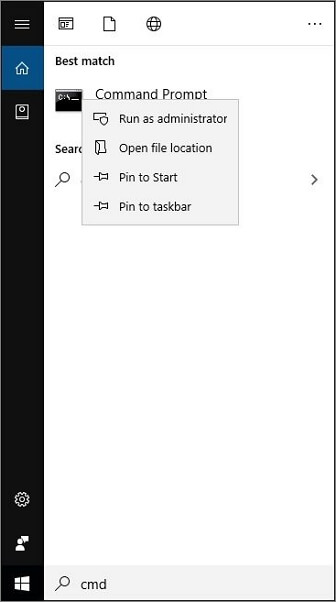
Step 3. To run the Command Prompt as an administrator, go to the search bar, type "CMD" and right-click it, then select "Run as administrator."
Step 4. Next, you need to press "Enter" after inserting the following commands.
Robocopy" C:\ Program Files" " D:\ Program Files" / mir
Robocopy" C:\ Program Files(x86)" " D:\ Program Files(x86)" / mir
Here, the drive letter of the created file is "D."
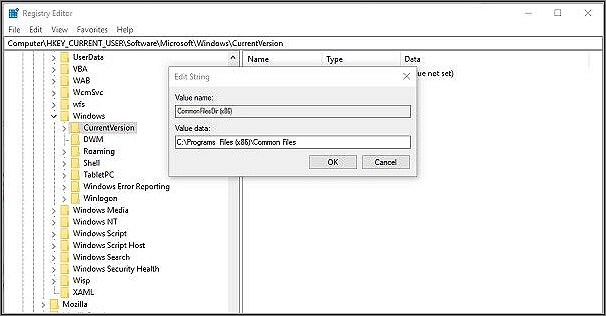
Step 5. Then you need to type "Regedit.exe" after pressing "Win + R."
Step 6. In this step, search for the folder path and replace the letter 'C' with 'D' in the drive path.
Windows 10: The registry key is located at HKEY_LOCAL_MACHINE \ SOFTWARE \ Wow6432Node \ Microsoft \ Windows \ CurrentVersion.
Windows 7/8/8.1: HKEY_LOCAL_MACHINE \ SOFTWARE \ Microsoft \ Windows \ CurrentVersion.
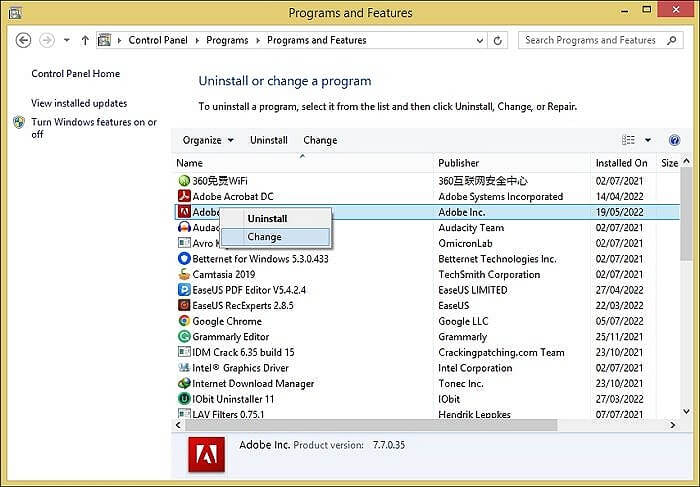
Method 3. Move Games from C Drive to D Drive by Windows Utility
If a low disk space alert appears on the C drive, it means the partition lacks sufficient free space, which can slow down the PC and cause apps to respond slowly. However, if there's ample space available on the D drive or other drives, transferring programs from C to D using Windows Utility can help resolve the issue, although this method may not work for all apps or games. A more effective solution is available at the start of the article.
Steps to move games from C drive to D drive by Windows Utility:
Step 1. To change the location of certain apps in Windows, start by opening the Run box using the keyboard shortcut "Win + R".
Step 2. To open control the panel now, click "OK" after inputting "Control."

Step 3. Click on the "Programs" option from the Control Panel.
Step 4. Then select the "Program and Features" option from the "Programs" page.
Step 5. To move a program to a different drive, first, open the "Programs and Features" window. After that, you will see a list of installed programs on your computer. Give a right-click the program that you want to move, and select "Change." Then simply change the drive to your desired location. If the program you want to move doesn't have any "Change" option, try the alternative method to move programs safely.
Conclusion:
If you want to move games from the C drive to the D drive, it's essential to use a reliable method that ensures a safe transfer of all data. Some methods can be technical and require advanced commands, making them challenging to follow. However, using Qiling Disk Master can guarantee 100% no data loss security and a successful transfer, making it a wise choice for those who need to change the game installation location. Therefore, consider your options carefully if you're unsure about how to transfer games from the C drive to the D drive.
Related Articles
- 7 Ways to Clean Up C Drive in Windows Server 2022/2019/2016
- How to Transfer Files from PC to Laptop in 9 Ways
- Move Microsoft Store Apps and Games to Another Drive
- How to Transfer Microsoft Teams to Another Computer [Full Guide]
- 4 BestBackup Software for Synology NAS[Pros and Cons]
This guide introduces the five best backup software for Synology NAS, including its functions, pros, and cons. Then, you can choose one backup software according to your budget and needs. - Top 9 Best Backup Software for Windows
Find the best backup software for Windows to protect files, disks, and systems. Compare backup features and choose a reliable tool.