What Files Should Users Backup on A Computer
Quick Navigation:
| Workable Solutions | Step-by-step Troubleshooting |
|---|---|
| Backup Files with File History | Connect your external hard disk, type File History into the Start menu or Windows search bar, and pick...Full steps |
| Backup Files with Qiling Backup | Utilize the Qiling Backup tool and installing the backup image as a virtualized hard drive...Full steps |
Data loss can occur frequently and for various reasons, such as hard drive destruction, virus or malware attacks, Windows updates, power outages, and more. It's crucial to have a backup of all your files stored offsite to prevent permanent loss.
Most backup solutions allow you to store valuable data on any external or auxiliary storage device, with backups being instantly completed on flash drives or external hard disks due to their small size. To do a 'perfect' or complete backup, you'll need to decide which files to back up on your computer, which this article will explore.
What Files Should You Backup
To avoid confusion about which files to back up, this section clarifies the essential OS data that needs to be preserved, including critical system files that should always be kept in backup.
AppData
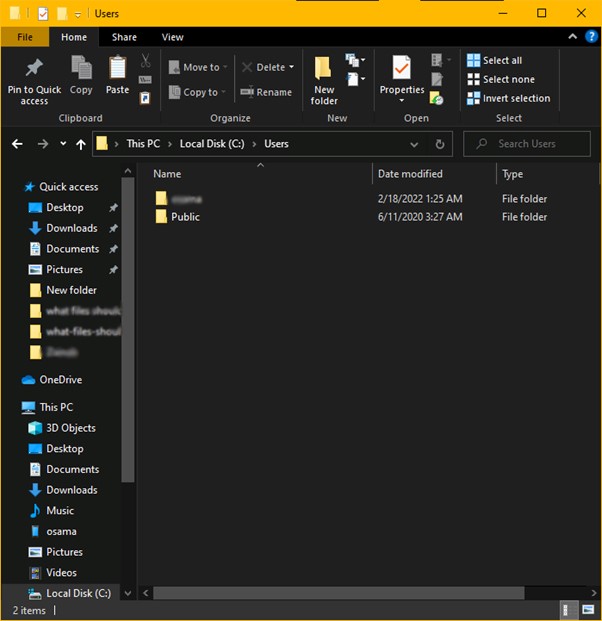
The AppData folder in C:\Users\Username stores an application's user-specific preferences, but it's hidden by default unless you modify the settings to reveal hidden files and directories.
It's not necessary to back up the entire AppData directory, but rather just the specific programs and settings needed for user-specific setups. This approach helps maintain a balance between data preservation and disk space usage.
Personal Directories
Having a backup of your data is the most crucial thing to do. On a contemporary Windows PC, you'll often locate these files in C:\Users\Username, where "Username" refers to your user account.
When you log in with your user name and password, the Documents folder, Downloads, Pictures, Music, Desktop, and Videos folders are automatically saved to the default directory.

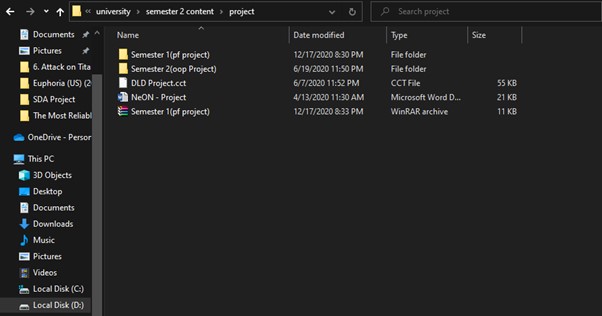
Projects
Keep a copy of any creative work, such as projects, you're currently working on, in case your computer crashes or you lose it.
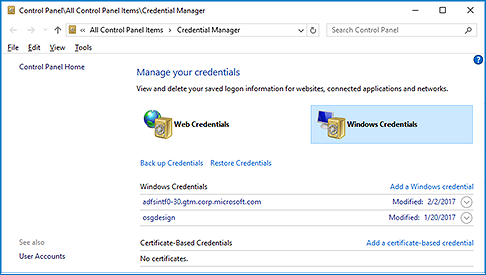
Mails
If you use a desktop email client, you may want to back up incoming emails. You can use the newer IMAP protocol to avoid backing up emails using the older POP3 protocol, which only saves emails on your local PC, requiring a manual backup.
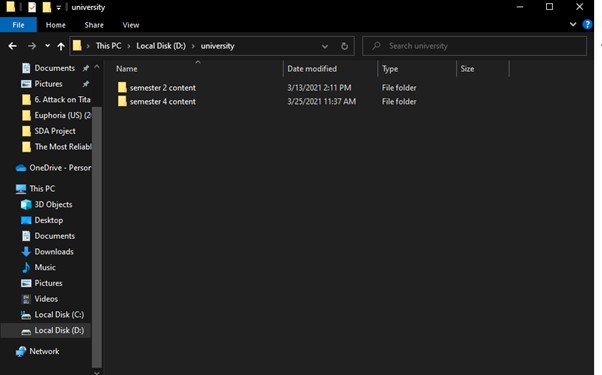
Important Files
You can store files in a custom location instead of the system's usual directories, or move them to your data partitions for added security. To ensure their safety, make a backup of your critical files and store them in this designated folder. This approach helps protect your important data from potential system crashes or other issues.
How to Back Up Important Files on Windows PC
To back up your critical files on Windows 10, use the built-in File History feature, which automatically saves copies of your files to an external drive or network location. You can also use third-party backup software like Qiling Backup, which offer more advanced features and flexibility. Additionally, you can use the Windows Backup and Restore feature, which allows you to create a system image and back up your files to a USB drive or external hard drive. It's also a good idea to save your files to a cloud storage service like OneDrive or Google Drive, which provides an additional layer of protection against data loss.
Method 1: Backup Files with File History
File History, introduced in Windows 8, is a backup tool that allows users to restore prior versions of data, going beyond its name.
To back up your data using File History, simply go to Settings, then Update & Security, and finally File History, where you can select the drive you want to use for backups and set up a schedule for automatic backups. This will ensure that your files are safely stored and can be easily recovered in case of a system crash or other data loss event.
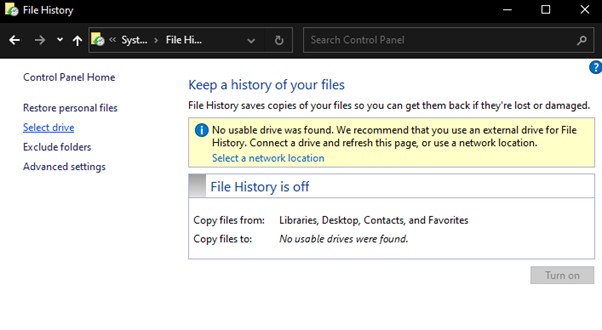
Step 1: Connect your external hard disk, type File History into the Start menu or Windows search bar, and select the File History Settings option.
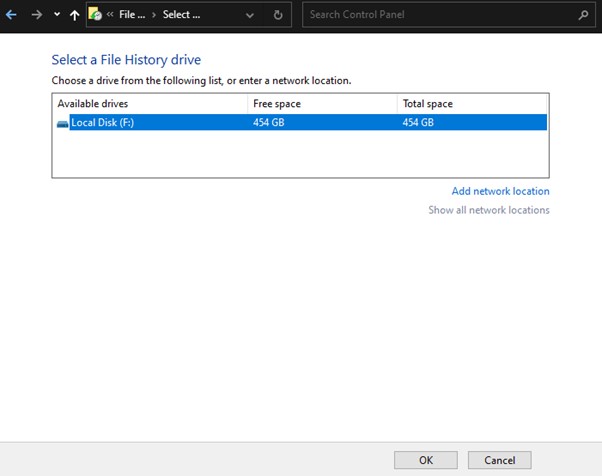
Step 2: To view available storage spaces, select "Select drive" in the left panel.
Step 3: Attach an external drive, select it, and click OK. If a dialog box appears, choose No.
Step 4 (Optional): If File History is not enabled, select Turn On. If File History is already enabled, you may skip this step.
Step 5: Click Run Now to start backing up your data immediately, ignoring the scheduled hourly backup.
Note: This function should be used when all other apps are closed to ensure that all files, including Outlook.pst files, are backed up.
Alternative Method: Backup Files with Qiling Backup
If the File History tool fails to back up your data, you can use the Qiling Backup tool, which automatically backs up the system disk, individual files and folders, and whole hard drives, and allows you to quickly recover data by installing the backup image as a virtualized hard drive.
Qiling Backup is a suitable option for backing up files, allowing for various kinds of backups and enabling the selection of specific files to be backed up, as well as the choice of where to save those backups.
Step 1. Open Qiling Backup and choose "Disk/partition Backup" on the home page to start backing up.

Step 2. Qiling Backup allows you to choose between backing up an entire disk or a specific partition, giving you flexibility in your backup needs.
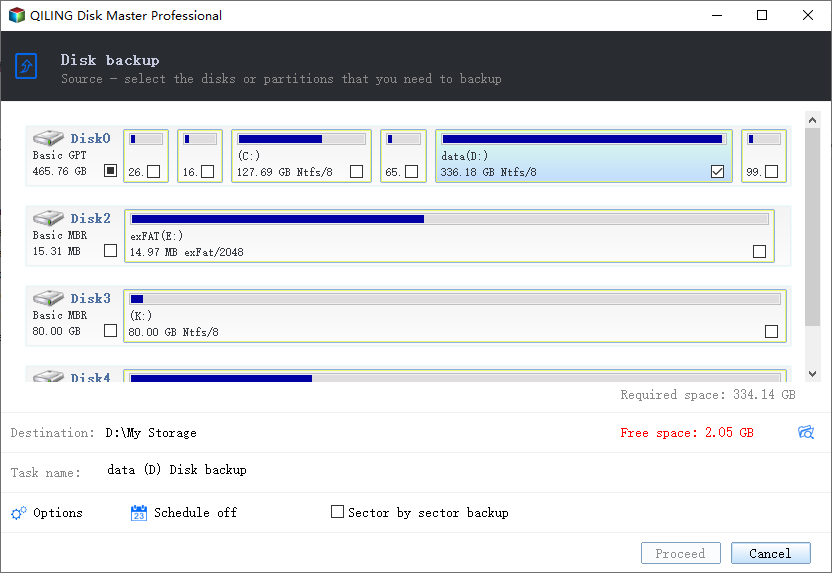
Step 3. Select the destination where you want to save the backup, which can be a local drive or a NAS.

Step 4. After completing the backup process, click "Proceed". You can then manage your backup by clicking on any of the tasks, such as recovering it, creating an incremental backup, and so on.

Is it Necessary to Create a System Backup?
In the event of a primary data failure, a backup copy can be retrieved, potentially allowing a company to recover from an unexpected occurrence, such as hardware or software failure, data corruption, or a human-caused incident like a hostile attack or accidental loss of data.
Having a backup copy of important data is crucial to prevent loss or corruption of the original data. This can be achieved through external drives, USB sticks, tape drives, or cloud-based storage systems, providing a reliable and safe extra storage medium.
To back up data on a Windows PC, start by ensuring that you have enough space on an external drive or cloud storage to store your files. Next, open the File Explorer and select the files and folders you want to back up.
Method 1: Create System Backup with Windows Backup and Restore (Windows 7)
Windows features a Backup and Restore tool that allows users to back up important files. To use this tool, follow these steps:
Step 1: Go to the Launch Control Panel, click on System and Maintenance, and then select Backup and Restore.
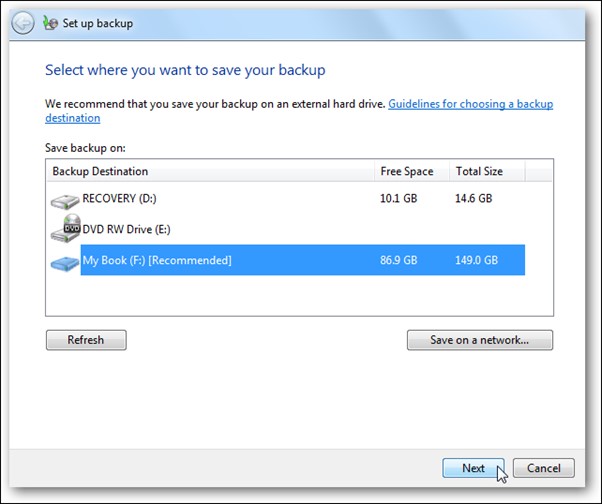
Step 2: To launch Windows Backup, click the "Set up backup" button, then select an external hard drive.

Step 3: Tick Let me choose the checkbox and then press Next.
Step 4: Select the files or drives to back up, then click Next.
Note: You can back up just your data files by including a system image of the disc (C:) in the backup, which can recover your computer if it fails.
Step 5: Before clicking the "Save" settings and starting the backup, take a moment to review your backup settings to ensure everything is configured correctly and you're backing up what you need to.
Conclusion
To avoid losing important files due to software or hardware failure, it's essential to periodically back up your data. Using a tool like Qiling backup can make this process straightforward, with a simple interface that guides you through the backup process. By backing up your files, you can rest assured that your important documents, photos, and other digital assets are safe and can be easily restored in case of a disaster.
Related Articles
- How to Install Windows 11 on Another Drive in Quick Steps
- Full Analysis: Is Windows 11 Need Any Antivirus
- Execute Bootable Clones on Windows 11 Without Losing Data
- Fake Windows Update Virus Removal and Prevention Tips in 2022
- How Do Server Users Move Documents Folder from C to D Drive in 2022
Can I move system files like the Documents folder from C to D drive? Yes, sure! This page gives you a complete guide to successfully moving the Documents folder from C to D drive in Windows Server 2022/2019/2016 and even older Server computers. - How To Move Documents Folder To Another Drive? Get Your Answer!
Have you ever encountered any issues while moving your documents folder to another drive? If so, don't worry, as this post will guide you through the detailed steps of how to move your documents folder to another drive. Just keep reading on to find out!