Windows Easy Transfer for Windows XP, Windows 7, Windows 8, Windows 10, and Windows 11
Windows Easy Transfer for Windows XP and Server 2003
Microsoft no longer supports Windows XP and Windows Server 2003, with XP's support ending in April 2014 and Server 2003's ending in July 2015. As a result, users have migrated or plan to transfer their data, services, and paid programs to newer systems like Windows 7, 10, 11, or server 2008, 2012. To facilitate this transfer, Windows Easy Transfer can be used to move settings and data, but not desktop applications. Alternatively, a tool like Qiling Disk Master can be used to migrate both data and programs.
Windows Easy Transfer - Not Easy for Windows 8.1, Including Windows 10 and Windows 11
Windows Easy Transfer allows for the transfer of files, documents, music, photos, and settings between systems, and works well on Windows XP, Vista, Windows 7, and Windows 8. However, it does not support Windows 8.1 and there is no official reply on why, and it is also unclear if it supports Windows 10.
Some people still use Windows Easy Transfer to transfer important files and settings, but for Windows 8.1 and applications, it's recommended to use Qiling Disk Master, which can quickly and safely transfer files and applications from Windows XP to Windows 7, 8, 8.1, and 10.
Qiling Disk Master - Windows Easy Transfer for Windows XP, Windows 7, 8, 10, 11
Qiling PC transfer software allows you to transfer files and applications from Windows XP to newer Windows versions (7, 8, 10, 11) using either a direct network connection or by creating compressed backup files.
How to Transfer Files from PC to PC via the Connected Network
Step 1. Open Qiling Disk Master on both of your computers. Choose "File sync" to proceed.

Step 2. Connect two PCs via the network by entering the target PC's password or verification code, choosing the correct transfer direction, and clicking "Connect" to proceed.
The verification code appears on the top right of the main screen for "PC to PC" on the target computer.

Step 3. To transfer files, select "Files" and choose the specific files you want to transfer, and you can also customize the storage path for the transferred data by clicking the Edit icon.

Step 4. Now, click "Proceed" to begin the file transfer process, which will take a time proportional to the size of the file. Be patient and wait for the transfer to complete.
Transfer Files/Programs via the Backup File
Step 1. Create a backup file.
1. Connect your USB flash drive/external hard drive to your source computer. Launch Qiling Disk Master, click "Backup & Restore" on the main page.
2. Select "File Backup" to move on.

3. To create a backup file, hover over the "Applications", "Files" and "Accounts" columns to select the specific data, applications, or other items you want to include, then click "Proceed" to initiate the backup process.
Step 2. Recover via the created backup file.
1. To restore a backup, plug the USB drive containing the backup file into the target PC and open Qiling Disk Master. Then, navigate to the "Backup & Restore" page.

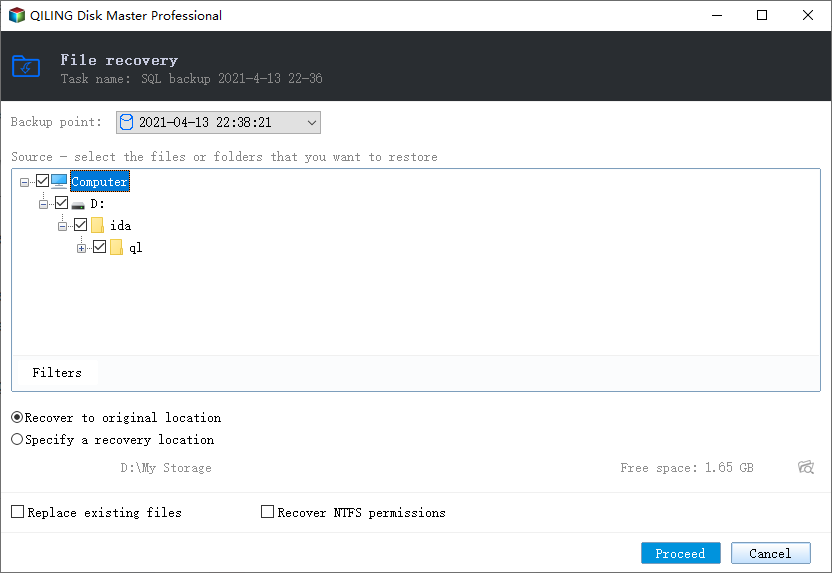
2. To restore your image file, first click on the "Browse" button to locate the image file on your computer. Once you have selected the file, click on the "Restore" button to initiate the restoration process.

3. Now, you can select Applications/Files/Accounts you want to restore.
To transfer data, go to Applications, Files, or Accounts, select the specific data you want to transfer, and click "Restore" to confirm. Alternatively, you can click the browse icon to change the target path to recover and save the files.
Related Articles
- Resolved: Transfer TeamViewer with License to a New Computer
- How to Move Diablo III 3 to Another Drive/PC Without Re-downloading
- (Easiest) Windows 10 Apps Data Backup: Backup Installed Applications in Windows 10
- How to Transfer Opera with Bookmarks to a New PC
- Transfer Data, Software/Applications to Windows 10 or Windows 11
With the increasing adoption of Windows 10 and Windows 11, transferring data and applications from older operating systems or devices to the new platforms can be a significant challenge. There are indirect and direct ways to accomplish this. - 4 Reliable Ways to Transfer Data to New Computer on Windows 11
Transferring data to a new computer running Windows 11 can be a hassle, but there are several solutions to make the process smoother.