Partition SSD for Windows 10 Installation, Full Guide with Pictures
To prepare your SSD for installing Windows 10, properly segment its storage space. This process ensures a trouble-free installation and enhances the operation of Windows 10 on SSD. Before starting the installation procedure, configure your SSD by following the steps outlined in this guide, which will help you prepare your SSD for partitioning prior to installing Windows 10.

Reparation: Make SSD Ready for Partitioning
To partition an SSD for Windows 10 installation, you will need to create a new partition that is large enough to hold the Windows operating system and any other files you want to install. This typically involves deleting any existing partitions on the SSD, creating a new partition that is at least 64GB in size, and then formatting it to prepare it for the Windows installation.
- Install SSD correctly to a target PC
- Initialize the Solid-State Drive (SSD) to either Master Boot Record (MBR) or GUID Partition Table (GPT) format, depending on the computer's BIOS firmware requirements.
- For a smooth Windows 10 installation, choose NTFS for the partition formation procedure. This will ensure a stable and efficient operating system setup.
Before installing Windows 10, ensure your computer meets the system requirements and that your hardware is compatible. Once confirmed, prepare your SSD by creating a bootable USB drive or CD/DVD, and then follow the installation instructions to install Windows 10 on your SSD. This will allow you to install Windows 10 on your SSD, replacing your existing operating system.
Part 1. Partition SSD for Windows 10 Install in 2 Ways
To ensure a smooth Windows 10 installation, it's crucial to create sufficient storage space and properly partition your SSD, which will provide an optimized environment for the operating system to run in.
For an instant and hassle-For a truly free partitioning experience, readers have two effective methods to choose from.
Guide 1: Initialize and Partition SSD with Free Partition Manager
Qiling Disk Master Free offers a user-friendly solution for Windows beginners, streamlining the process of initializing a disk with its intuitive feature, making it accessible for users with varying levels of technical expertise.
To partition your SSD quickly and efficiently, follow this guide to set the stage for a smooth Windows 10 installation.
#1. Initialize SSD
Step 1. Open Qiling Disk Master and got to Partition Manager.
Step 2. Select the target disk, right-click on it and choose "Initialize to MBR" or "Initialize to GPT" from the context menu.
#2. Partition New SSD for Windows 10
Step 1. Launch Qiling Disk Master to check for free space at the Partition Manager section.
- If your hard drive has unallocated space, you can create a partition to use that space. To do this, you can follow these steps: First, open the Disk Management tool.
- If the hard drive has no unallocated space, you can still try to free up space by deleting unnecessary files, emptying the Recycle Bin, and checking for any duplicate files. You can also consider uninstalling any unused programs or features to reclaim space.
Step 2. Shrink a disk partition to create unallocated space.
Right-Click on the target drive partition with a lot of free space and select "Resize/Move".

To free up enough unallocated space, drag either end of the partition to the right or left, reducing its size and increasing the available space, which can be seen in the "Partition size" area.
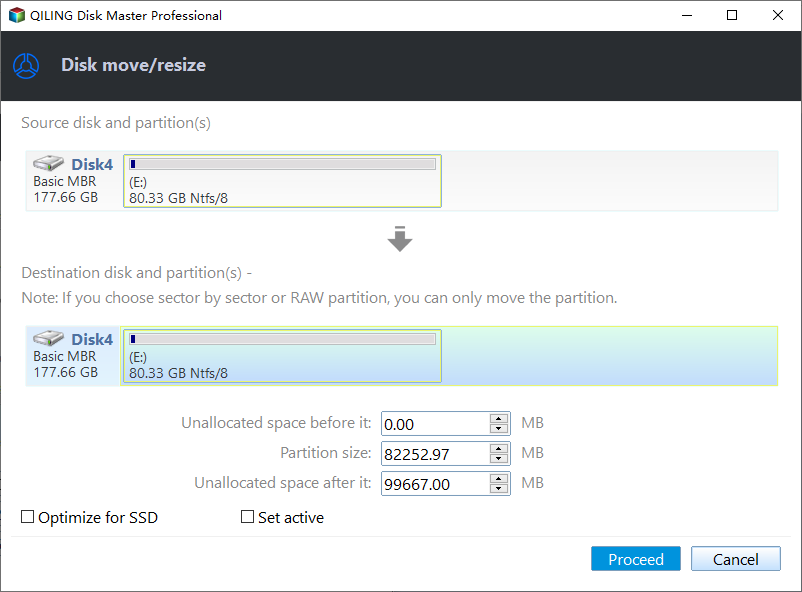
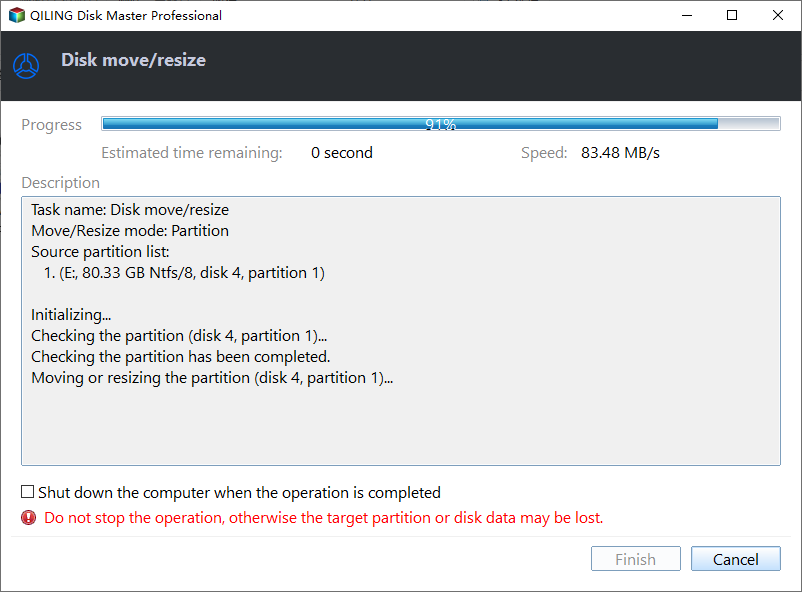
Click "Proceed" to save all the changes.
After resizing the partition, go back to Partition Manager and you should see unallocated space appearing on the same disk. You can then proceed with creating a new partition on your hard drive.
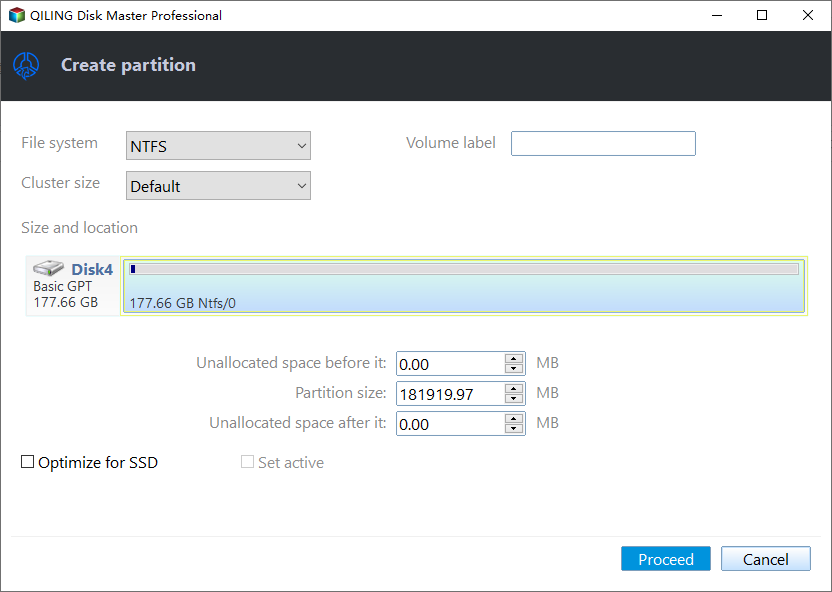
Step 3. Create a new partition with unallocated space on the target hard drive.
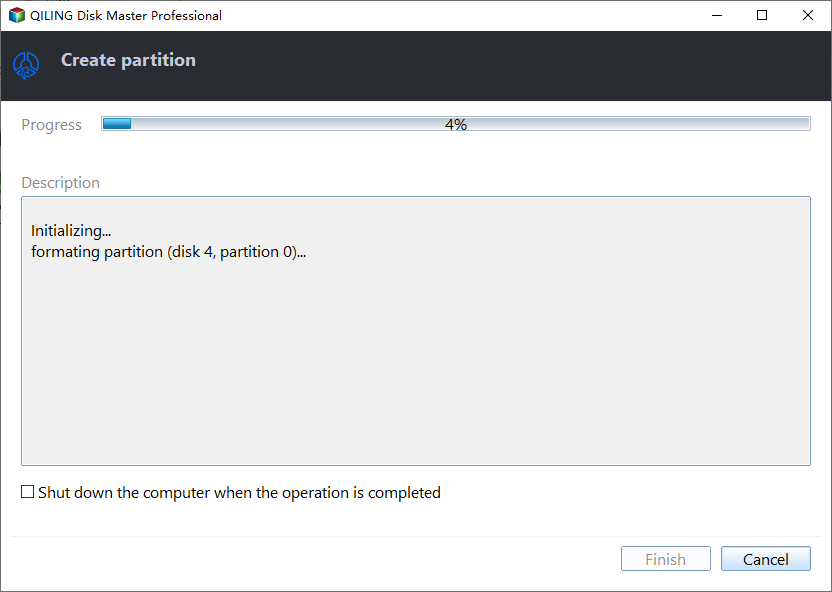
Right-click on the unallocated space and choose "Create".

In the Advanced Settings, you can customize various partition settings, including partition size, drive letter, label, and file system (such as NTFS, FAT32, EXT2/3/4, or exFAT), among other options.
To create multiple partitions on a hard drive, first, open the Disk Management tool, then select the hard drive you want to partition. Right-click on the unallocated space and choose "New Simple Volume." Assign a drive letter, file system, and label to the new partition, and click "Next.
Guide 2: Initialize and Create Partitions on SSD Using Disk Management
To manage your SSD partitions using Windows built-in tools, start by opening Disk Management. Initialize your SSD by right-clicking on it in Disk Management and selecting "Initialize." Then, create a new partition by right-clicking on the unallocated space and selecting "New Simple Volume.
#1. Initialize SSD
If the SSD disk is not initialized, right-click and select "Initialize Disc." Confirm the initialization procedure after deciding whether to use GPT or MBR for partitioning.
- Right-click the Start button and select "Disk Management."
- To find your SSD in Windows, follow the on-screen instructions if the disc needs to be initialized.
- If the SSD disk is not initialized, right-click and select "Initialize Disc" to start the process. Confirm the procedure, then choose whether to use GPT or MBR for partitioning.

#2. Create Partition on SSD
Follow the below-given steps to create a partition on the SSD
- To create a new partition on the initialized SSD, click on the unallocated space and select "New Simple Volume" from the context menu.
- Follow the New Simple Volume Wizard, which will guide you through the process of creating a new partition and assigning a drive letter to it, specifying the desired size for the partition.
- Choose a file system, preferably NTFS, and perform a quick format.
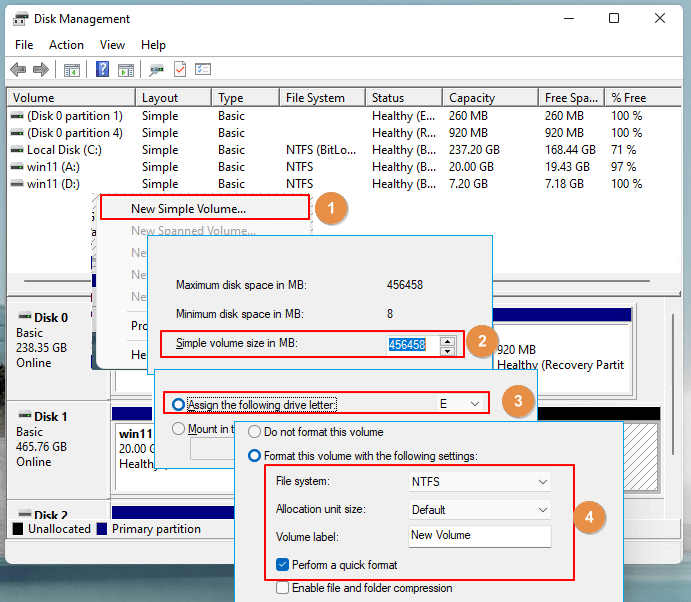
- After completing the wizard, your partition is now created and ready for use.
To prepare your SSD for Windows 10 installation, simply open Disk Management, initialize the disk, and create partitions as needed, following a straightforward process that ensures a well-prepared storage environment for a successful installation.
Part 2. Install Windows 10 on SSD Partition
After partitioning your SSD correctly, the next step is to install Windows 10 on your newly created partitions. This involves following a concise guide that outlines the complete procedure for a successful installation, which includes installing Windows 10 on your newly created partitions.
Complete Procedure for Installing Windows 10 on SSD Partitions:
Note: To install Windows 10 on your computer, start by creating a bootable installation USB or DVD using a Windows 10 installation media. Then, insert the USB or DVD into your computer and restart it.
- To install Windows 10, you'll need to create a bootable USB drive or insert the Windows 10 installation DVD into your computer and restart it. This will initiate the installation process.
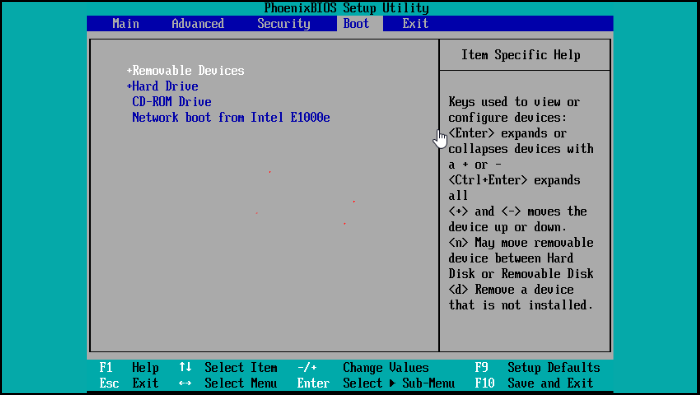
- To set up your computer for a new installation, you need to access the BIOS or UEFI settings and change the primary boot device to the installation media. This involves saving the changes and then exiting the settings. This process varies slightly depending on your computer's manufacturer, so you may need to refer to your user manual for specific instructions.
- On the Windows Setup screen, select your preferred language, keyboard layout, and time zone, then click "Install Now" to start the installation process.
- Enter your Windows 10 product key and read and accept the license terms.
- Select the SSD partition for Windows 10 installation and click "Next" to proceed with the installation.
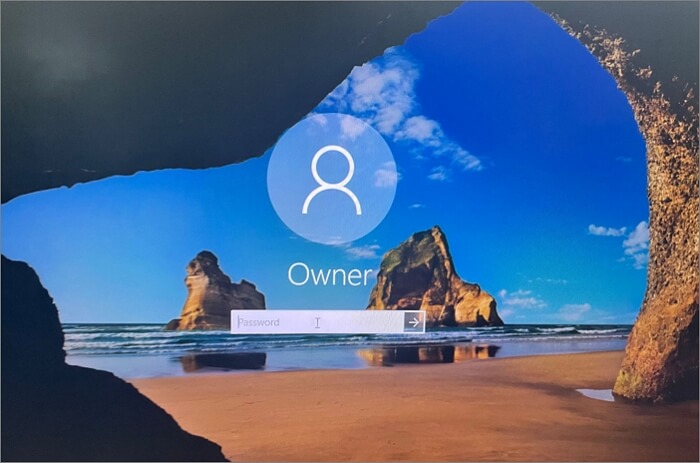
- Allow the process to finish; your PC will restart. Follow on-screen instructions to personalize settings.
- Sign in or create a Microsoft account.
You've installed Windows 10 on your SSD partitions, and it's now ready for use, taking advantage of the speed and efficiency provided by the SSD.
Conclusion
To ensure a seamless Windows 10 installation, it's essential to properly configure and partition your SSD. You can achieve this using a free partition manager, such as Qiling Disk Master, or the built-in disk management tool in Windows. By doing so, you'll be able to optimize your SSD's performance and speed, making the installation process straightforward. This step is crucial in getting the most out of your SSD, and with the right tools, it's a straightforward process that can be completed with ease.
FAQs - Frequently Asked Question
Here are some commonly asked questions about how to split SSDs for Windows 10.
1. How do you partition 512GB SSD Windows 10?
To partition 512GB SSD with Windows 10 follow these steps:
- Access Disk Management.
- Locate and initialize the 512GB SSD.
- Create a new partition on unallocated space.
- Specify size, assign a drive letter, and choose NTFS.
- Complete the process for an optimized Windows 10 setup.
2. Should I format my SSD when installing Windows 10?
Formatting the SSD during Windows 10 installation is advisable as it prepares the drive with the necessary file system (NFTS), ensures maximum performance and compatibility, and formats the drive, making the installation process easier.
3. How do I split SSD into two partitions?
Follow the steps below to split an SSD into two partitions.
- Open "Disk Management."
- Right-click on the existing SSD partition and choose "Shrink Volume."
- Enter the required size for the new partition and click "Shrink."
- Right-click on the empty space and choose "New Simple Volume."
- To set the size, assign a letter, and choose the file system for the new partition, follow the wizard's instructions. This process will guide you in creating a new partition on your device.
- Repeat the process if you have more unallocated space and complete the wizard to create both partitions.
To split your SSD into two partitions using Disk Management, first, open Disk Management by searching for it in the Start menu. Next, right-click on your SSD and select "Shrink Volume" to create free space.
Related Articles
- Fix Diskpart Clean Not Working on Disk/USB/SD Card [5+ Fixes]
- Top 6: HP USB Disk Storage Format Tool Alternative Windows
- Hard Drive Failure: How to Check & What to Do
- Fix: Boot Configuration Data File Doesn't Contain Valid Information for an Operating System
- Solved - "Virtual Disk Service Error: The Volume Size Is Too Big"
Received the virtual disk service error: the volume size is too big when formatting a hard drive beyond 32 GB using Diskpart? Here comes the best solution. - Wipe Hard Drive in Windows 7 from Command Prompt Completely
Want to know how to wipe a hard drive in Windows 7/XP/10 from command prompt? This page illustrates different ways of wiping hard drive for different purposes.