USB Drive Shows Less Capacity Than It Should
Quick Navigation:
- Why the Capacity Shrinks
- Recover the Old Files First
- Restore Full Capacity with Qiling
- Verify the Drive After Repair
- Frequently Asked Questions
A 64 GB stick that suddenly reports 32 MB, or 2 GB, has almost always lost its partition rather than its flash chips. The old files can still be readable, but only if you recover them before repairing the drive.
Why the Capacity Shrinks
Windows reports the size of a partition, not the size of the device. When a tool rewrites the partition table, the remaining space becomes unallocated and File Explorer shows only the small partition that survived. A USB stick written with a Linux or Windows ISO is the classic case: the imaging tool creates one small partition and leaves the rest unused.
Interrupted operations produce the same result. A format or clone that loses power halfway can leave a partial partition table, and Windows then offers to format the drive when you open it. Some cloning and backup tools also shrink a target on purpose to match a smaller source.
A third group is hardware. A failing controller may expose a wrong size, and a counterfeit drive may be programmed to report a capacity far beyond its real flash. Re-partitioning cannot fix either of those, and a counterfeit or failing stick should be replaced rather than trusted with data.
Recover the Old Files First
Recovery has to come before repair. Creating a new partition or formatting the stick overwrites the partition table and can scatter new file system data across the clusters that still hold your files. Stop writing to the drive now, and do not accept the format prompt that Windows shows.
Qiling Deep Data Recovery can scan the whole device rather than only the small visible partition, so files that were left outside the current partition can still be found. Save everything to another disk before you move on.
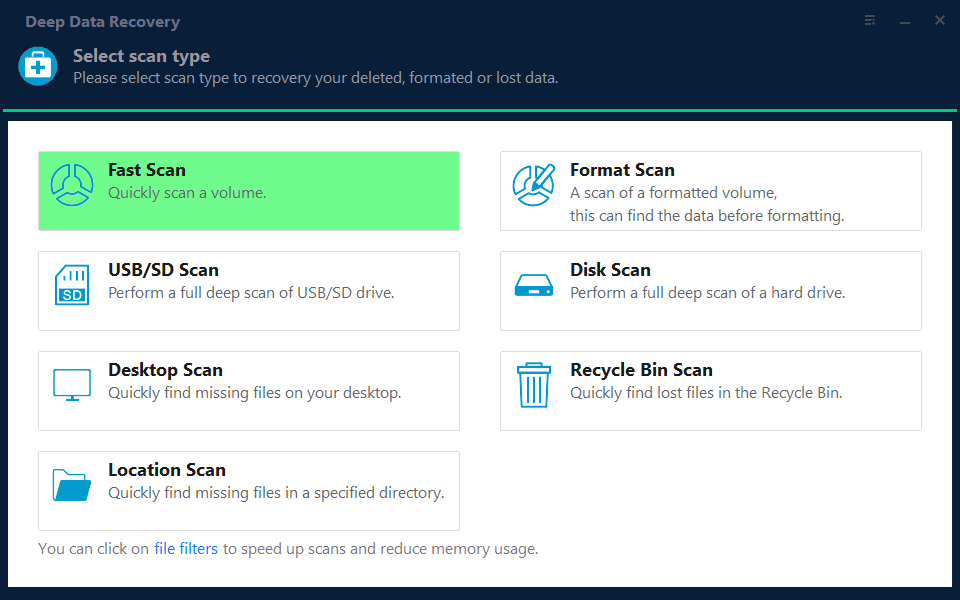
Step 1. Choose the Recovery Mode
Use Format Scan when the visible partition was created by a format or an imaging tool, which is the usual case here. Choose USB/SD Scan for a stick in a standard USB port, Fast Scan only for a simple deletion on a healthy file system, and Recycle Bin Scan if the files were emptied from the bin first.
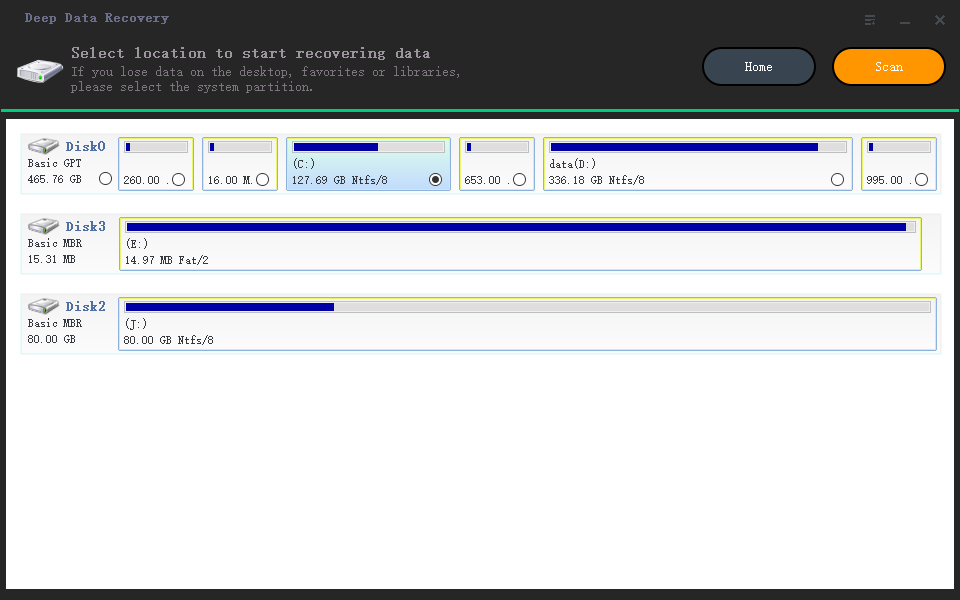
Step 2. Select the USB Device
Select the physical disk, not the small partition, and confirm that its capacity matches the label on the stick. A 64 GB device showing a 32 MB partition is normal at this stage; the point is to scan the whole disk.
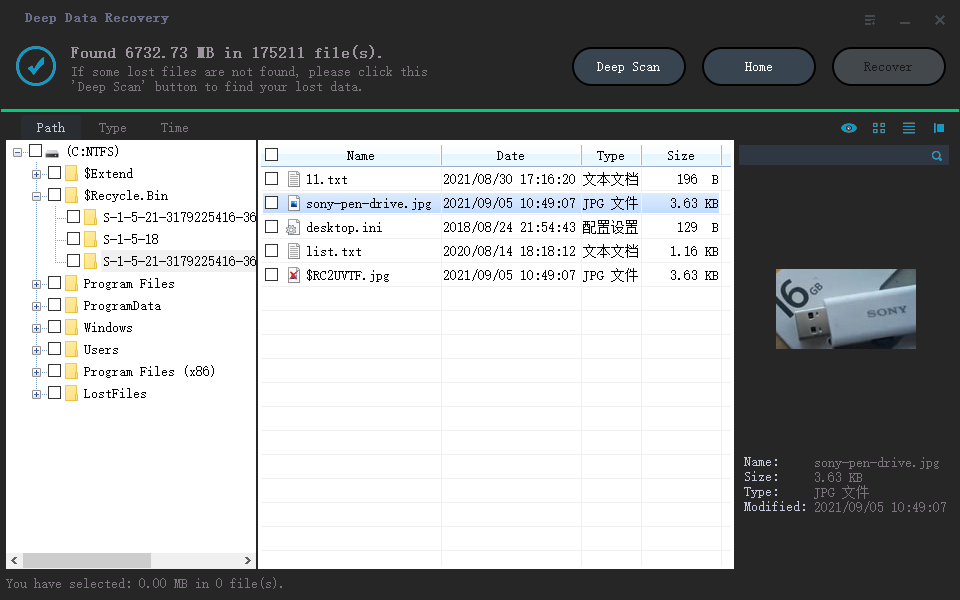
Step 3. Review the Files
Filter by extension and sort by date, then preview the documents and photos you need. Results often appear under a recovered partition folder rather than the original tree. Run the deeper scan when nothing useful shows up in the first pass.
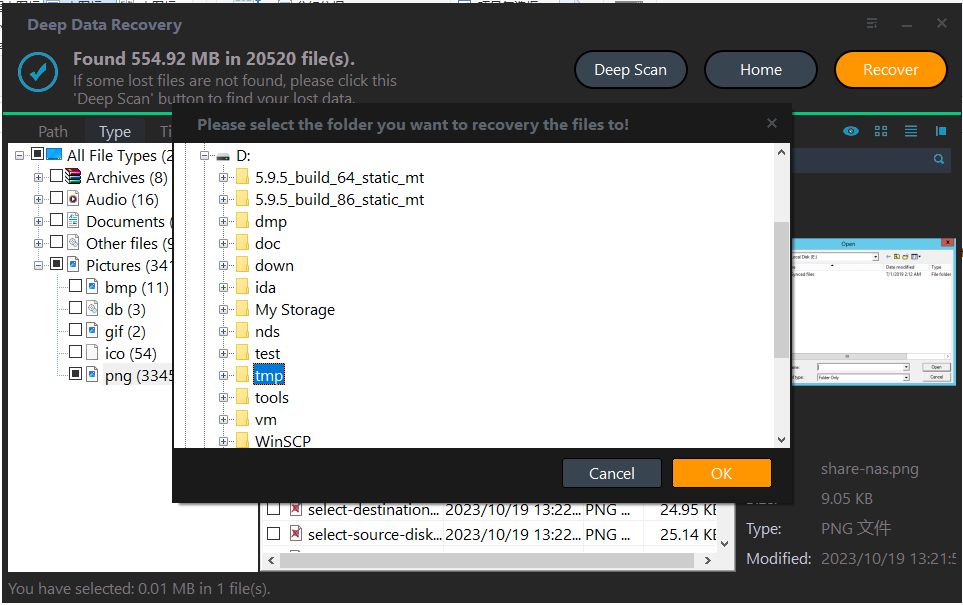
Step 4. Recover to Another Disk
Save the selection to an internal disk or a second external drive, never back to the stick being repaired. Verify a sample of each file type, because the repair in the next section will overwrite the drive completely.
Restore the Full Capacity with Qiling
Once the files are safe, the fix is to remove the small partition and create one that uses the entire device. Qiling Disk Master shows the unallocated space next to the partition, which makes it easy to confirm that the full capacity is still there before you commit.
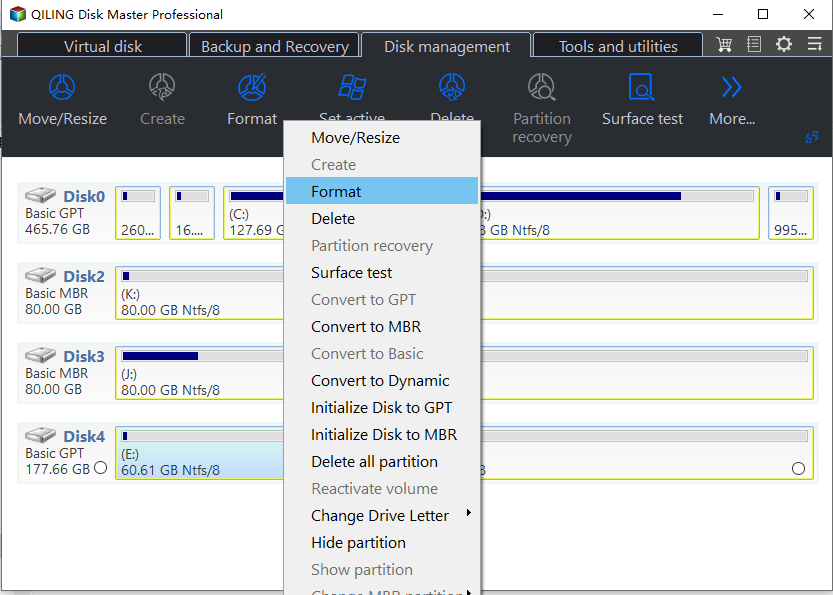
Step 1. Delete the Small Partition
Connect the stick, open Qiling Disk Master, and identify the device by its total capacity, not by the drive letter. Right-click the small partition, choose Delete, and confirm that the rest of the device is shown as unallocated.
Step 2. Create a Full-Size Partition
Right-click the unallocated space and choose Create Partition. Keep the proposed size, which should cover the whole device, and assign a drive letter you can recognise.
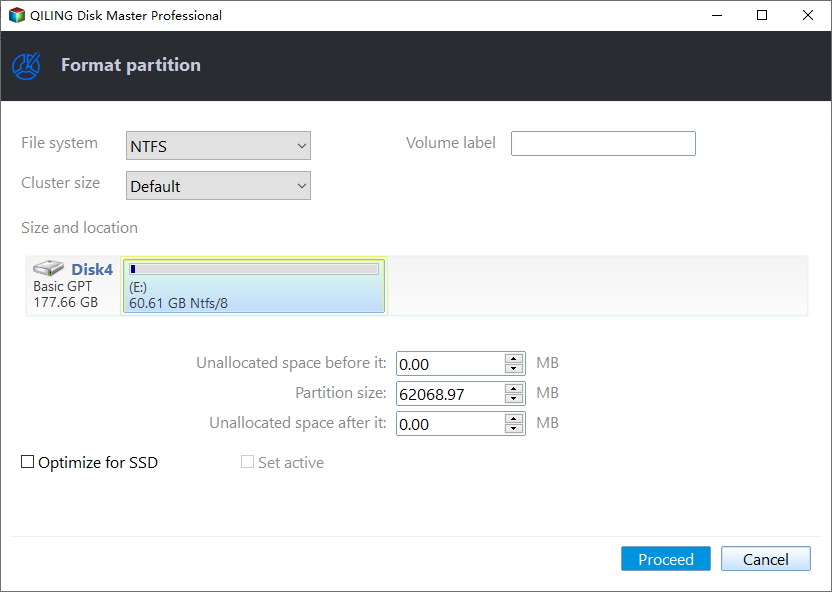
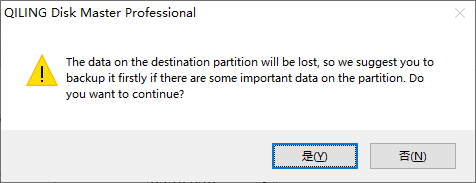
Step 3. Format, Preview, and Proceed
Choose FAT32 for maximum compatibility with televisions, car stereos, and cameras, or exFAT for files larger than 4 GB. Read the warning, preview the pending operations, then click Proceed to execute them.
Verify the Drive After Repair
Reconnect the stick and confirm that File Explorer reports the expected capacity. Copy a file larger than 4 GB if you chose exFAT, and copy a batch of small files to test the directory. A drive that drops out during writing, or that again reports a tiny size, has a controller or flash problem and should not hold anything you cannot lose.
If the real capacity is smaller than the label, the stick may be counterfeit. Write a full set of test files until the drive is completely full, then read them back; failures near the end reveal flash that does not exist.
Frequently Asked Questions
Can I just format the small partition to fix it?
No. Formatting acts on the existing partition, so the unallocated space stays unallocated. You have to delete the partition and create a new one that spans the device.
Is the missing capacity gone for good?
Usually not. If the unallocated space is visible in Disk Management or Disk Master, the flash is still there and a new partition restores it. If the device itself reports the smaller size, the controller may be failing.
Will repairing the drive erase the old files?
Yes. Deleting the partition and formatting removes the file system records. Recover the files to another disk first, then repair.
Why did this happen after writing an ISO?
Imaging tools create their own small partition and ignore the rest. The stick is not damaged; the original layout was simply replaced.
For a stick that shows zero bytes rather than a reduced size, read what to do when a USB drive shows 0 bytes.
Related Articles
- Recover Files When a USB Drive Shows 0 Bytes
- Format a BYJU SD Card Safely on Windows
- Camera Memory Card Photo Recovery on Windows
- Recover Files After Formatting a Portable SSD by Mistake
Products
Articles & Tutorials
- Data Recovery
- Data Backup
- File Recovery
- File Backup
- System Backup and Restore
- Disk and Partition Clone
- Technical articles
- Mobile articles
- Disk Master Help
- Windows Data Recovery Tutorials
- Windows Secure Delete Tutorials
- Windows Partition Management Tutorials
- Windows File Backup and Restore Tutorials
- Windows System Backup and Restore Tutorials
- Windows Disk Backup and Restore Tutorials
- Windows Clone Tutorials