Robocopy /MIR Deleted Destination Files: Recovery Steps
Robocopy /MIR mirrors a source directory to a destination. It also deletes destination entries that are absent from the source. If the source path was empty, wrong, or temporarily unavailable, the destination may lose files you expected to keep. Do not rerun the command until the paths and effects are understood.
Stop further writes and identify the target
Step 1. Stop the scheduled mirror job and preserve its command line and log. Record the source and destination paths exactly, including network share names and trailing folder levels.
Step 2. Determine whether the missing files were deleted from a local disk, external disk, or NAS share. A local recovery scanner generally cannot scan a NAS share as raw media; use snapshots or NAS recycle features first.
Step 3. Avoid copying new files to the affected destination. Do not run another /MIR to “undo” the first run; it will make the destination match the current source again, not recreate old files.
Microsoft's Robocopy documentation confirms that /MIR includes deletion of destination-only entries.
Look for intact copies before scanning
Check the source directory, File History, Previous Versions, OneDrive recycle bin or version history, NAS snapshots, and independent backup images. Copy intact versions to a separate drive and verify them. The Windows Recycle Bin may not contain files deleted by a command-line mirror.
Scan a local destination with Qiling
If the deleted destination was a local HDD or SSD and no backup contains the files, use Qiling Deep Data Recovery. The chance is lower on SSDs when TRIM has already reclaimed the blocks.
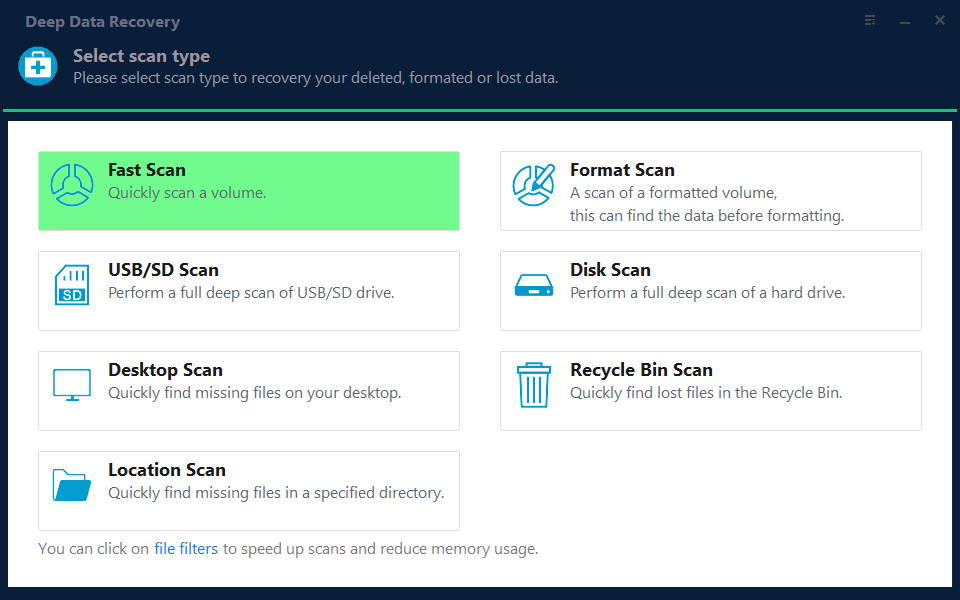
Step 1. Install the recovery tool on another disk, select its deleted-file or lost-file scan mode, and leave the affected destination as untouched as possible.
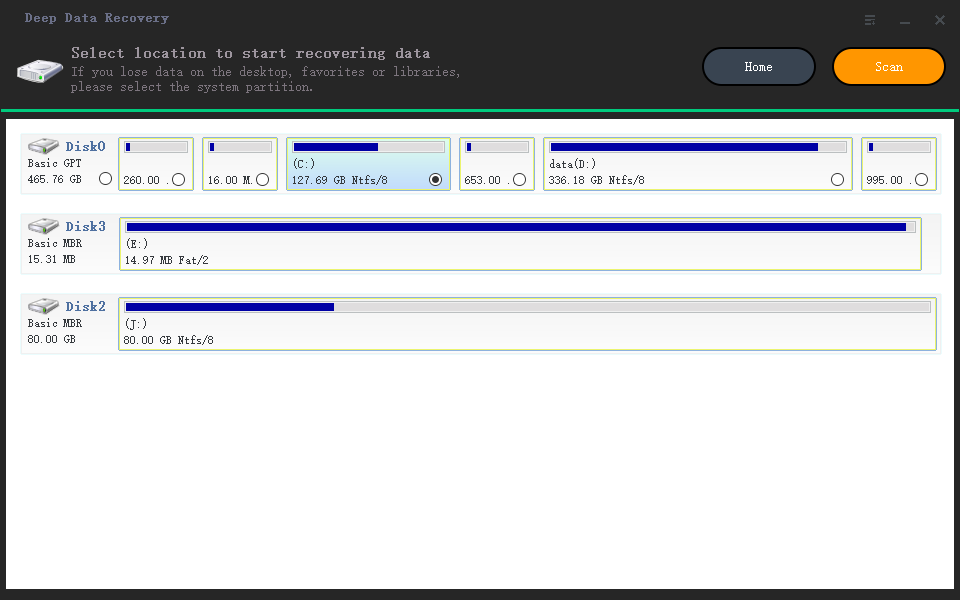
Step 2. Identify the destination disk by model, size, and drive letter. Scan that disk, not the source, unless the source itself was also damaged.
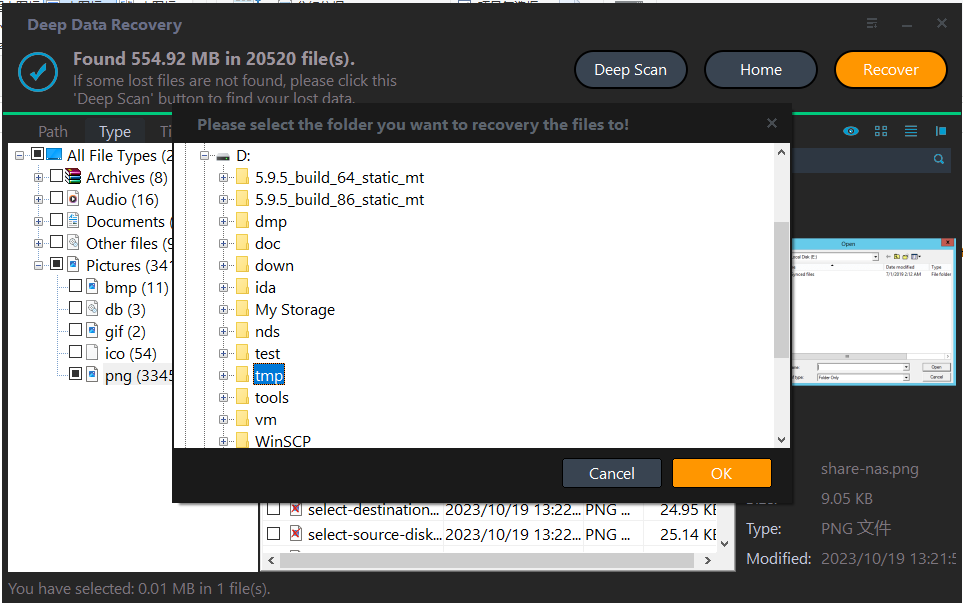
Step 3. Filter by former path and file type, preview candidate files, and recover them to a different physical drive. Check contents and timestamps; names can be lost or reused.
Make future mirrors safer
Use /L to preview a Robocopy job, verify the source is mounted and nonempty, and keep a log. Keep a versioned backup that does not mirror deletions immediately. If you only need to copy new or changed files, choose a non-purging method and test it on a small folder first.
Related Articles
- Robocopy Folder Copy
Compare copy options before using mirror mode. - Verify Backups
Maintain a separate versioned copy.
Products
Articles & Tutorials
- Data Recovery
- Data Backup
- File Recovery
- File Backup
- System Backup and Restore
- Disk and Partition Clone
- Technical articles
- Mobile articles
- Disk Master Help
- Windows Data Recovery Tutorials
- Windows Secure Delete Tutorials
- Windows Partition Management Tutorials
- Windows File Backup and Restore Tutorials
- Windows System Backup and Restore Tutorials
- Windows Disk Backup and Restore Tutorials
- Windows Clone Tutorials