How to Use Robocopy Command to Copy Folders and Subfolders
If you're struggling to copy or move large folders and subfolders from one drive to another, this article has a solution. Instead of using Xcopy, you can use Robocopy commands to copy folders and subfolders on Windows. This technique will be discussed in detail, and a third-party tool will also be introduced to automatically back up files.
Can You Move Folders and Subfolders Using Robocopy
Robocopy command for making an exact copy
byu/Qbccd insysadmin
The Robocopy command is a popular tool for copying files and folders, and many users on Reddit are looking for a straightforward way to use it. The basic syntax for copying files and folders with Robocopy is: robocopy [source] [destination] [options]. Commonly used options include /COPY, /MOV, /MOVE, /MIR, /S, /E, /Z, and /LOG.
Robocopy, a command line utility on Windows, allows for the seamless transfer of folders and subfolders between drives, making it ideal for moving large datasets that would otherwise take a long time using other methods.
Moving folders using Robocopy means that no copy of the file will be left in the source drive, while copying folders will leave a copy in the source drive. This is accomplished by typing specific commands on Command Prompt.
You can use the following Robocopy command to copy folders and subfolders: `robocopy C:\Source C:\Destination /S /Z /LOG:C:\log.txt`
- robocopy c:\temp\source c:\temp\destination /E /DCOPY:DAT /R:10 /W:3. The /E option in Robocopy copies all subfolders, including empty ones, whereas the /S option only copies subfolders that are not empty.
or
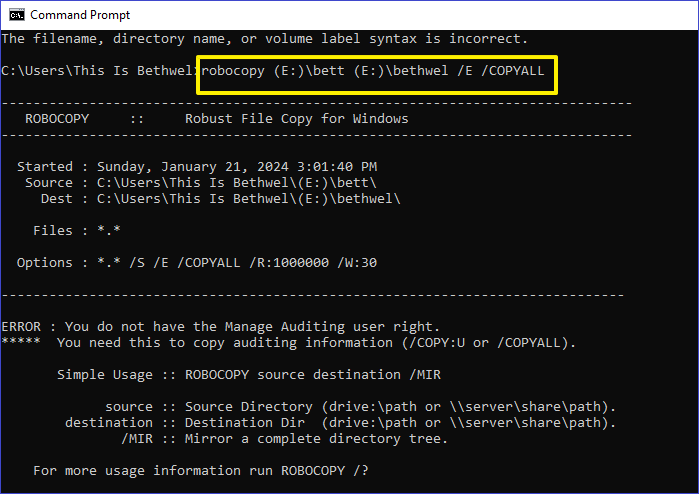
- robocopy C:\src E:\dst /E /COPYALL
We can break down this command as follows.
- C:src represents the source drive.
- E:dst represents the destination drive.
- /E means select all empty subfolders.
- /COPYALL means copy everything.
To copy folders and subfolders using Robocopy, you can use the command with the /MIR option, which stands for mirror. This option will copy the contents of the source folder to the destination folder, including all subfolders and files, and will also delete any files or folders in the destination that are not present in the source.
Xcopy is a command-line utility that allows you to copy files and folders, including their subfolders, with a simple syntax. It can be used in various scenarios, such as copying a single folder, multiple folders, or even an entire directory tree, and can be customized to suit specific needs, like copying files with specific extensions or dates.
Copy Folders and Subfolders Using Xcopy Command
You can learn about Xcopy, a command used to copy folders and subfolders, and how to use it in various scenarios through this post. Read more >
How to Copy Folders and Subfolders Using Robocopy
Robocopy allows you to either copy or move folders/subfolders between drives. If you want to retain a copy of the data on the source drive, use the "Copy" approach. If you want to move data and leave nothing in the source drive, use the "Move" approach.
Case 1. Robocopy Copy Folder and Subfolders
To Robocopy copy folders and subfolders with permissions on your Windows PC, launch Command Prompt as an administrator and use the command `robocopy C:\Source C:\Destination /MIR /COPYALL /Z /LOG:C:\robocopy.log`, replacing "C:\Source" and "C:\Destination" with the actual paths to the source and destination folders. This command will mirror the source folder to the destination, preserving permissions and copying all file and folder attributes.
robocopy C:\src E:\dst
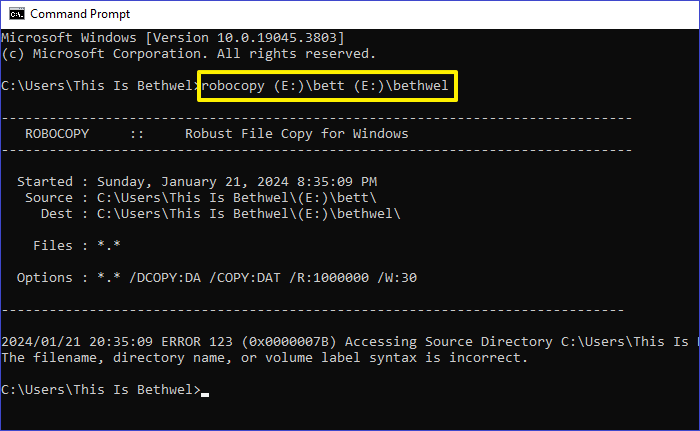
You can copy all files, including NTFS ACLs, folders, subfolders, and other file attributes, by adding the "/E" command option to select all empty subfolders and the "/COPYALL" command option to copy all file attributes.
To copy all folders and subfolders, use the following Robocopy command: `robocopy "C:\Source\folder" "C:\Destination\folder" /MIR /COPY:DAT /DCOPY:T /LOG:"C:\Destination\folder\robocopy.log"`.
robocopy C:\src E:\dst /E /COPYALL
Note: The /E option copies all subfolders including empty ones, while /COPYALL copies all file information including NTFS permissions, owner, and auditing information.
Case 2. Robocopy Move Folder and Subfolders
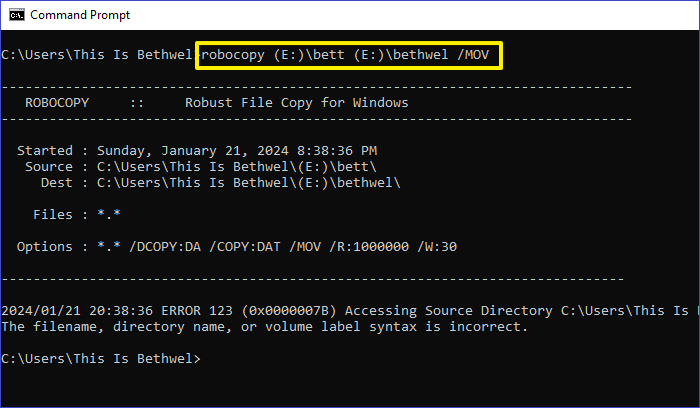
To maintain only copies of your files in the destination folder, you can use the /MOV option with Robocopy, which will move files from the source folder to the destination drive. A sample command to move files (without subfolders) from the source to the destination drive is: `robocopy "source folder" "destination folder" /mov`.
robocopy C:\src E:\dst /MOV
As an alternative, the Windows built-in `move` command can also be used to move all files from drive C to drive E. However, Robocopy offers more control and features. Make sure to replace "C" and "E" with the actual drive letters on your computer.
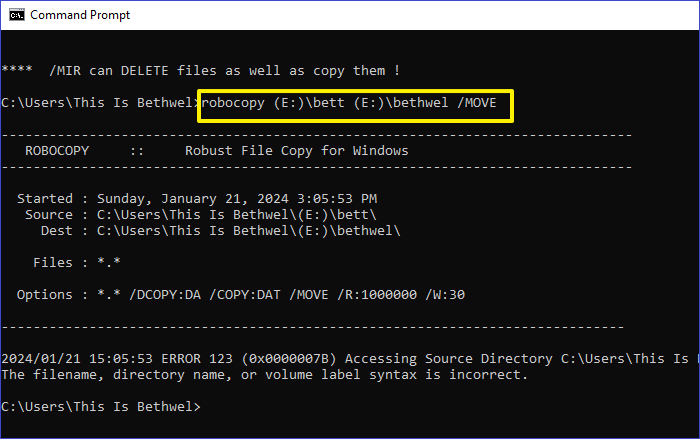
You can also use the /MOVE option with Robocopy to move both files and folders (including subdirectories) from the source to the destination drive. Unlike /MOV, which only moves files, /MOVE transfers the entire directory structure.
robocopy C:\src E:\dst /MOVE
Share this blog on your social platforms to help others if you find it useful.
How to Use Robocopy to Copy Files Over Network
Robocopy allows you to move files over a network, but you may encounter network interruptions. To address this, you can use the "/Z" command option, which restarts file transfer if it stalls due to network downtime. This ensures that your file transfer process is not interrupted and can continue smoothly.
To prevent file transfer failures, you can use Robocopy with the "/FFT" command option to preserve file timestamps while copying files over a network. This allows for a seamless file transfer process, and the command can be used to easily copy files across a network.
robocopy C:\src \\SRV1\share /Z /FFT
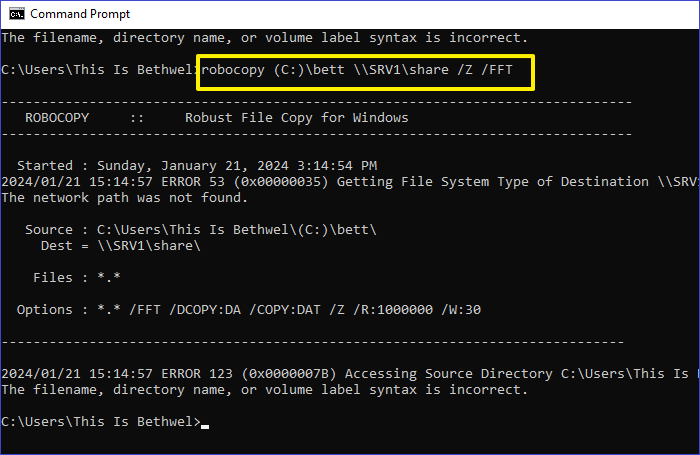
Robocopy will copy files over a network server while preserving file timestamps and preventing network interruptions.
To add an inter-packet gap option to the Robocopy command, you can include the "/IPG" switch followed by a time value in milliseconds. This allows Robocopy to pause between sending packets, potentially improving network performance and reducing congestion. For example, you could use the command "robocopy source destination /IPG:500" to specify a 500-millisecond pause between packets. This can be particularly useful in high-traffic network situations where packet congestion is a concern.
For All: Backup Files Automatically Instead of Copying🔥
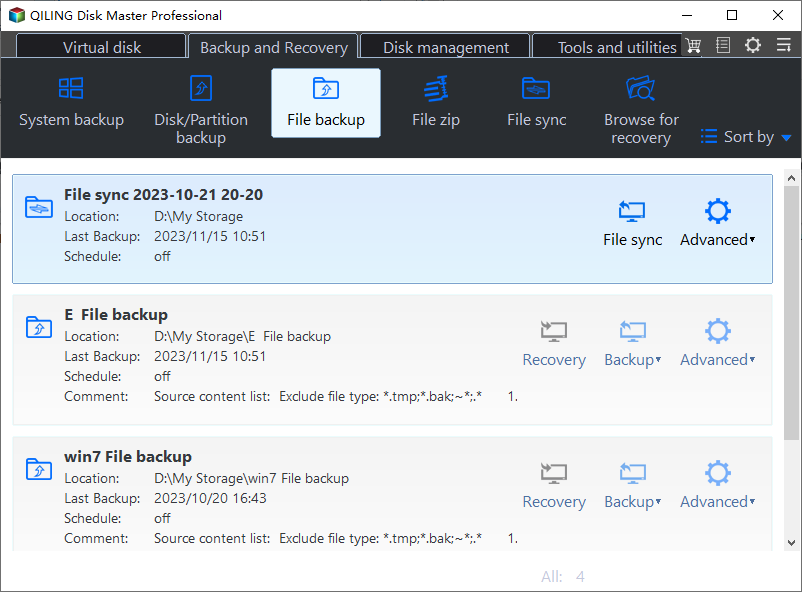
Instead of using Robocopy to manually copy files from one drive to another for backup, you can use backup software like Qiling Disk Master to automate the process. This free tool allows you to back up all your data with just a few clicks.
Qiling Disk Master allows you to back up your drives or files to different locations, including the cloud, network, external drives, NAS, or local drives, with a reliable automatic process, and easily restore backups to the same or different device.
Qiling Disk Master
- One-click backup and quick recovery with high efficiency
- Create a Windows system image on a USB drive
- Perform disk imaging or cloning in just several clicks
- Get 250G free cloud storage and back up your files to the cloud with a simple and secure service.
- Perform full, incremental, and differential backups
To back up all data on your PC's drives, download and use Qiling Disk Master, a free software that can be upgraded to a premium version for more features. Follow the steps below to get started.
Step 1. To initiate a backup, click the Select backup contents option.

Step 2. There are four data backup categories, File, Disk, OS, and Mail, click File.
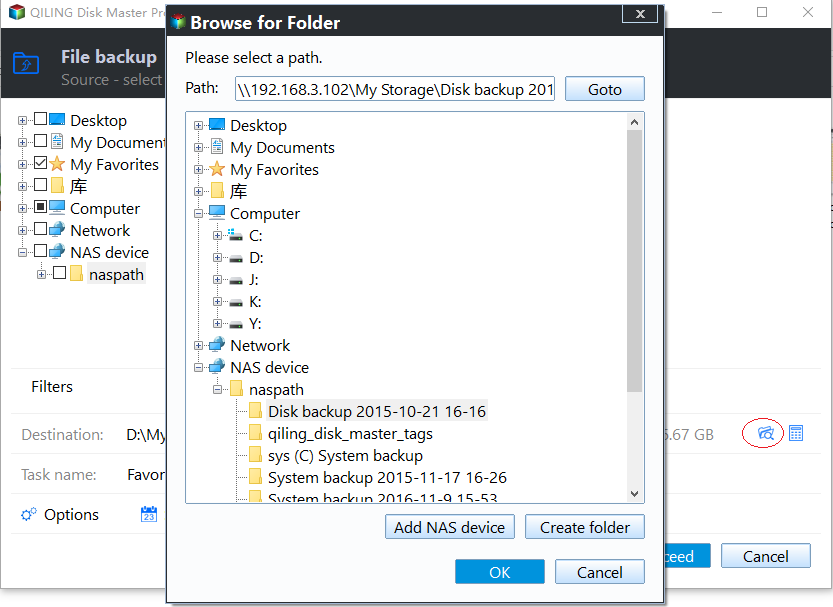
Step 3. On the left, both local and network files will be displayed, allowing you to browse and select the desired backup files from the directory.
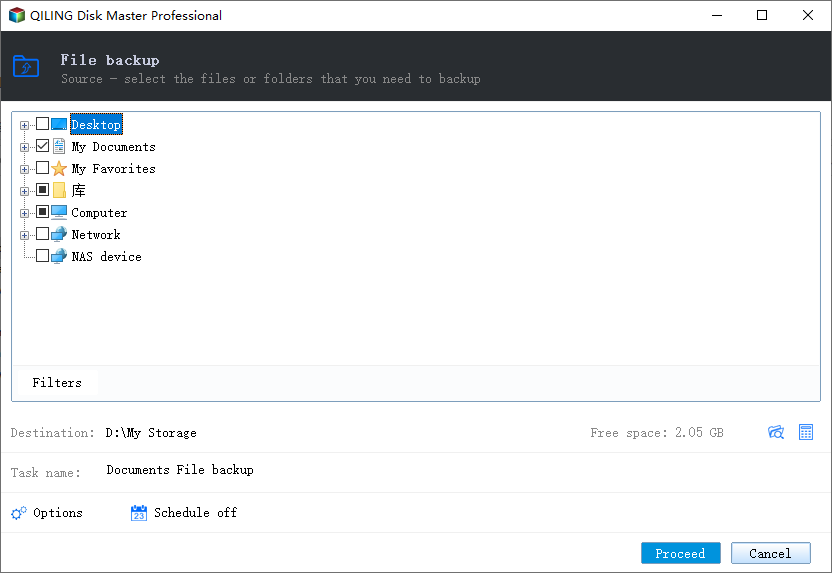
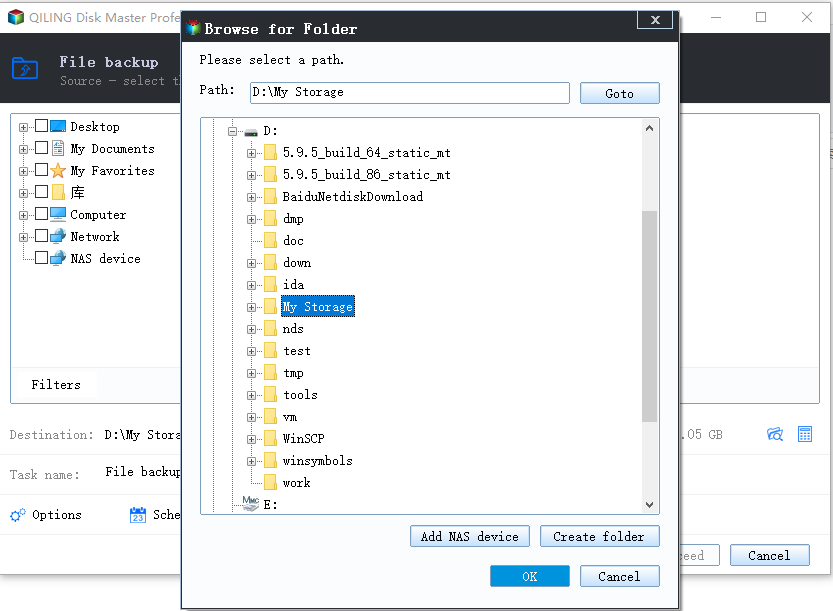
Step 4. Follow the on-screen instructions to select a location to store the backup.
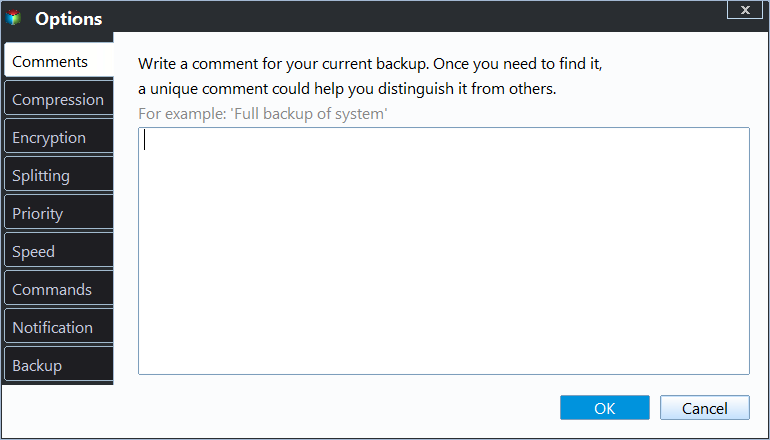
To encrypt the backup with a password, click on "Options" in the "Backup Options" menu, then select the desired encryption method. Next, click on "Backup Scheme" to choose the backup schedule and specify the start event. Additionally, you can customize the backup process by selecting other available options.
Step 5. The backup may be stored on a local disk, Qiling's online service, or NAS.
Step 6. Qiling Disk Master allows customers to back up data to both a third-party cloud drive and its own cloud drive.
To back up data to a cloud drive, select Local Drive, scroll down to add Cloud Device, and then add and log in to your account provided by a third party.
Step 7. Click Proceed to start a backup job, which will be displayed as a card on the panel once completed. The backup job can then be further managed by right-clicking on it.
To Wrap Things Up
You can use the command line to copy folders and subfolders on Windows using Robocopy, a powerful utility that also allows you to move folders and subfolders seamlessly. Additionally, Robocopy enables you to copy files over a network, provided your PC has an internet connection, making it a versatile tool for managing files and folders.
If you want an alternative way to back up your files automatically instead of copying, you should try Qiling Disk Master. This third-party data backup software allows you to quickly save your files to different locations and recover them when needed. To get started, download and install it on your PC.
Use Robocopy to Copy Folder and Subfolders FAQs
Robocopy is a Windows utility that allows users to copy all files and folders. Below are frequently asked questions about using Robocopy for this purpose.
1. What Switch Do You Use with Xcopy or Robocopy to Copy Subdirectories?
The /S, /E, and /T switches in Xcopy or Robocopy allow for different subdirectory handling options. /S copies only occupied directories, /E copies all directories including empty ones, and /T copies the directory structure without files.
2. What Is Faster Robocopy or Xcopy?
Robocopy is a faster alternative to Xcopy, offering a retry option in case of errors during file transfer, whereas Xcopy does not. This makes Robocopy a more efficient option, eliminating the need to repeat copying data if errors are encountered.
3. What Are the Disadvantages of Robocopy?
The main disadvantages of Robocopy include the following:
- Complexity - Since it runs on the command line, it takes time for an average user to familiarize themselves with the Robocopy commands.
- Buggy - Robocopy is not entirely secure because you may encounter bugs from time to time.
- Supports only Windows - Robocopy is a Windows utility that can't be used on other operating systems like Linux or Mac.
Although it has some disadvantages, Robocopy is still useful.
4. Does Robocopy Copy Everything?
When copying files with Robocopy, it only copies files that have different attributes (size and time stamps) between the source and destination, skipping files with similar attributes.
Related Articles
- [SOLVED] Laptop Keeps Freezing and Crashing
- Seagate Backup Plus Software Downloads and Explanation [perfect tips]
- Solution: Windows Could Not Find the Recovery Environment
- Free Download PXE Boot Server to Boot Multiple Computers on Network
- 8 Solutions for Google Photos Not Backing Up Issue
- How to Move Files to External Hard Drive Without Copying - 2 Alternative Ways
Are you tired of wasting time manually copying and pasting data to an external hard drive? This post will show you how to move files to external hard drive without copying them, saving you time and effort.