How to Unformat Hard Drive on Windows 7 PC to Rescue Lost Data
Quick Navigation:
- Is it possible to unformat hard drive in Windows 7?
- What to do before unformat hard drive in Windows 7 to retrieve data?
- Here are the simple steps for how to use Deep Data Recovery to unformat hard drive in Windows 7.
- Step 1. Install the unforamt hard drive software
- Step 2. Select formatted files to retrieve
- Step 3. Select the hard drive to unformat
- Step 4. Unformat hard drive in Windows 7
Need to know how to unformat hard drive in Windows 7 to recover lost files from the either intentional or unintentional hard drive formatting? Here in this article, you'll learn how to use Deep Data Recovery to scan your hard drive on Windows 7, preview and recover the important files you need back to the Windows 7 PC.
Is it possible to unformat hard drive in Windows 7?
To be honest, it depends. Format is a Micorosoft DOS command which can be run to remove information from a hard drive. Basically, there are 2 types of format: Low-level format & High-level format.
Low-level format means you create something new to overwritten all the files that used to occupy the area in the actual structure.
High-level format is a process of creating logic structures and it can be divided into 2 types: quick format and full format. Full format uses the chkdsk command to scan the bad sector and remove the table while quick format just removes the table.
Whatever reasons for you to format your hard drive in Windows 7, the first and most important thing you need to do is to backup the hard drive. Otherwise, you'll lose all the files or have to unformat the hard drive to restore the files on the hard drive. If you haven't backed up the hard drive before formatting, then you have to unformat it. Luckily, the commonly format an ordinary computer user like to use is the high-level format which appears in the right-click option "format". It only marks all files on the hard drive as useless files, making them invisible and being ready to overwritten them. They are still on the hard drive. While the low-level format will cause all the data lost forever.
What to do before unformat hard drive in Windows 7 to retrieve data?
1. Please keep in mind, you need to protect the formatted data on the hard drive from being overwritten by new data. What to do? Do nothing! Never reformat the hard drive again, or do any command + Z, trying to unformat the hard drive.
2. Download a professional formatted hard drive recovery tool, like Deep Data Recovery to scan your hard drive for the formatted data on Windows 7 PC. You can't see the file physically, you have to rely on professional tools and follow the guides to recover files.
Deep Data Recovery is a professional yet affordable tool which is designed for people to recover deleted files or lost data recovery directly from Windows 7 PC and any external hard drives connected to the PC. It supports almost all the file types you use on computer or flash drives daily.
Your Safe & Effective Unformat Hard Drive Software
- Supports all file types. It means it allows you to recover almost all the commonly used files from the formatted hard drive, including photos, documents, videos, music, archives, email and more.
- Supported unformat SSD, HDD, external hard drive, memory card, USB flash drive, pen drive, MP3/MP4 player, camera etc.
- It's read-only and risk-free. No operations will overwrite your original data. but perform very well for formatted hard drive recovery.
Here are the simple steps for how to use Deep Data Recovery to unformat hard drive in Windows 7.
Step 1. Install the unforamt hard drive software
Click the download button to get the installation package of the unformat hard drive software for Windows 7. After then, double-click the .exe file to install it on your PC. It is fully compatible with Windows 7, there will be no incompatibility at all. It is virus free and standalone, working robust.
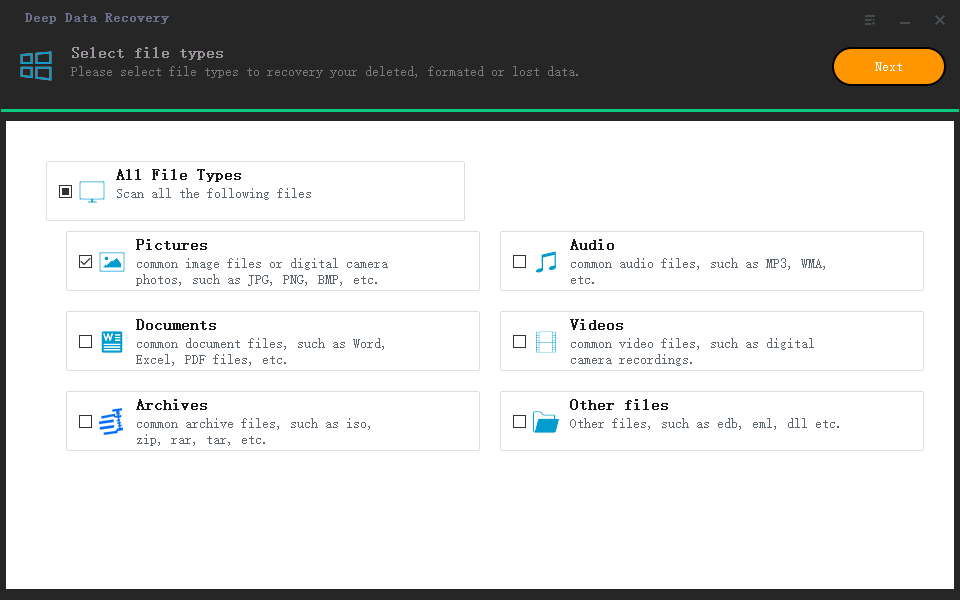
Step 2. Select formatted files to retrieve
Your goal is to unformat the hard drive in Windows 7 to recover lost data, then you must know which file type(s) you need. All supported files are selected and the software is ready to scan your hard drive for all of them. In this case, you need to untick the unwanted file types and keep the wanted ones checked. It will save you time while unformating the hard drive to recover lost data. Click "Next" to unformat your partition, namely rescuing formatted data.
Step 3. Select the hard drive to unformat
Next, all partitions on your Windows 7 PC as well as external hard drives are listed in the main window. You should check the formatted hard drive and click "Scan" to let the software scanning data on it.

Step 4. Unformat hard drive in Windows 7
How long it takes to scan your formatted hard drive fully depends on how many files on it. The longer it takes, the better, because it means the software will find more files for you.
While scanning the formatted hard drive, the software is displaying the found files. After the scanning process, you can see all files are listed by category. You can click to unfold the corresponding category in the left side to open the subdirectory to check all files under this type for preview. If you find a target file, you can click "Recover" to save them to your computer again.

The default scanning mode you're using is Quick Scan. If you still have some files not found, try the "Deep Scan" feature in the result window. It will scan deeper on your hard drive for lost files.
Related Articles
- 6 Ways to fix Windows 7/10 Was Unable to Complete the Format SD Card/Pen Drive/Flash Drive
- How to Unformat Flash Drive
- How to Unformat Partition in Windows
- Continuous Data Protection: All Things You Need to Know
In this article, we will tell you what continuous data protection is and how continuous data protection work. This post will also find the advantages and disadvantages of continuous data protection. - Fix Delete Volume Greyed Out in Disk Management on Windows 7/8/10/11
From this passage, you will know why - Disable Keylogger in Windows 11 to Stop Microsoft from Collecting Your Data
We value important data privacy. Here, we introduce 2 easy methods to disable the keylogger on Windows 11.