What Is Minimum Processor State? Everything You Need to Know
What Is Minimum Processor State?
If you're a Windows 10/11 user, Minimum Processor State is a great way to max out your CPU. It reduces power consumption by providing the CPU with the least amount of power when it's performing minimal tasks or is inactive, allowing you to make the most of your processor.
While using the system with this method, it's not the most recommended approach, it can still meet your needs temporarily. However, it's best to use it on a computer with a good cooling system to avoid overheating issues.
To set, add, or remove the Minimum Processor State in Windows 10/11, navigate to the Power options under System settings. This functionality allows you to customize your system's performance. In this guide, we will walk you through the process of setting, adding, or removing the Minimum Processor State.
What Is the Recommended Minimum Processor State?
The default minimum processor state in Windows 10/11 is 5%, which is also the most recommended minimum by experts, allowing minimal CPU programs to run well in low CPU states and enabling system configuration, monitoring, and battery power conservation. This can be set to 100% for heavy programs like gaming.
How to Set Minimum Processor State on Windows 10/11?
To set the Minimum Processor State, users can follow these steps:
This step-by-step guide will help you personalize the power options under Control Panel, and where you can find these options in Windows 10/11.
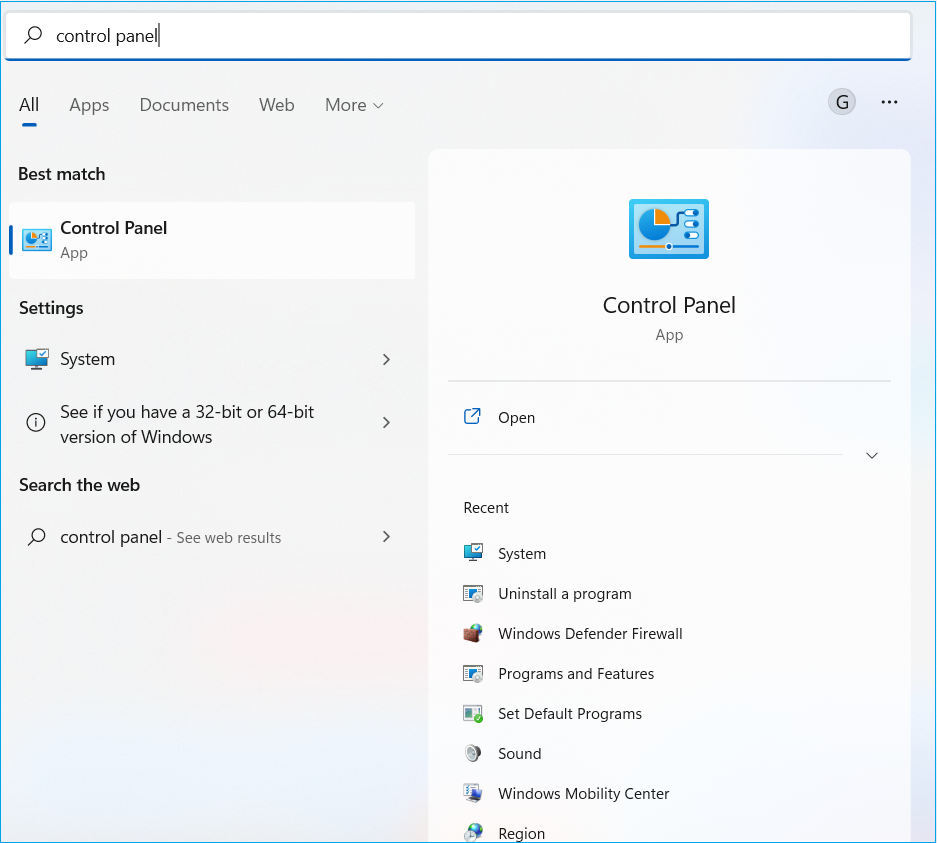
Step 1: To open the Control Panel in Windows, go to the Search bar, type "Control Panel" and open the app from the results.
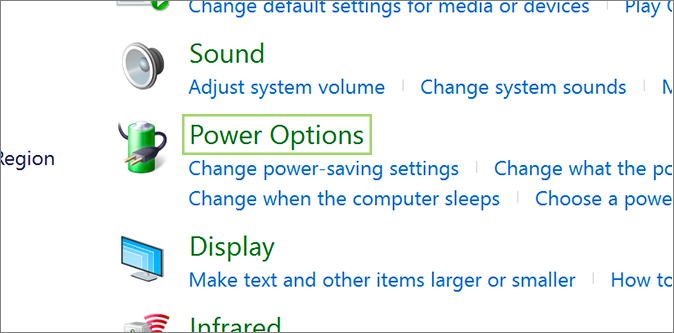
Step 2: To access the Power Options in the Hardware and Sound section, select "Hardware and Sound" and click "Power Options" in the list.
Step 3: Find and select "Change Plan Settings" from the next screen.
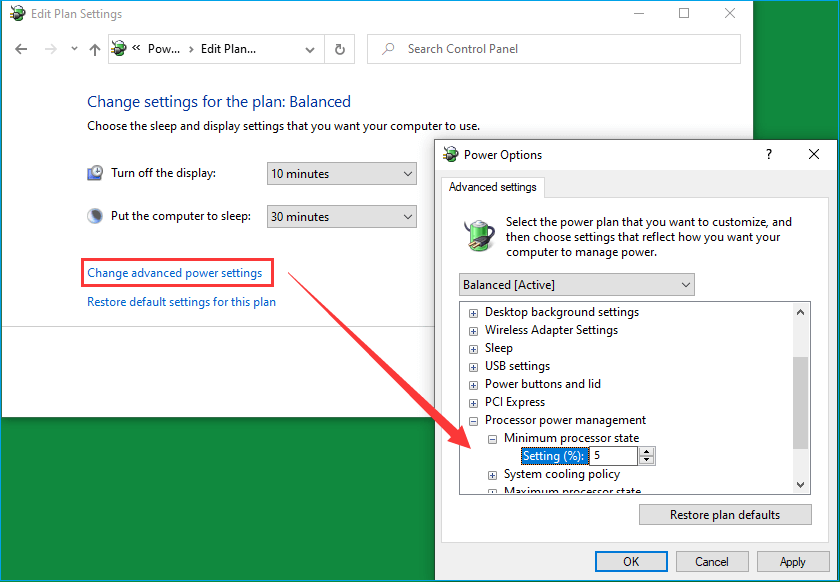
Step 4: Now, select the "power plan" as Change advanced power settings.
Step 5: To adjust the minimum processor state, click on the "Processor power management" option under the new window, then click on the "Minimum processor state" option and set your desired percentage, such as 5%.
Step 6: To save the changes, click "Apply" and then OK.
How to Add or Remove Minimum Processor State?
To add or remove Minimum Processor State in Power Options, follow these steps: go to Power Options, click on "Choose what the power buttons do", then click on "Change plan settings" for the selected power plan, click on "Change advanced power settings", scroll down and find "Processor power management", then click on the plus sign to add or remove Minimum Processor State.
Step 1: To open Notepad, press the Windows key and type "Notepad" in the search bar, then open the Notepad app.
Step 2: Paste the following Registry in Notepad.
Windows Registry Editor Version 5.00
[HKEY_LOCAL_MACHINE\SYSTEM\CurrentControlSet\Control\Power\PowerSettings\54533251-82be-4824-96c1-47b60b740d00\bc5038f7-23e0-4960-96da-33abaf5935ec] "Attributes"=dword:00000001
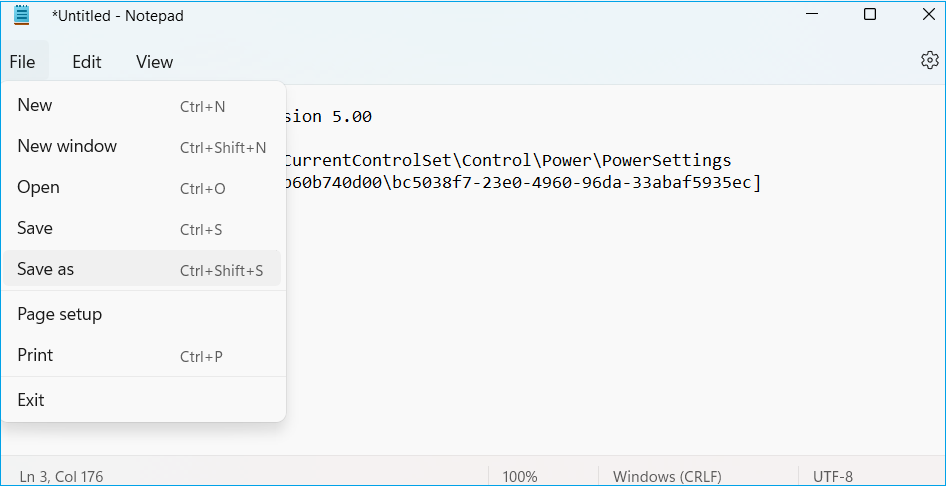
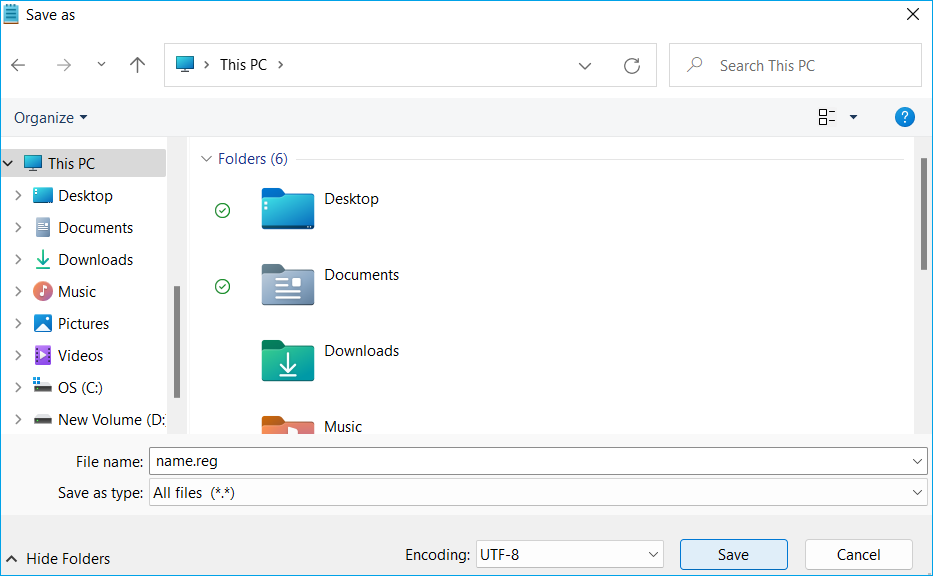
Step 3: To save a file, go to the "File" menu and click on "Save As".
Step 4: Choose a location on the computer, such as the desktop, and type a name with the .reg file extension, for example, "registry_changes.reg".
Step 5: To save the file with the .reg extension, select "All Files" from the Save as type dropdown menu and click the "Save" button.
Step 6: Double-click on the saved file and select "Yes" to open it.
If you have additional questions about Minimum Processor State, this article has covered the key aspects of the topic. Refer to the FAQ section below for further clarification.
Minimum Processor State FAQ
Here are some additional frequently asked questions to help you.
1. What should be the minimum processor state for gaming?
The Minimum Processor State is not relevant when doing heavy tasks like gaming, but it can affect power consumption when the system is idle or handling small processes, so there's no recommended value for gaming.
2. Can I set the minimum processor state to 0 or 100?
It's not recommended to set the Minimum Processor State to 0, but setting it to 100 can help utilize high CPU performance. The default value is 5%.
3. Will changing my minimum processor state to 100% damage my CPU?
The high-performance power plan can consume the battery quickly without improving the computer's performance, but it won't damage the CPU. When needed, setting the minimum processor state to 100% can be used.
Related Articles
- What Is a USB Flash Drive? All You Need to Know!
- What Is FTP? File Transfer Protocol Explained
- What Is M3U8 File? How to Open and Convert M3U8 File?
- What Is a File Server? Definition and How It Works.
- How to Fix Installer Information on The Recovery Server Is Damaged?
Are you a Mac user experiencing a common challenge of The installer information on the recovery server being damaged? In this article, you learn why the installer information error occurred and the right approach to fix the problem in a detailed manner. - IS 75 Degrees Too Hot For a PC? Everything You Should Know
Is your PC getting slow? Is 75 degrees too hot for a PC? The guide below answers all your PC temperature concerns and helps you get the best performance.