What Is Power Automate? Everything You Need to Know about Microsoft Automation Tool
Microsoft Power Automate is a tool within Microsoft Office 365 that automates repetitive tasks, generating workflows between different applications and services. It also provides real-time alerts to notify stakeholders instantly. Licensed Office 365 users can easily utilize Power Automate to streamline their tasks.
You can automate tasks across over 500 apps, including Excel, Azure, and third-party apps like YouTube and Gmail, using Microsoft Power Automate to complete tasks, collect data, sync data, and send notifications, boosting work speed and productivity.
Power Automate Examples
Power Automate can streamline your professional life by automating repetitive tasks, improving productivity, and enhancing collaboration. It can be used to create workflows that trigger specific actions based on events, such as sending automated emails, updating spreadsheets, or notifying team members of changes. This can help reduce manual errors, increase efficiency, and free up time for more strategic and creative work.
- Example 1: Scheduling Meetings
- Example 2: Saving Email Attachments
- Example 3: Giving Approvals to Requests
- Example 4: Receive Instant Notification From your Boss
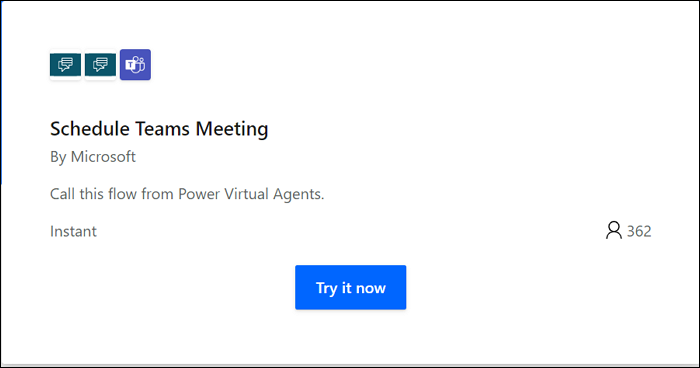
Example 1: Scheduling Meetings
You can instantly schedule meetings with your team members on Microsoft Teams without leaving the chat box by using the Power Automate app, which allows you to receive messages and schedule meetings directly from the chat box.
Example 2: Saving Email Attachments
Power Automate can automatically save email attachments to a SharePoint folder, making it easier to search for specific attachments.

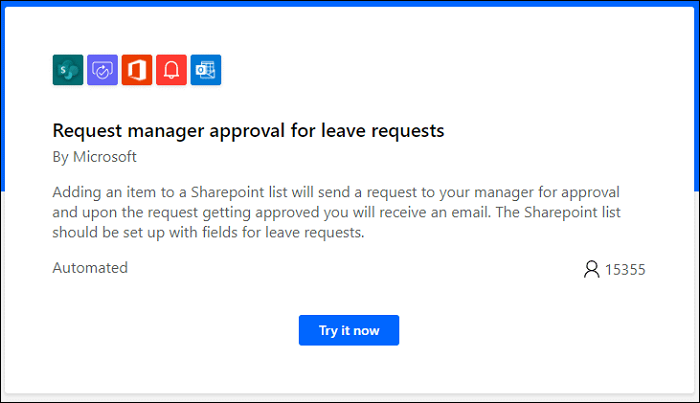
Example 3: Giving Approvals to Requests
You can save time by using Power Automate to automatically approve holiday requests, allowing employers to send automated requests to managers and receive instant notifications when approval is given.
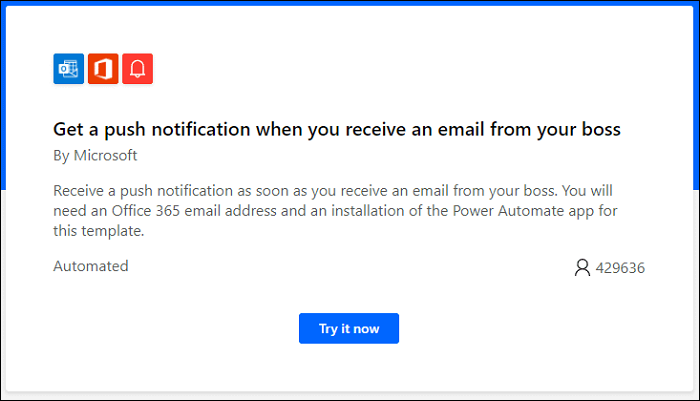
Example 4: Receive Instant Notification From your Boss
You can use Power Automate to receive push notifications whenever your boss sends you an email, allowing you to stay on top of important emails and respond promptly. This helps you stay organized and ensure you don't miss critical emails from your boss.
How to Use Power Automate
To use Microsoft Power Automate, start by logging in to your Power Automate account. Then, click on the "Create from template" button and search for a template that matches your needs. Once you've selected a template, click on the "Use this template" button.
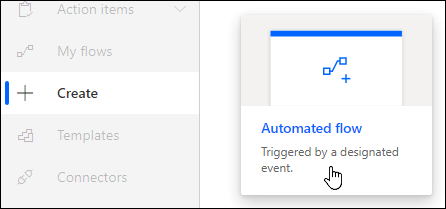
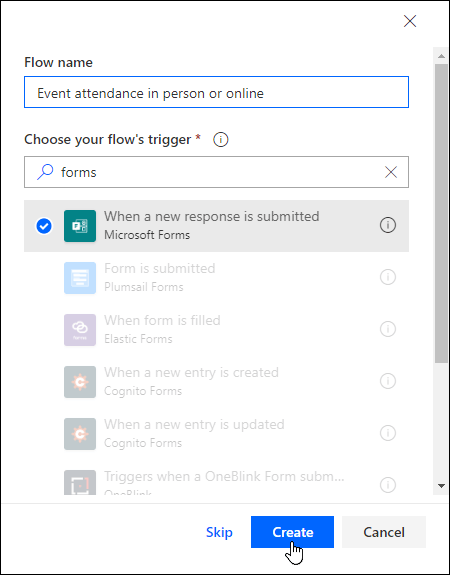
Step 1: To create a new flow in Microsoft Power Automate, open the application and click the "Create" button, then select the "Automated Flow" option.
Step 2: Give your Flow name and select "When a new response is submitted" as the trigger, then hit the "Create" button.
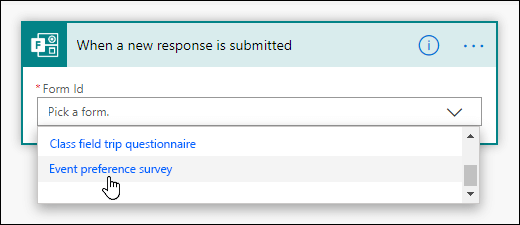
Step 3: On the newly displayed window, select the form you created in the "Form ID" dropdown, then click "New Step" to proceed.
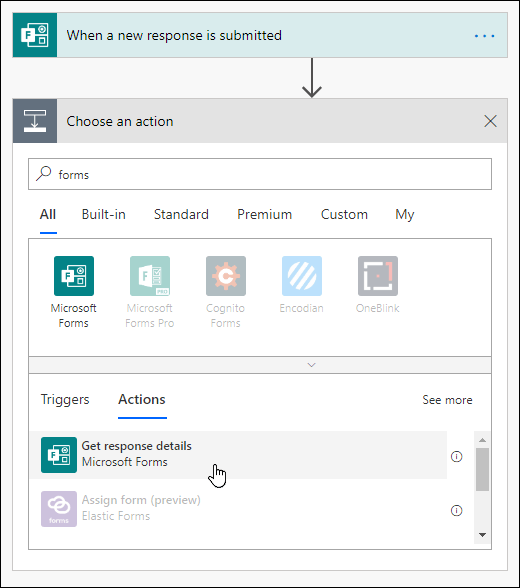
Step 4: To get response details, select "Forms" from the "Choose an action" dropdown, then go to the "Actions" tab and click "Get response details". Next, go to the "Form ID" and select the form you've created.
Step 5: To add a new step to a response ID, tap on "Response ID" and then tap on "New Step". Tap on the box under "Choose an action" that says "Search connectors and actions" and then select "Conditions" from the "Actions" tab.
Step 6: Click on the search box "Choose a value" and select the question you want to use to send an email, for example "Will you join this event in person?"
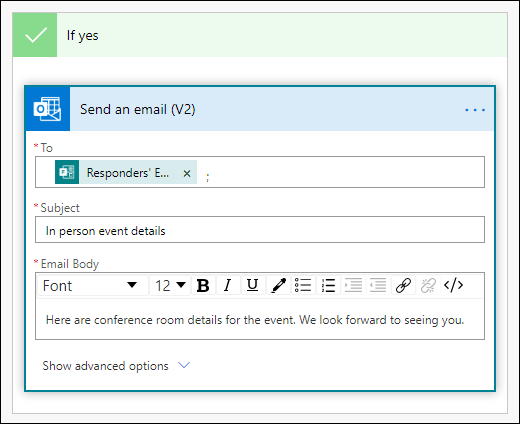
Step 7: To proceed with the "Choose a value" box, type "Yes" in it. Next, click on the "Add an action" button under the "If Yes" section. In the "Choose an Action" tab, click on "Search connectors and actions" and type "Email" to select the email action.
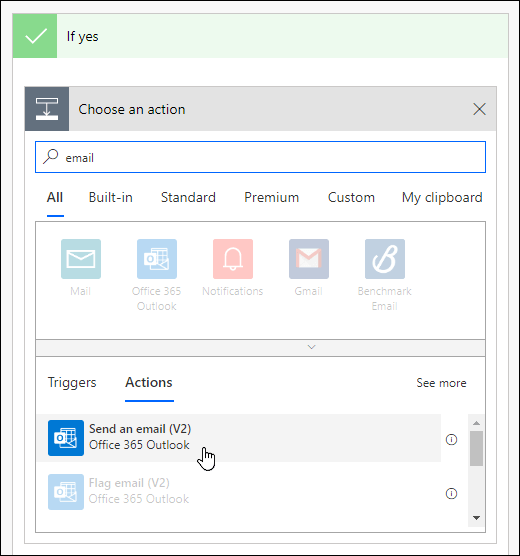
Step 8: To send an email to the responder, click on "Send an Email" and tap on the "To" box, choosing "Responder's Email". Add the subject and text body as desired, then follow the same steps for the "If no" section. Finally, hit the "Save" button.
Power Automate FAQ
1. Is Power Automate free?
Students can use all Microsoft Power Automate features with their school email address, and those with @outlook.com or @gmail.com emails can access the free plan, but sharing flows is not available in the free plan.
2. What are Power Automate pricing plans?
Microsoft Power Automate offers two pricing plans: a subscription-based model and a pay-per-flow-run model.
| Subscription Plans | Per User Plan: $15/Month; Per User Plan with Attended RPA: $40/Month; Per Flow Plan: $100/Month |
| Pay-as-you-go Plans | Cloud Flow Run: $0.60/Per Flow; Desktop Flow (Attended Mode) Run: $0.60/Per Flow; Desktop Flow (Unattended Mode) Run: $3/Per Flow |
3. What are Power Automate licenses?
There are two Power Automate licenses: Standalone plans and Seeded plans. Standalone plans are bought by the user in order to create general-purpose workflows. Whereas, Seeded plans have already embedded the Power Automate facility in the package. Here are the apps where you can access the Seeded plans:
- Dynamics 365 Team Member.
- Power Apps (Canvas and Model-driven Apps)- Per App plans.
- Dynamics 365 Professional.
- Power Apps per user.
- Microsoft 365 (formerly Office 365)
- Dynamics 365 Enterprise.
- Power Apps Plan 1 (grandfathered)
- Power Apps Plan 2 (grandfathered)
- Windows licenses.
Related Articles
- Reviews on Paragon Backup & Recovery [All Information]
- What Is Safe Mode On Windows And How To Enable It? [Full Guide]
- What Is Bootrec.exe? Everything You Need to Know About This Tool
- Memory vs. Storage on Mac: What Are The Differences? [Updated 2022]
- SanDisk Extreme Pro Portable SSDs Become Unreadable: Causes and Solutions
Fix SanDisk Extreme Portable SSD failing, not detected, or showing errors. Learn troubleshooting steps and data recovery options. - SanDisk Extreme Pro Portable SSD Not Detected: Troubleshooting and Data Recovery
The SanDisk Extreme Pro Portable SSD not being detected or recognized by a PC or Mac is a common issue. This problem can be caused by a faulty USB port, a corrupted driver, or a failing SSD. To resolve the issue, try using a different USB port, updating the driver, or restarting the device.