4 Ways to Fix Windows System Backup Failed in Preparing the Backup Image
Error
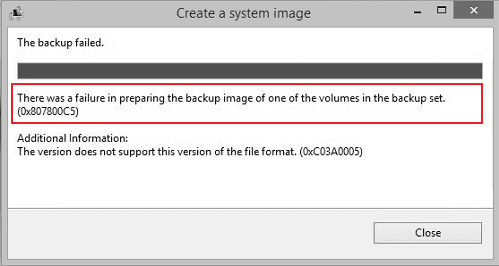
A backup failure occurred due to an issue with creating a backup image of one of the volumes in the backup set, resulting in error 0x807800c5.
The message is usually accompanied by additional information that provides more context about the failure, such as 'the mounted backup volume is inaccessible. Please retry the operation (0x8078004F)', 'backup disk cannot be found', or 'the version does not support this version of the file format'.
Cause
Preparing the backup image failed with error code 0x807800c5 is due to a conflict of identical folders named WindowsImageBackup, typically caused by Windows File History saving the system image to a folder with the same name, often located on a volume with sufficient unused space.
You tried to create another system image backup on the same drive as your previous one, but it failed with an error message saying that there was a problem creating the backup image for one of the volumes.
The catastrophe is caused by obsolete backup files in the same partition.
Solutions
After identifying the causes of the error, we can apply three common fixing methods in order of increasing complexity, from easiest to most complex. These methods can help resolve the issue.
Method 1. Get another free system backup solution
Qiling Backup offers a free solution for Windows users to create a backup of their operating system, files, folders, and drives, and restore it in case of system crashes, data loss, or formatting issues, serving as an alternative to Windows Backup and Restore when it fails to work properly.
To resolve the error message while creating a system backup, download and install Qiling Backup, and follow the wizard to complete the system backup process without any issues.
Step 1. Launch Qiling Backup on your computer, and click System Backup on the Backup and recovery page.

Step 3.The Windows operating system information and all system-related files and partitions will be automatically selected, so no manual selection is required at this step. Next, you'll need to choose a location to save the system image backup by clicking on the illustrated area.

Step 4. The backup location can be a local drive, external hard drive, network, cloud, or NAS, with external physical drives or cloud storage being recommended for preserving system backup files.

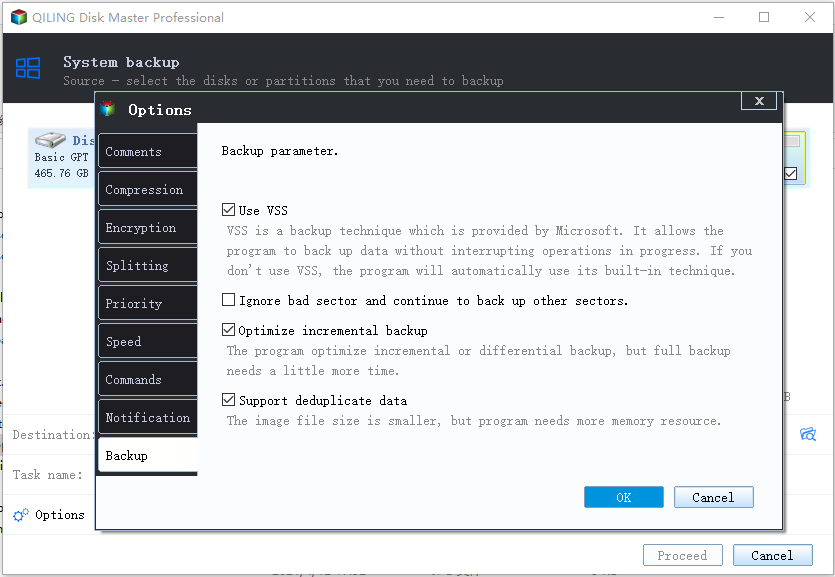
Step 5. Customization settings such as enabling an automatic backup schedule in daily, weekly, monthly, or upon an event, as well as making a differential and incremental backup, are available in the Options button. Clicking "Proceed" starts the Windows system backup process, which can be monitored on the left side in a card style once completed.
Method 2. Rename the old backup folder
Step 1. To access File History in Windows 8 or 10, open the Control Panel, navigate to the "System and Security" section, and click on "File History". This will allow you to view and manage your file history.
Step 2. To locate the backup image, double-click on the backup and restore program, which will show the path where the backup image is located. Follow this path to find the folder called WindowsImageBackup, for example, the path might be E:\WindowsImageBackup.
Step 3. To update the WindowsImageBackup folder name, simply rename it to WindowsImageBackup.old, allowing for a clear distinction between the original and the newly created backup.
Method 3. Recreate a new partition or format drive for Windows system backup
To successfully complete a Windows system backup, create a new partition or format the target USB/external hard drive to ensure it remains accessible and uncorrupted.
Method 4. Delete the previous system restore point and turn on Windows system protection
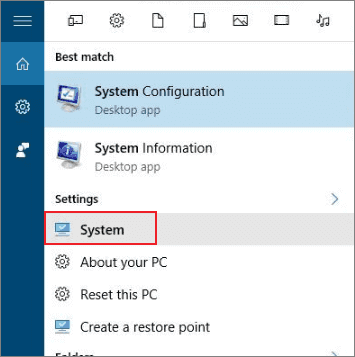
Step 1. Press "Win + S" > Type System > Select "System".
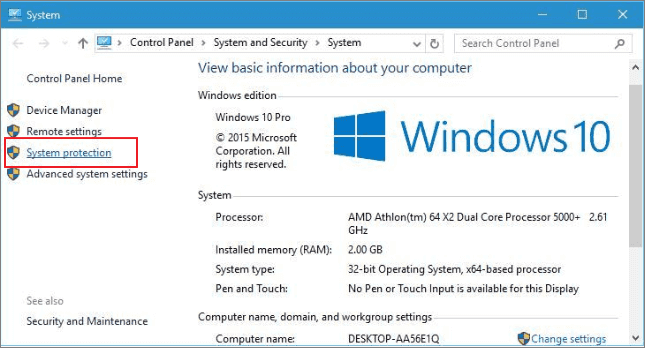
Step 2. Click "System protection" > "Configure" > "Disable system protection".
Step 3. Click "Delete" to delete previously created system restore points.
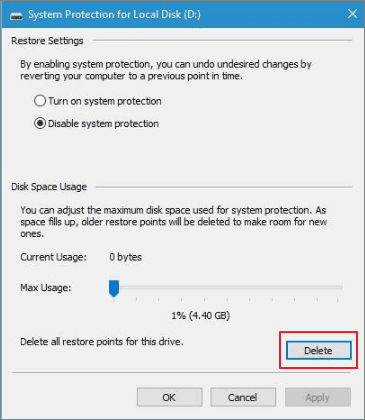
Step 4. Repeat step 1 > Click on "System protection" > "Configure".
Step 5. Select "Turn on system protection" > "Apply" > "OK".
To resolve the issue, you can try restarting your PC, and then you should be able to create a Windows system again.
Related Articles
- [Fix] A required device isn't connected or can't be accessed with error
- A File Error Has Occurred While Saving Word Document
- Windows 10 System Restore Points Gone and Missing
- How to Stop Windows 10 Update in Progress in 3 Ways
- How to Use Image reserve strategy in Qiling backup Personal Edition
- Difference Among Full, Incremental and Differential Backup