Halo Inifinite Keeps Crashing on PC: Solved by Specialists' 10 Ideas
| Workable Solutions | Step-by-step Troubleshooting |
|---|---|
| 1. What to Do if Halo Infinite Crashes | Halo Infinite crashing on a PC is a frustrating and unexpected problem many people face...Full steps |
| 2. 10 Effective Fixes |
|
Halo Infinite is a 2021 first-343 Industries and Xbox Game Studios collaborated on a new Halo game, which is the sixth mainline entry in the series and the third in the "Reclaimer Saga". The game follows Master Chief as he battles the Banished on Zeta Halo, Pin 07, and features a free-to-play multiplayer mode.
What to Do if Halo Infinite Is Crashing a Lot
Halo Infinite crashing on a PC can be frustrating and unexpected, causing the game to crash at startup or between gameplay sessions.
Some Windows PC users see this when loading screens or playing games if there is a strong resource demand. Due to the heavy use of graphics in this game, various factors can cause this issue. Therefore, it is necessary to find out the main reasons. Here are ten ways with which you can resolve this issue.
- 1. Check for conflicting programs
- 2. Disable full-screen optimizations
- 3. Disable in-game overlay
- 4. Verify the integrity of game files
- 5. Check your DLC
- 6. Check for system updates
- 7. Scan and repair Windows
- 8. Upgrade your graphics driver
- 9. Extend gaming partition size
- 10. Upgrade to a larger SSD
Windows 11 Ruined My Computer! Slows Down and Crashes a Lot
Windows 11, the latest version of Windows, has introduced significant changes that have caused problems for many users who have upgraded, resulting in computer issues.
How to Effectively Fix Halo Infinite Keeps Crashing Problem
If you're experiencing the Halo Infinite keeps crashing issue, you can try to fix it by following these detailed steps.
Fix 1. Check for Conflicting Programs
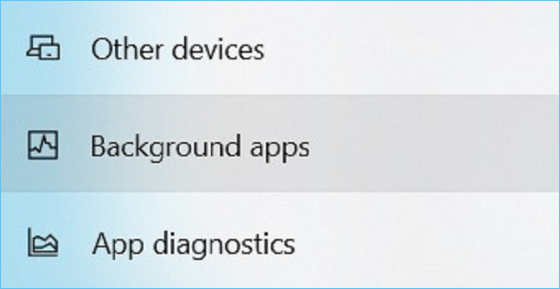
To resolve issues with Halo Infinite on your PC, try closing the game from the Background Apps setting. This can help resolve problems such as lag, freezing, or crashes. To do this, go to your PC's Settings, then select "Apps" and choose "Background apps.
Step 1. To disable background apps on Windows, press the Windows key + I to open the Settings app, then click on "Privacy" and select "Background apps" from the left pane.
Step 2. Now, search the Halo Infinite game title while scrolling through.

Step 3. To resolve the issue with the game's title not displaying properly, you should disable the toggle next to the game's title, close the window, and then restart your PC. This should resolve the problem.
Step 4. Now, check if your issue has been resolved.
Fix 2. Disable Full-Screen Optimizations
Full-Some players of Halo Infinite have reported that the game crashes, and a possible reason is Windows 10's Screen Optimization feature, which can improve performance for full-screen programs but may also cause issues. Turning this feature off might resolve the problem.
Step 1. To change the launch options for Halo Infinite on Steam, follow these steps: Go to the Library section of the Steam client, right-click on Halo Infinite, and select Properties. Then, navigate to the Local Files tab, click on Browse, and from the context menu of the Halo Infinite launcher, select Properties. This will allow you to modify the launch options for the game.
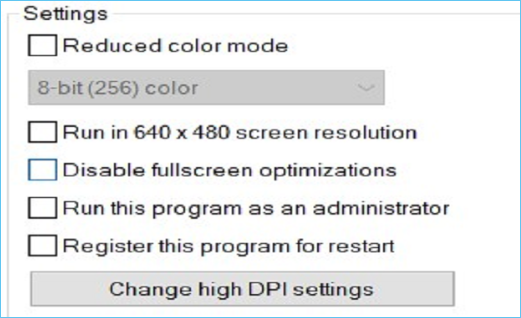
Step 2. To disable full-screen optimization, check the box next to "Disable full-screen optimization" in the pop-up window, and then select a high DPI setting to change it.
Step 3. To resolve the "Halo Infinite crashes" issue, select the Override high DPI scaling behavior check box and click OK to save the changes. This may resolve the problem.
Fix 3. Disable In-Game Overlay
Disabling Steam overlays and third-party overlay apps, such as Discord overlays, may resolve crash issues in Halo Infinite. These overlays can sometimes interfere with the game's performance.
For Discord
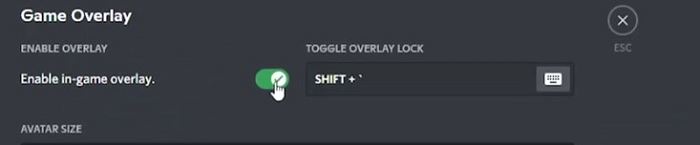
Step 1. To access Discord's Overlay feature, double-click the Discord icon in the system tray to launch the client, then click the gear icon in the upper left corner of Windows to access the Preferences menu, and finally, go to the Overlay tab in the application settings section.
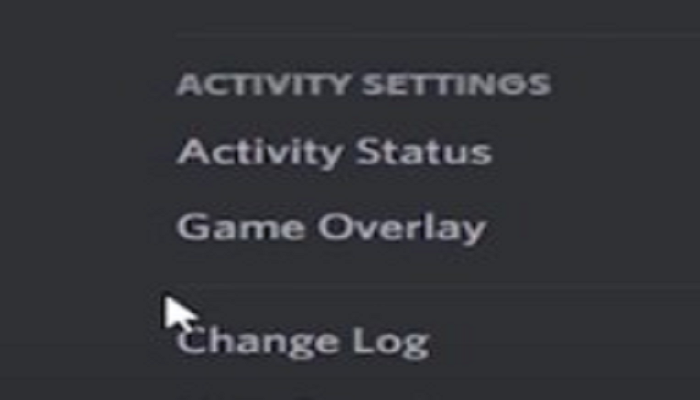
Step 2. Disable the toggle "Enable in-game overlay" in the right pane.
Step 3. You can now play any game and test if the Discord has been disabled, and also check if the "Halo Infinite crashes" issue is resolved.
For Steam
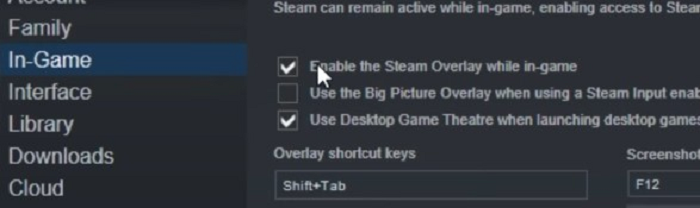
Step 1.To disable Steam overlays in Halo Infinite, go to the Library section of the Steam app, right-click on the game, select Properties, then go to the General page, scroll down and uncheck the option to enable Steam overlays.
Step 2. Disabling overlays can help fix Halo Infinite crashes on Windows 11/10 by preventing the game from interacting with unnecessary background programs, which can cause crashes and other issues.
Step 3. Now check if the "Halo Infinite crashes" issue is resolved.
Fix 4. Verify the Integrity of Game Files
Some Halo data may be corrupted, causing the "Infinite Halo crash" issue, but you can use Steam's built-in utility to check and repair the game files.
Step 1. Launch Steam, log in to your account, and go to your game library. Select Halo Infinite from the dropdown menu.
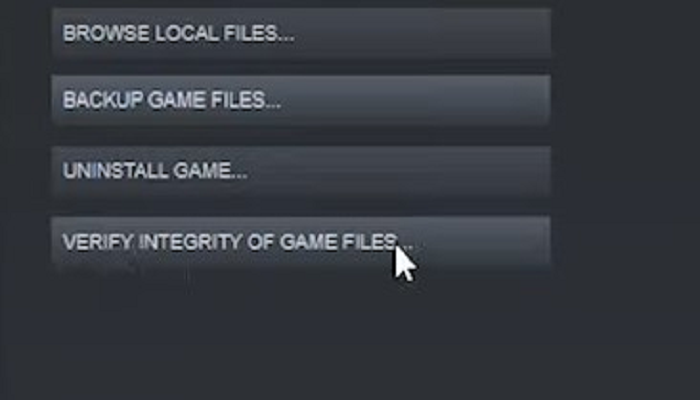
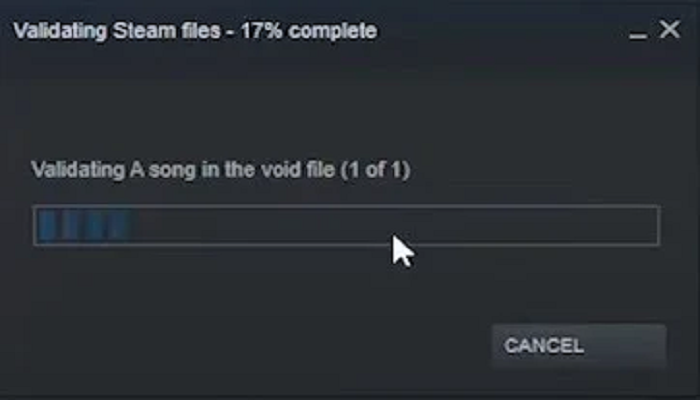
Step 2. To enable Game File Integrity Check, go to the properties window and select the Local File tab, and then select Game File Integrity Check, waiting for the scan to complete.
Step 3. To troubleshoot the issue with Halo Infinite crashing, I recommend relaunching the game after analyzing its files. This will allow you to determine if the problem persists or if it's resolved.
Fix 5. Check Your DLC
Halo fans have identified a potential solution to the glitch, which involves disabling the DLC called "Multiplayer High-Res Textures".
Step 1. To access the game's properties in Halo Infinite on Steam, go to the LIBRARY section of the Steam client, and from the right-click menu of Halo Infinite, select Properties.
Step 2. To resolve the issue, select the DLC from the right pane, then deselect the option before using HD multiplayer textures, and finally restart the game.
Fix 6. Check for System Updates
Upgrading to Windows 11 or Windows 10 can improve system stability and, in some cases, game performance.
Step 1. To open the Windows settings app, press the Windows logo and "I" keys simultaneously on your keyboard, which will open the settings app. From there, select "Update & Security" from the dropdown menu.
Step 2. Click on the "Check for updates" button to initiate the update process. This will allow Windows to scan for and install available patches, which may take some time to complete.
Step 3. Repeat the steps to check for updates until the message "Latest" appears, indicating that all system updates have been installed.
Step 4. After all system updates are installed, restart your computer and test the game.
Fix 7. Scan and Repair Windows
Before reinstalling Windows, you may need to perform a system scan using a Windows repair app. This can help identify and fix any issues that may be preventing the installation from completing successfully.
Step 1. To install Windows 10 on a computer, insert the Windows 10 bootable USB flash drive you created into your computer. Then, turn on the computer and press and hold a specific key, such as F2, F12, or Del, to enter the BIOS settings.
Step 2. To enter the BIOS setup menu, press the F2, F8, or F10 key, as these are the most commonly used keys for this purpose. The computer manufacturer's logo may appear on the screen, followed by the BIOS setup menu. To navigate to the startup settings, press the right arrow key on the keyboard. This will take you to the startup pane where you can configure various settings.
Step 3. To select the USB drive, press the up-arrow key. Then, hold down the + key and drag the USB drive to the top of the boot menu. Finally, press F10 to save the settings and exit the BIOS.
Step 4. To repair your computer, navigate to the Windows Settings page, set the language, time, and keyboard, and click Next. Then, in the lower-left corner, select the option to Repair your computer.
Step 5. To fix a Windows 10 startup issue, go to Troubleshoot > Advanced options > Startup repair, which will scan your PC and fix any loading issues it finds.

Fix 8. Upgrade Your Graphics Driver
If your graphics card drivers are not up to date, you will need to update them.
Step 1. To access the Display Adapters list in Device Manager, go to the Start menu, select Device Manager, and then expand the Display Adapters list when it opens.
Step 2. Right-click on the graphics driver and select the Uninstall device option from the dropdown menu.
Step 3. To resolve the issue, visit the card manufacturer's website to obtain the latest drivers for the card, install them, and restart the computer to see if the problem is resolved.
Fix 9. Extend Gaming Partition Size
Increasing the partition size can help prevent game crashes and maintain smooth gameplay by providing enough space for the game to run without running out of memory.
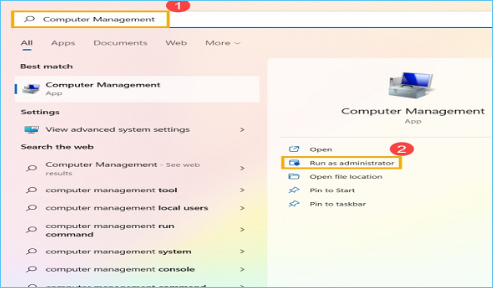
Step 1. To access the Computer Management tool in Windows, search for "computer management" in the search bar, and then select "Run as administrator" to open it with elevated privileges.
Step 2. Select "Disk Management" in computer management.
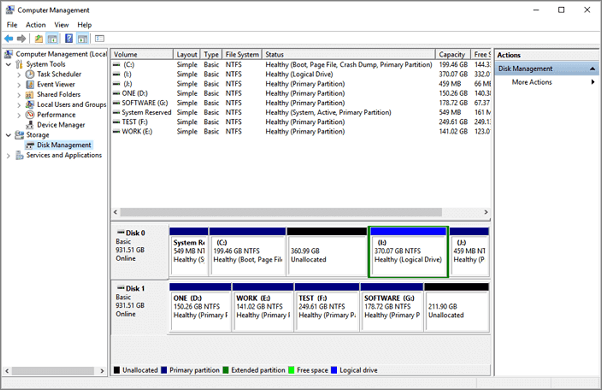
Step 3. To create a new simple volume in Disk Management, right-click an unallocated region on your hard disk and select "New Simple Volume".

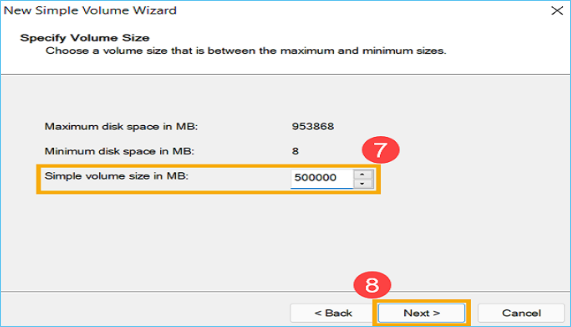
Step 4. Select "Next" in New Simple Volume Wizard.

Step 5. Create a volume by specifying its size in gigabytes or accepting the default maximum size, then select Next. If the created volume does not reach its maximum size, the remaining space will remain unallocated.
Step 6. The process of creating a new partition involves selecting a drive letter or accepting the default, then formatting the volume with default settings or customizing the volume label.
Step 7. The process creates a new simple volume, prompting a review of the settings and a final selection of Finish, after which the newly created volume can be found in Disk Management, with any unallocated space potentially being created as another partition.
Fix 10. Upgrade to a Larger SSD
If you've tried other methods to fix Halo Infinite's crashing issues on your PC, and they haven't worked, it might be time to upgrade your drives. Upgrading your SSD to a larger one could potentially resolve the problem, but be cautious as this process can be damaging to your data if you're not familiar with computer hardware. To avoid data loss, consider using a reliable backup tool.
Qiling Backup is highly recommended among all backup software, supporting various types of backups, including disk or partition, system, file, email, smart, and clone multiple partitions to HDD/SSD, as well as generating system clones.
To create a backup of your SSDs, you can follow these steps. First, ensure that your SSDs are properly connected to your computer and that the operating system is installed on them.
Step 1. Click the "File backup" button to start backup.

Step 2. Local and network files will be listed on the left, with the option to expand directories to select files for backup.

Step 3. Follow the on-screen guide to select the destination where you want to save the backup.

To encrypt the backup with a password, click on the "Options" button, then select the "Backup Options" section. This will allow you to customize the backup task and explore other available options, enabling you to tailor the backup to your specific needs.

To set the backup schedule, navigate to the "Backup Scheme" section and select the desired backup frequency. You can choose to start backing up at a specific event, such as daily, weekly, or monthly, and set the schedule to start at a certain time or event, such as when the system boots up or when a specific program is launched.

Step 4. You can store backups to a local drive, Qiling's cloud service, or NAS (Network-Attached Storage).

Step 5. Click "Proceed" to start the backup task. Once completed, it will be displayed as a card on the left panel, where you can further manage it by right-clicking.
Conclusion
To prevent Halo Infinite from crashing midgame, you can follow the solutions discussed in this article, which provide a faster and untroubled game experience.
Related Articles
- How to Create A System Restore Point Windows 10/8/7 for Disaster Recovery (One Way to Make It)
- Which One to Choose: What is the Best Gaming Laptop?
- Cloud Download or Local Reinstall Windows 11/10? Check Differences
- How to Create a Windows 11/10 Recovery USB for Another Computer
- 5 Best Ways: How to Free Up Space on C Drive in Windows Server 2016
This page covers five most efficient ways to help you free up space on C drive in Windows Server 2016, 2019, and 2022. For detailed guidelines, follow this page and learn how to free up c drive space in your Sever computer with success. - (Quick & Easy) How to Backup COD Warzone with Steps
To quickly and easily back up your Call of Duty: Warzone game data with Qiling Backup Home, simply download and install the software, then follow the easy-to-use interface to select the files and folders you want to back up, including your Warzone game data.