How to Delete Screenshots on Mac
Taking a screenshot can be a handy tool in various situations. It can be used to copy a guide, save a photo or document, or share what's on your screen with someone else.
Taking screenshots on a Macbook can become a problem, as every image is saved to the desktop, potentially cluttering the screen. Additionally, while a single screenshot is only about 1 MB, they can quickly add up and take up valuable space.
Consequently, you may need to get rid of unwanted screenshots to free up space on your computer or boost its performance. Let's get down to how you can do this.
How to Delete Screenshots on Mac
Permanently deleting screenshots on a MacBook can be done in various ways, depending on convenience and the number of obsolete screenshots. You can select the method that suits you best.
- Method 1. Delete One Screenshot
- Method 2. Delete Multiple Screenshots
- Method 3. Delete Screenshots With Cleaner Apps
Method 1. Delete One Screenshot
The Macbook doesn't show image previews by default, but pressing the "Space" button on the keyboard will open a large preview of the screenshot, allowing you to confirm if it's the image you want to delete.
Step 1. Locate the screenshot on your desktop or the folder you saved it.
Step 2. Right-click the image and select "Move to Trash" from the menu that appears.
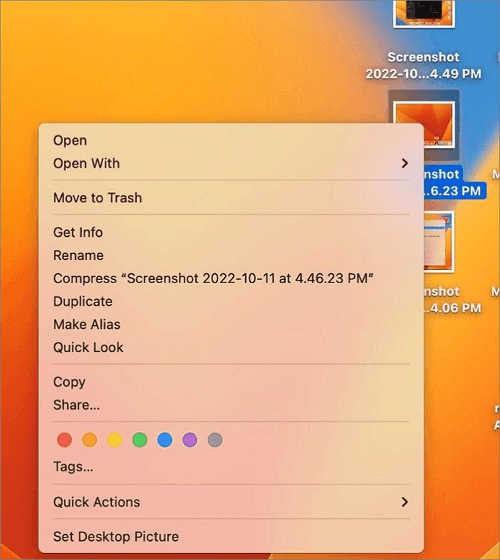
To delete a screenshot on a Mac, click and hold, then drag the screenshot to the "Trash Bin" icon, or press "Command + Delete" simultaneously.
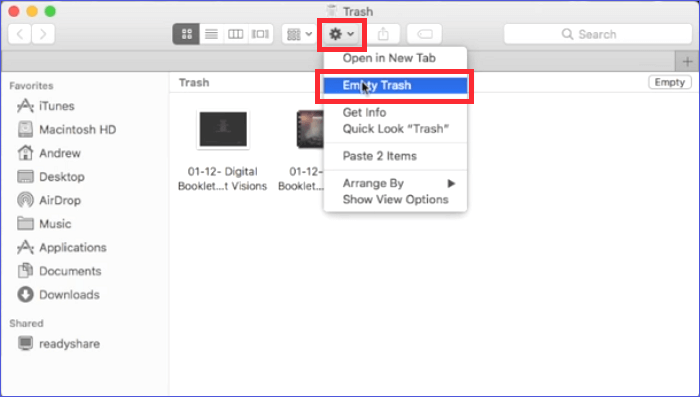
Step 3. To permanently delete an image, go to the "Trash Bin", right-click the image, and select "Delete Immediately" from the menu.
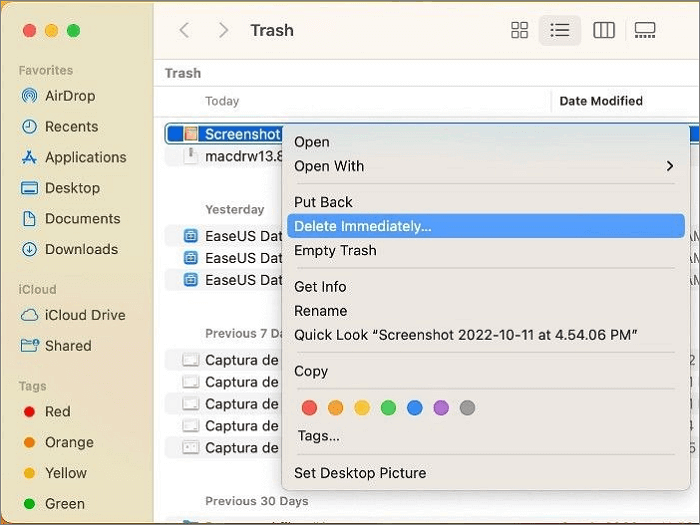
To clear your bin of accumulated files, click the "Empty" option.
Method 2. Delete Multiple Screenshots
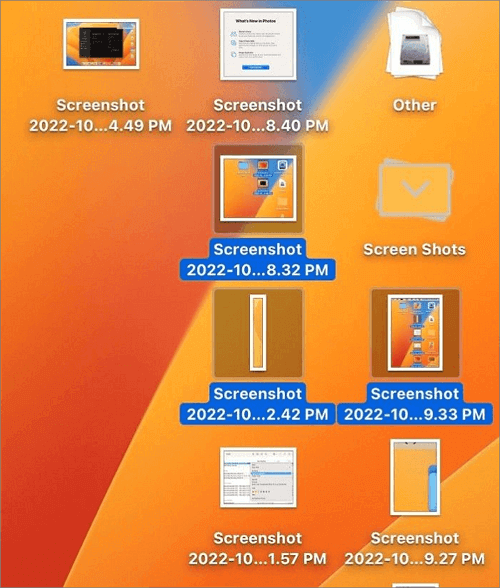
Taking screenshots on a MacBook can lead to a cluttered desktop if not organized, as the default location for saved images is the desktop itself. This can make it difficult to use the computer efficiently if screenshots accumulate over time.
While the method discussed above may not be the most convenient technique, it can be adapted to filter out screenshots from other desktop files. However, a more efficient approach would be to delete all screenshots at once, eliminating the need for individual filtering and deletion.
The Mac has a useful tool called Stacks that can help organize files and applications on the desktop.
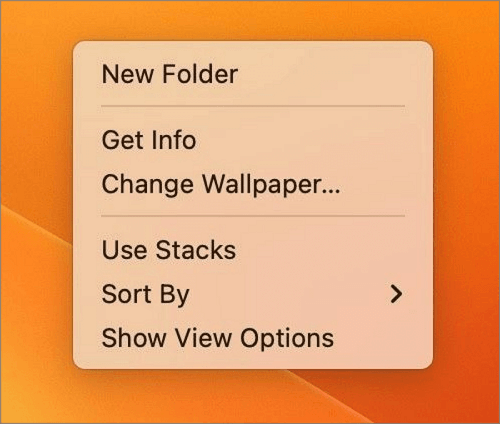
Step 1. To use the "Use Stacks" feature, right-click an empty spot on your desktop, and from the menu that displays, select "Use Stacks."
Your computer will automatically sort files on your desktop into various categories.
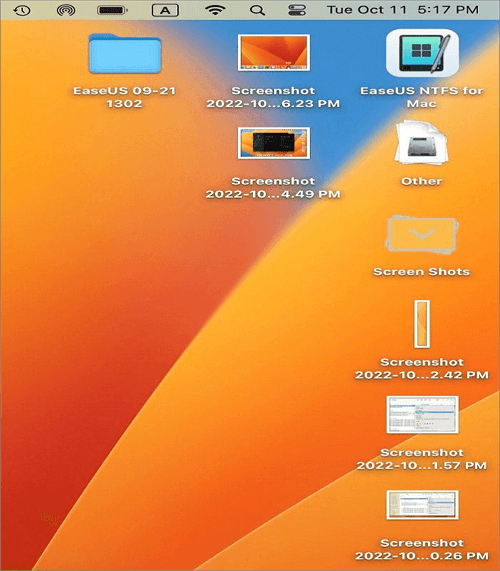
Step 2. To view the images, click on the "aptly named Screen Shots stack".
To delete all screenshots, skip to Step 5.
Step 3. To delete multiple screenshots on a Mac, press and hold the "Command" button on your keyboard and then individually select the screenshots you want to delete.
Instead of clicking on multiple images, you can click on one image and then drag to select multiple screenshots that are grouped together.
Step 4. To delete an image on a Mac, right-click on the image and select "Move to Trash" from the menu that appears.
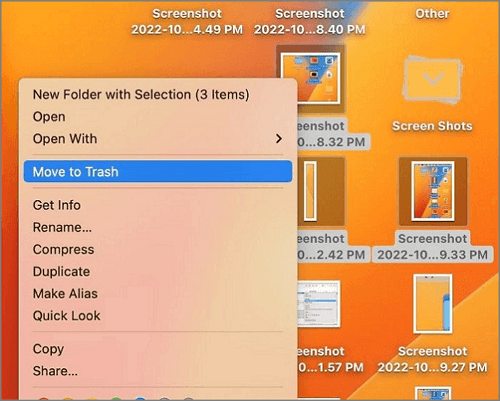
Step 5. To delete all screenshots on your desktop, right-click the "Screen Shots" stack, then click "Move to Trash" from the menu that appears.
You can also drag the selected screenshots to the "Trash Bin" icon.
Step 6. To permanently delete items, go to the "Trash Bin" and click on "Empty" to remove them from your device.
Method 3. Delete Screenshots With Cleaner Apps
To delete screenshots saved on your Mac, use the Stacks tool on your desktop to quickly find and remove them. However, if your screenshots are saved in different folders, deleting them individually can be time-consuming.
Luckily, there are third-party tools that can resolve that issue. One of them is called Cleaner-App.
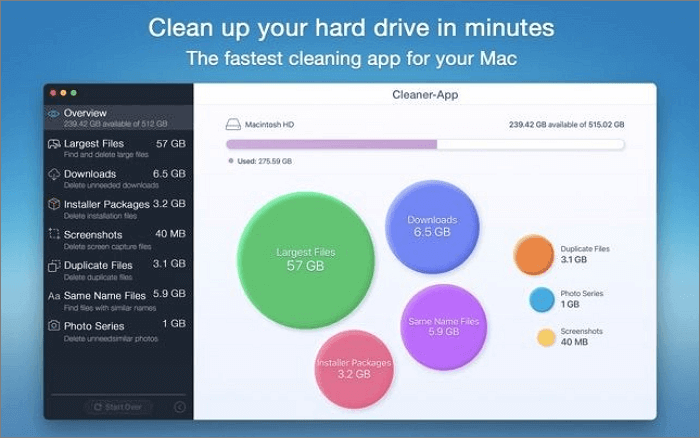
To delete screenshots on your Mac using the app, open the app and click on the "Screenshots" tab. Then, select the screenshot you want to delete and click the "Delete" button.
Step 1. To clean download history, download and install the Cleaner-App from the official Apple App Store, and then launch the tool.
Step 2. Select "Screenshots" from the options in the left-hand menu panel.
Step 3. To sort the image files, click on the drop-down menu option and select the desired sorting criteria, such as size, name, or date.
Step 4. Select the unneeded screenshots using the checkboxes beside each file name, and then click "Select All" to check all boxes.
Step 5. Click the "Remove" button to delete selected screenshots.
Step 6. To permanently delete, empty the "Trash Bin."
Conclusion
You can delete screenshots on Mac using three different methods. To delete a single screenshot, you can simply go to the Photos app, select the screenshot, and press the "Delete" key. Alternatively, you can delete multiple screenshots by selecting them all in the Photos app and then pressing the "Delete" key. If you have a large number of screenshots to delete, you can also use a third-party cleaner app to quickly and easily remove them.
FAQs
Here are some related frequent questions and answers for you on this topic.
1. How to screenshot an entire page on Mac?
To take a screenshot of an entire page on a Mac, press the Shift, Command, and 3 keys at the same time.
A box will appear at the bottom of the screen. Click the box to expand it and view/edit your captured image.
2. How to screenshot a section on Mac?
To take a screenshot of a selected area of your screen, press and hold the Shift, Command, and 4 keys.
Click and drag the crosshair cursor to select the area you want to capture, then release to take a screenshot.
3. Where are screenshots saved on Mac?
When you take a screenshot on your Macbook, it saves on your desktop as a PNG file. From there, you can view, edit, copy, or move the screenshot to a different folder.
The default storage location for your image may vary if you use a third-party program for screenshotting, as the software often creates a folder to store any screenshots you take.
Related Articles
- Python Delete File: How to Delete a File in Python [Recovery Is Available]
- 5 Best Free DVD Backup Software/DVD Ripper[Windows&Mac&Linux]
- Can't Install macOS Ventura? Here Are the 9 Best Solutions
- Ways to Zoom in and out on Chromebook
- What Is the CTF Loader and How to Fix CTF Loader Issues on Windows 10
Windows error messages can be particularly frustrating for average users, especially when they're unsure about the cause of the issue. If you're experiencing a CTF loader error on your Windows 10, such as the “CTF loader has stopped working” message, this post aims to provide assistance with resolving these CTF Loader Issues on Windows. - Fix Device Not Migrated Problem in 4 Ways
This post is about a Windows error message called device not migrated. This error message would prevent your USB drive or hard drive from working properly. It would even cause data loss. Check this post to see how to fix this problem.