How to Back up Windows 10 to Network Drive: 3 Ways Explained
Backing up your computer is crucial to protect your data, as losing everything on your hard drive can be devastating if it fails. The 3-2-1 backup strategy recommends saving backups to two different types of media and keeping one offsite. This makes selecting a backup location a vital decision, with options including a local hard drive, external storage drive, network drive, tape, or cloud drive.
To back up Windows 10 to a network drive, you have three methods to choose from: using File History, Backup and Restore, or third-party Windows backup software. We will cover each method with step-by-step instructions, providing you with options to suit your needs, whether you're new to backing up your computer or just want to try a different approach.
Why Use Network Drive to Save Your Computer Backup
Before we get into the how-A network drive is a storage device on a local access network (LAN) that can reside on a server, network-attached storage (NAS), an external hard drive, or one of the networked computers. You'd want to use a network drive for backing up your data because it provides a centralized and accessible storage solution for multiple devices, allowing you to easily access and share files across the network. This setup can be particularly useful for businesses or homes with multiple users, making it a convenient and efficient way to manage and protect your digital assets.
Using a network drive as your backup destination offers several benefits. It provides a secure and reliable way to store your data, protecting it from physical damage, theft, or other disasters.
You can back up multiple computers to the same network drive, which is useful for households or offices with multiple devices.
- Network drives are typically larger than external hard drives, allowing for more data storage capacity.
- Network drives are typically faster than external hard drives, making backups complete more quickly.
- Network drives are often more reliable than external hard drives, making backups safer.
- Network drives allow you to access your backups from anywhere with an internet connection, offering increased flexibility.
To use a network drive for your computer backup, you'll need to connect your computer to a network drive, which can be a physical drive or a cloud storage service like Google Drive or Dropbox. Once connected, you can set up automatic backups of your files and folders to the network drive.
Method 1. Backup Windows 10 to Network Drive by Using File History
The File History feature in Windows 10 allows you to add a drive as a backup drive, where backups are stored and can be kept indefinitely by using a network drive. This strategy helps preserve many backup versions over time.
Note: The File History feature targets only the user account folders, which include Documents, Pictures, Videos, Music, and Desktop folders, as well as OneDrive files that are available offline on the PC.
To set up and configure a network drive in File History for Windows 10 backup, follow this guide. First, ensure that the network drive is shared and accessible from the Windows 10 computer.
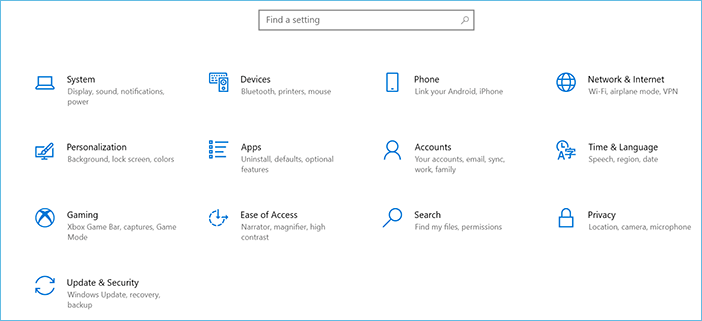
Step 1. Press the Windows key + I to open the Settings app, then click Update & Security.
Step 2. To backup, click on Backup on the left side and then click on Add a drive on the right side.
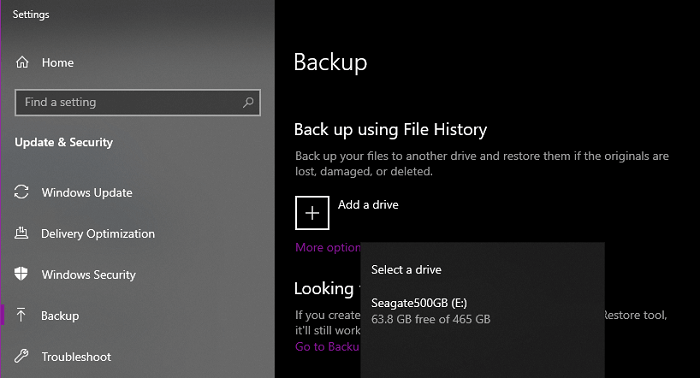
Step 3. Select your network drive from the list of available drives and click OK.
Step 4. To change the backup settings, click on "More options" and make the desired changes. Once you're done, click "Save changes" to save your changes.
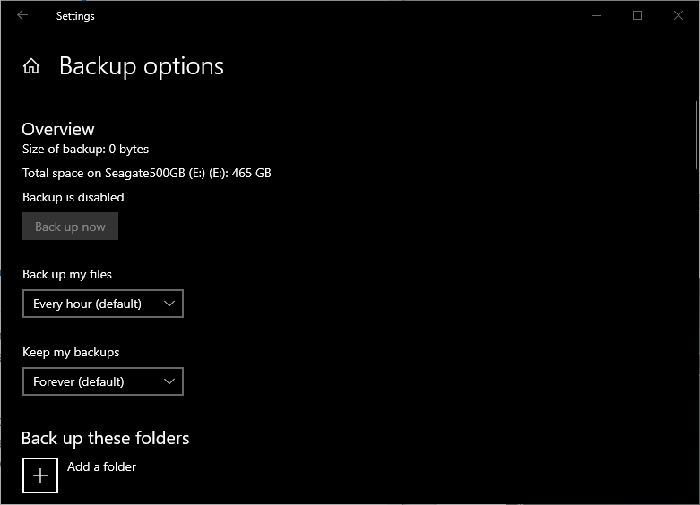
Step 5. Now, your backup will start automatically according to the schedule you set. To run a backup immediately, click Back up now.
To change File History to use a network drive instead of an external hard drive in Windows 10, you first need to stop using the current drive and select "Add a drive" again to choose the network drive. This will make the change take effect.
To map a network drive in Windows 10, go to File Explorer, click on "This PC" or "Computer" in the left sidebar, then click on "Map network drive" in the toolbar, select a drive letter, and enter the network address in the "Folder" field. This will allow you to see the network drive while setting up File History in Windows 10 Settings, as it will be indexed by Windows.
Step 1. Press the Windows key + E to open File Explorer.
Step 2. To access a network drive, click on "This PC" on the left side of the screen, then click on "Map network drive" on the right side.
Step 3. Select a drive letter from the drop-down menu and enter the network path of your network drive, such as \\192.168.0.1\share.
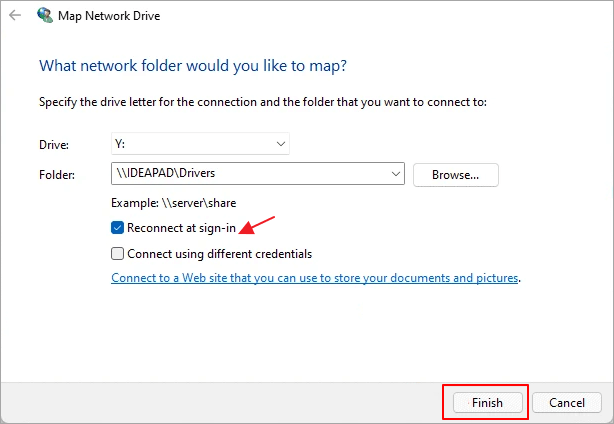
Step 4. You can check the box to have Windows automatically reconnect to this network drive when you sign in.
Step 5. When you're finished, click Finish.
Windows has indexed your network drive and it now appears in the File History backup list.
Method 2. Back up Windows 10 to Network Drive Using Windows Backup and Restore (Windows 7)
Windows Backup and Restore, available in Windows 7 and later versions, is a free backup feature that allows users to back up files and create system image backups, making it a more comprehensive solution than File History.
To build a backup drive on a network drive/NAS using the Backup and Restore feature in Windows 10, follow these steps carefully: Set up a network drive/NAS and connect to it, then go to the Backup and Restore (Windows Backup) settings, select the drive as the backup location, choose the files and folders to back up, set a schedule for automatic backups, and finally, test the backup to ensure it's working correctly.
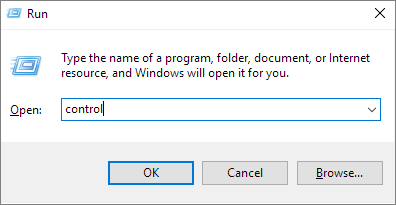
Step 1. To open the Control Panel, press the Windows key + R to open the Run dialog box, then type "Control Panel" and press Enter.
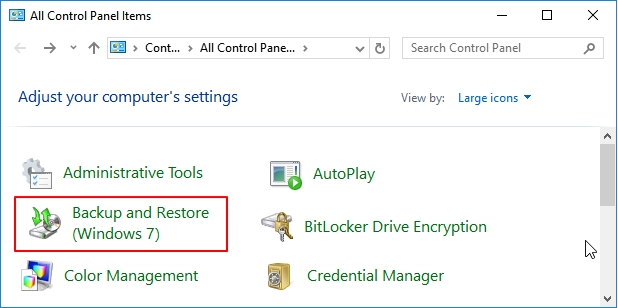
Step 2. On the Control Panel window, click Backup and Restore (Windows 7).
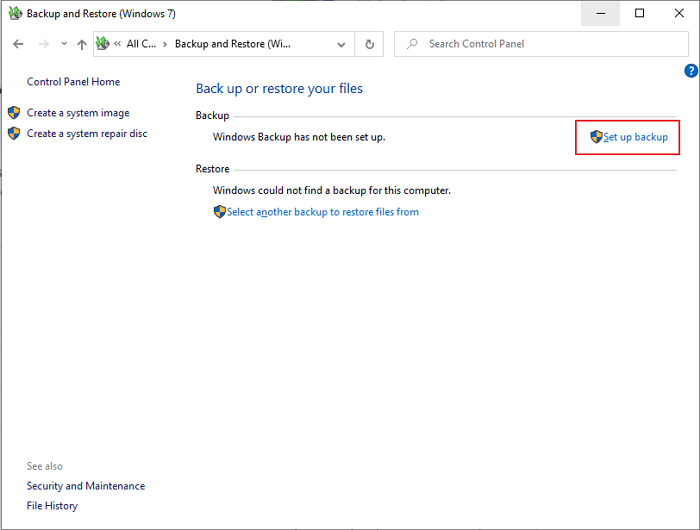
Step 3. Click Set up backup on the right side.
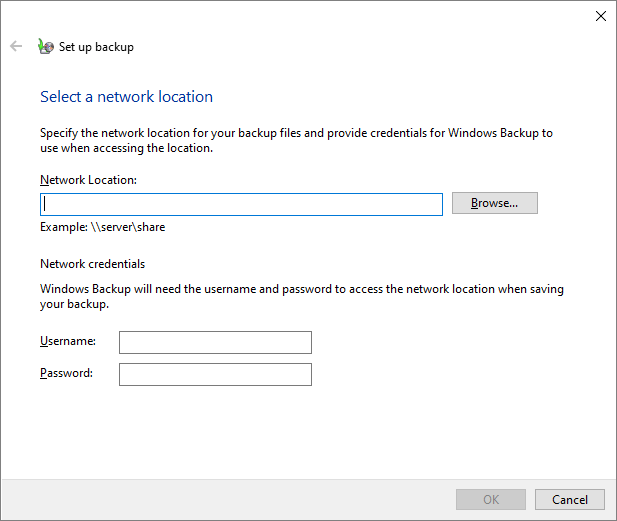
Step 4. To set up a network drive as the backup drive, click on the "Save on a network" option.
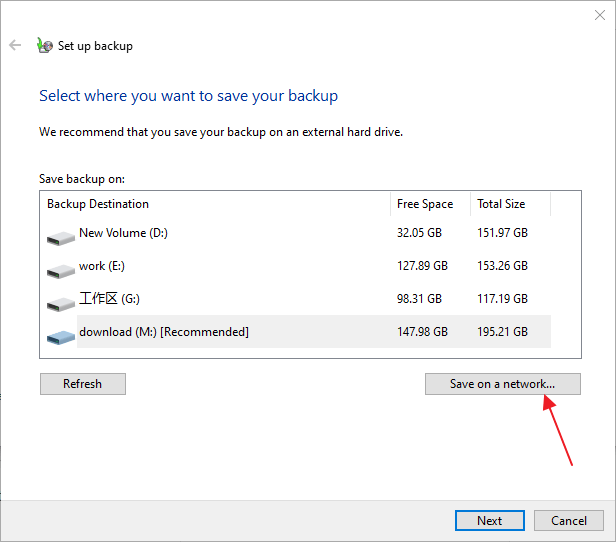
Note: To set up a network location, manually enter the network location or click Browse to select a current one. You may be prompted to enter login credentials, so enter the username and password. Once setup, click OK.
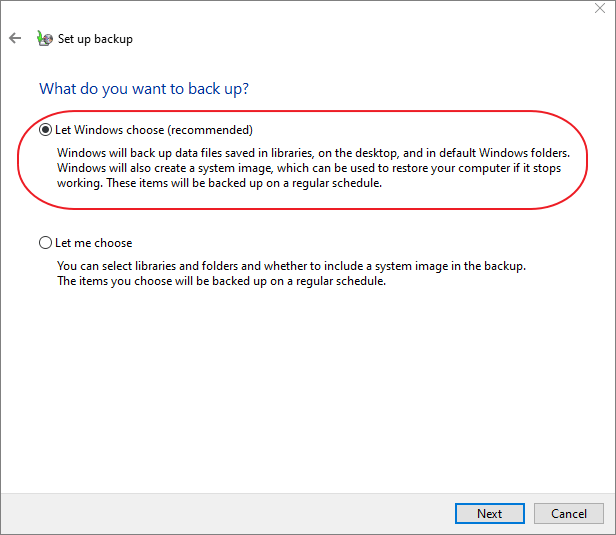
Step 5. Windows will automatically choose what to back up, including data files in libraries, on the desktop, and in default Windows folders, as well as create a system image for restoring the computer if it stops working. Alternatively, you can choose what to back up yourself. If you don't have any specific backup needs, the recommended option is sufficient. Click Next to proceed.
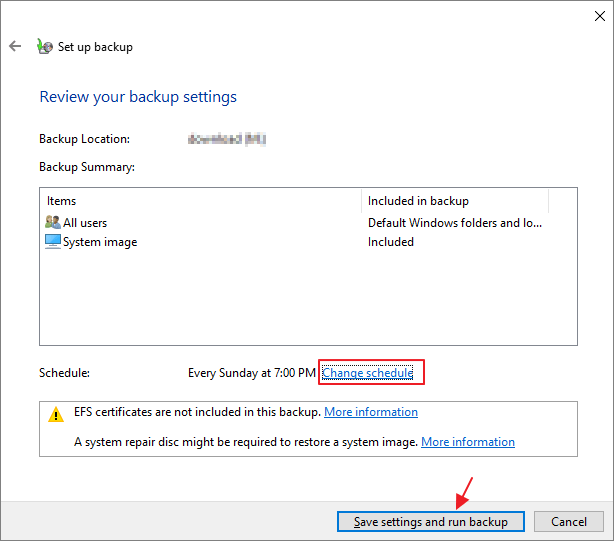
Step 5. The backup schedule can be changed by clicking on the "Change Schedule" link, which is set to run every Sunday at 7:00 PM by default. Review your backup settings and click "Save settings and run backup" to confirm.
To restore a system image backup in Windows 10, you can follow the steps provided in the link. The process involves booting from the Windows installation media, selecting the correct drive, and following the on-screen instructions to complete the restore process. This will restore your system to its previous state, including all installed applications and settings.
Method 3. Back up Windows 10 to Network by Using Qiling Backup
The two default methods provided by Microsoft Windows, File History and System Restore, offer basic functions that are free but limited. Both methods allow for backing up files and other items like a hard drive or OS, but have limitations, such as File History's restriction on backing up various types of files.
If you're looking for an easier and more reliable backup solution, you can try using third-party free backup software like Qiling Backup, which helps users back up data, operating systems, and even hard drives to network locations with simple steps.
The software outpaced native programs in many aspects, including allowing users to save backups to the cloud, where they can be stored on popular services like OneDrive, Dropbox, Google Drive, or the software's own Qiling cloud, making cloud storage a better alternative to local drives as a backup location choice.
With Qiling Backup Free, you can easily back up everything on a Windows 10 computer, including files, folders, and system settings, with just a few clicks, and schedule automatic backups to ensure your data is always safe and secure.
- Disk/partition
- System
- Files
Based on an event schedule, it's even possible to automatically back up Windows to an external hard drive.
To use Qiling Backup to back up Windows 10 to a network drive, first download and install the Qiling Backup software. Next, create a new backup task by clicking on the "New Task" button and selecting "Backup" as the task type.
Step 1. To start the process, select the "Disk backup" button in the "Backup and recovery" page.

Step 2. It is available to back up a whole disk or a certain partition. Choose the one you need and click OK.
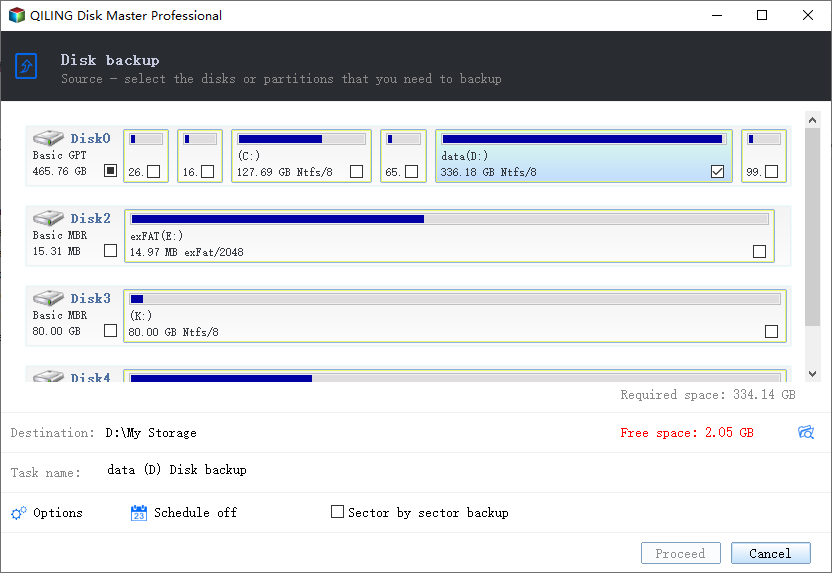
Step 3. Select the destination where you want to save the backup.

Step 4. For disk/partition backup, you can choose to save the backup to a local drive or to a Network-Attached Storage (NAS) device.

Step 5. After completing the backup process, the task will be displayed on the left side. You can manage the backup further by clicking on any task, which allows you to recover it, create an incremental backup, and more.

Closing Words
To ensure your Windows 10 data is safe, it's recommended to back it up to a network drive, providing ample storage space and flexibility to access from various locations. You can achieve this using File History, Backup and Restore (Windows 7), or third-party software like Qiling Backup, whichever suits your needs. This will help safeguard your data and provide peace of mind.
Related Articles
- Fake Windows Update Virus Removal and Prevention Tips in 2022
- What is Disk Imaging | See Definition & Learn File Formats & Application
- Suggestions for SD Card Backup Devices [Hot in 2022]
- Step-by-step Guide: How to Back Up PC to WD My Cloud Home
- How to Centrally Backup Systems of All Computers on Network?
Got multiple computers to manage and want to centrally backup all the systems at once? The best idea is to use an effective centralized backup software. - How to Create and Manage Client Computer Backups?
Are you looking for a way to create and manage client computer backups from one central server? Keep reading and learn how to perform Windows Server client backup.