Easy and Quick! | 3 Solutions to Refresh Windows 11
| Workable Solutions | Step-by-step Troubleshooting |
|---|---|
| 1. Usage of Refresh | After any changes have been made, using the Refresh button will refresh...Full steps |
| 2. Refresh Windows 11 in 3 Ways |
Fix 1. Refresh Win 11 by Context Menu...Full steps Fix 2. Refresh Win 11 byKeyboardF5...Full steps Fix 3. Refresh Win 11 byShift+F10...Full steps |
| 3.Refresh Install Windows 11 | Most users do not consider backing up their system until their system breaks, and their...Full steps |
Users traditionally rely on the refresh option when working on a PC with limited processing power. It helps manually update windows, documents, websites, and other programs on the screen, refresh components, eliminate glitches, and prevent system lag.
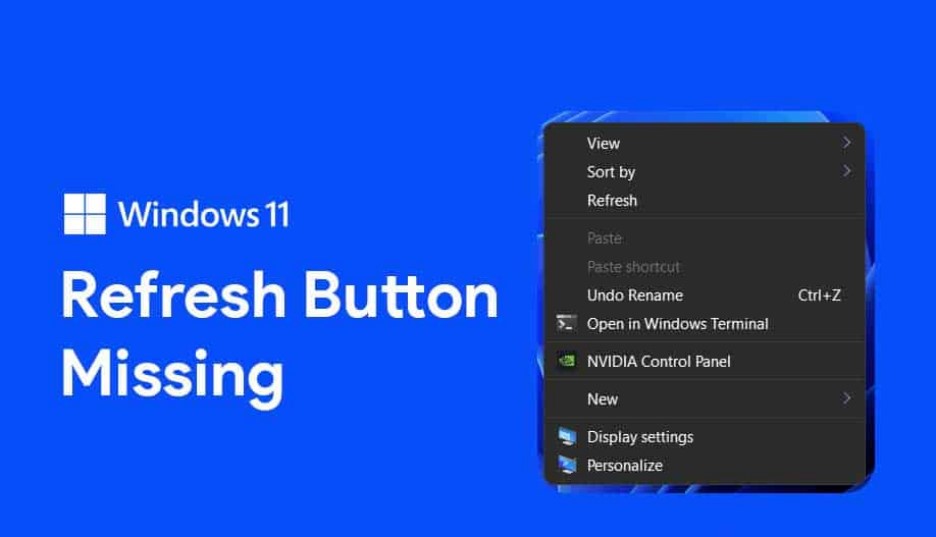
Some users are finding the lack of a 'Refresh' option in Windows 11 to be a drawback, but the system's refresh option can still be used to assess system responsiveness. As Windows 11 becomes more widely used, some users are expressing disappointment that the 'Refresh' option is not available.
The 'refresh' option isn't gone, it's just hidden by default in Windows 11, but you can still access it through several other means, offering various ways to correct the 'refresh option missing' issue.
What's the Usage of Windows 11 Refresh on a PC
After making changes, clicking the Refresh button will reload the most recent data, allowing you to see the updated version of the screen or desktop. This typically happens automatically, but in cases like saving a file, you might need to manually refresh to see if the file has been saved.
Prior versions of Windows allowed users to refresh their system by right-clicking on the screen and selecting 'Refresh.' However, Windows 11 has retained the same procedure, allowing users to still perform a system refresh in the same manner.
How to Refresh Windows 11 in 3 Ways
Here are the three best methods to refresh Windows 11 in 3 ways.
1. Refresh Windows 11 Through Context Menu
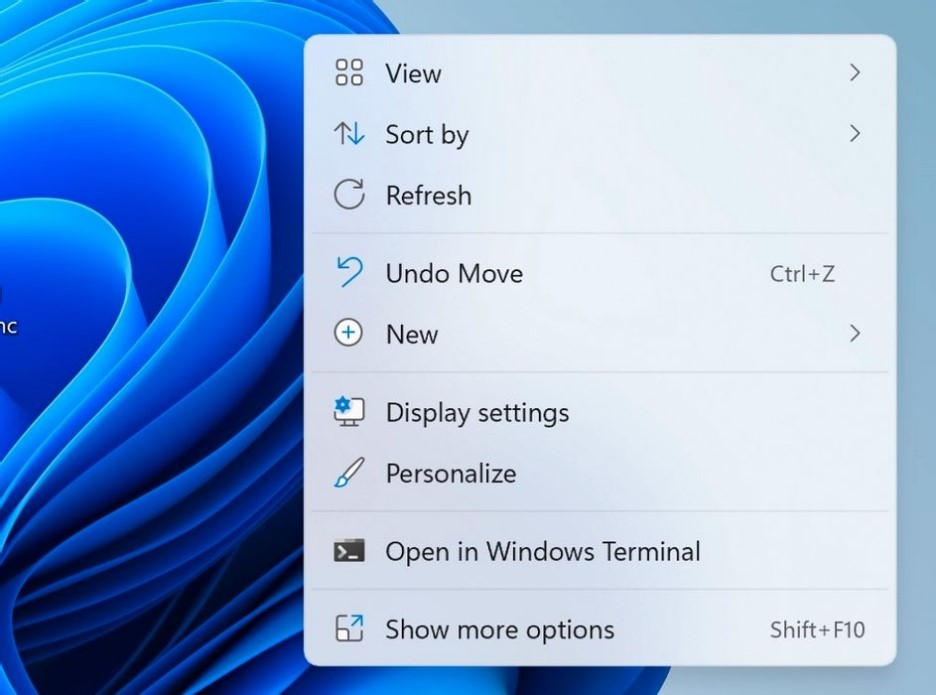
The Refresh button is now accessible via the context menu, but it requires three taps to access due to being hidden under the heading "Show additional choices".
Step 1. Right-click anywhere on the screen to activate the menu.
Step 2. When the context menu appears, select the last item on the list, "Show additional alternatives".
Step 3. To refresh your Windows 11 device, tap on the Refresh button at the end of the page.
2. Refresh Windows 11 with Keyboard Shortcut F5
In Windows 11, the F5 key can also be used to quickly refresh your computer, a feature that was also available in previous versions of Windows.
Step 1. Press the F5 key to refresh your browser, and your computer will be updated as soon as you do so.
Step 2. Pressing and holding the F5 key will cause your system to continuously refresh as long as the key is held down.
Pressing F5 can refresh your system without going through the lengthy process described, and it can also refresh your browser with the F5 key at any time you need to.

3. Refresh Windows 11 with Keyboard Shortcut Shift+F10
To refresh your Windows 11 using a keyboard shortcut, you can press the Windows key + R. This will open the Run dialog box, where you can type "cmd" and press Enter.
Step 1. When you press the Shift + F10 keys together, a context menu will appear on the screen.
Step 2. Refresh your computer by choosing Refresh from the drop-down menu, which will complete the refresh process.
How to Refresh Windows 11 Install Without Losing Programs and Data
Most users don't consider backing up their system until it breaks, and their machine can't start. This is often due to virus attacks, hardware or software malfunctions, or improper use, which can cause the system to crash, leaving the computer non-functional.
To protect yourself from system failures, create a system image that allows you to quickly restore Windows 7, Windows 8, or both to their previous states, saving you from the loss and inconvenience of such failures.
Qiling Backup Free is a powerful tool that allows users to create complete backups of their data, as well as incremental and differential backups. Users can select the type of data to back up, and set up a backup strategy for their Windows machine, including daily, weekly, monthly, and annual backups. Additionally, the tool offers other features, such as transferring or cloning the operating system to an SSD.
Main Features of Qiling Backup
- Backup flexible plans may be used on specified days or during a planned event, such as a holiday or a parent-teacher conference.
- To back up and restore the operating system, hard drive disks, and data files,.
- To quickly clone a disk/partition and the Windows operating system between an HDD and an SSD.
- To create a WinPE disk for emergency recovery and a portable USB drive.
To get started with this software, follow the step-by-step tutorial below to gain a deeper understanding of its features and functionality, and be ready to enjoy its excellent performance.
Step 1. To initiate a backup, click the File backup button on the Backup and recovery page.

Step 2. On the left, both local and network files will be shown, allowing you to navigate and select the desired backup files from the directory.

Step 3. Save the backup to a location on your computer or an external drive, following the on-screen instructions.

Step 4. To encrypt the backup with a password, click on the Options button in the Backup Options section. This will allow you to set a password for the backup, adding an extra layer of security.

To specify the backup schedule, click on "Backup Scheme" and select the desired frequency, such as daily, weekly, or monthly. You can also choose to start the backup at a specific event, like a system shutdown or a certain time of day. Additionally, you can select other options to customize the backup process according to your needs.

Step 5. The backup may be stored on a local disk, Qiling's online service, or NAS.

Step 6. Qiling Backup allows customers to back up data to both a third-party cloud drive and the company's own cloud drive.
To back up data to a cloud drive provided by a third party, select Local Drive, scroll down to add a Cloud Device, and then add and log in to your account.
Step 7. Click Proceed to begin the backup process. The completed backup job will be displayed as a card on the left side of the panel, allowing you to manage it further.

In Windows Vista, XP, and Server 2003, system files and boot files are stored on the same drive, so you must back up the entire system disk to create an effective system image. However, in Windows 7 and 8, system and boot files are stored on different disks, so you must back up both the system partition and the boot partition to ensure a complete system image.
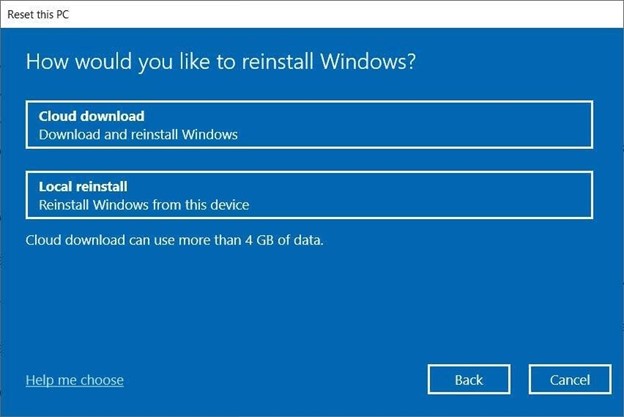
After creating a backup, you can choose to refresh your Windows 11 installation by either resetting your PC through a Local Reinstall or Cloud download.
Conclusion
This article covers all the possible information you need to know about Refresh Windows 11. We've explained why the refresh option wasn't showing before and where to find it now. Three effective methods of refreshing your Windows 11 are also provided. It's essential to back up your data before reinstallation, and we recommend using Qiling Backup for this purpose.
Related Articles
- What Is the Best Free Backup Software? Think Twice Before You Start
- Fake Windows Update Virus Removal and Prevention Tips in 2022
- How to Clone SSD to Larger SSD in Windows 10/8/7
- Quick Ways to Fix OneDrive Connect Problems
- Outlook Backup and Restore in 2 Ways [with Video]
To backup and restore Outlook emails, you can either use a professional email backup software or the built-in Microsoft Outlook backup feature, allowing you to securely save and recover your emails. - Paragon Backup & Recovery Review in 2022: Pro, Cons and All-around Alternative for You
Are you not content with the Paragon Backup & Recovery software? If yes, check out where Paragon fails and which tool is the all-around alternative for Paragon.