How to Transfer Photos from Google Photos to iCloud
In 2015, Google Photos was launched, offering unlimited storage, which contributed to its popularity even among Apple users. However, Google later introduced storage limits, with approximately 15GB of free space. To expand storage, users can opt for paid plans, starting at $2 monthly for 100GB, with options for 200GB and beyond, or choose yearly plans for added convenience.
Investing in iCloud Storage can be a good choice for long-term purposes, offering more storage capacity than Google Photos, with options starting at $1 per month for 100GB and increasing to $3 per month for 200GB and beyond.
Choosing between Google Drive and iCloud depends on your specific needs, but since both options are excellent, it ultimately comes down to what you're looking for. Many users, especially Apple fans, opt for iCloud due to its storage limit, which may suit their requirements.
How to Transfer Google Photos to iCloud on PC?
Follow these steps to transfer Google Photos to iCloud on your PC. It is suitable for transferring photos in the form of batches.
1. Export Google Photos to iCloud
Step 1. After logging into your Google account, head to photos.google.com in your web browser. From there, you can select the pictures you'd like to download or use the shortcut keys CTRL+D to quickly download them.
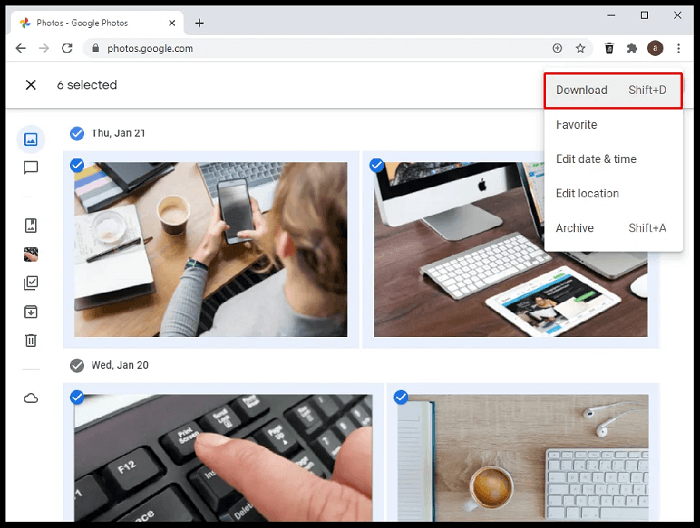
Another method would be via Google Takeout.
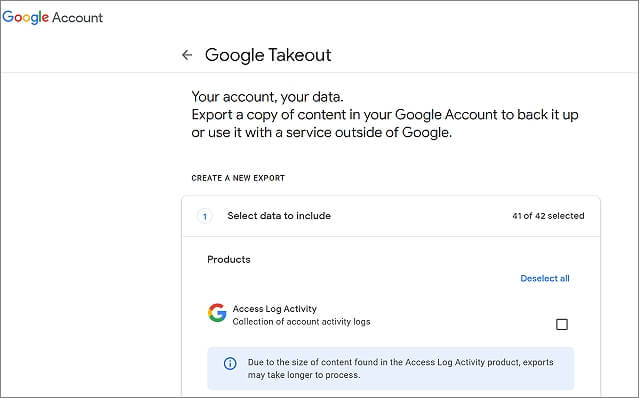
Step 1. To export your Google data, go to www.takeout.google.com, select the types of data you want to export, including Google Photos, and follow the instructions to download a zip file containing your data.
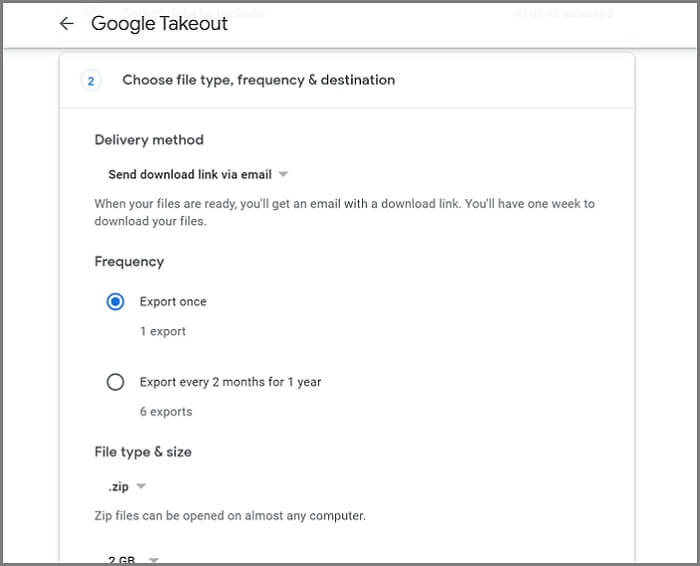
Step Choose the file type and delivery method, and click on 'Create Export' to proceed.
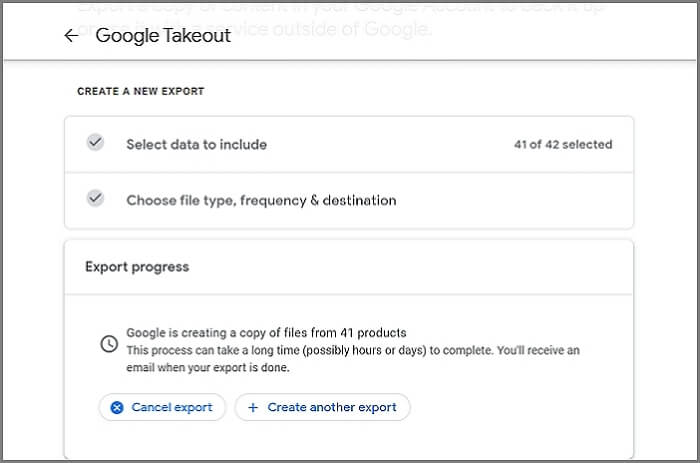
Step You can see your export progress, then use the exported pictures to move on to the next step.
2. Importing images to the iCloud
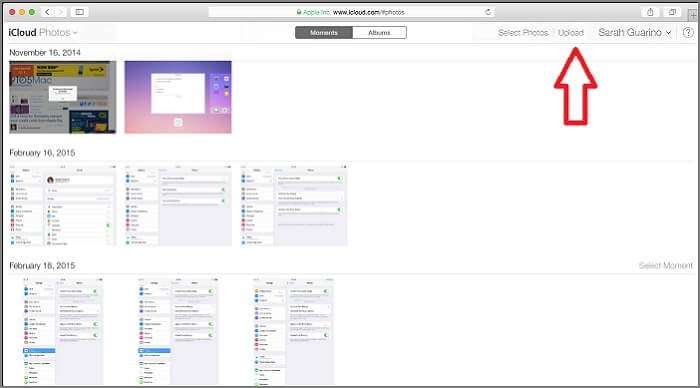
Step 1. From the web browser, go to icloud.com and select the downloaded photos from your system.
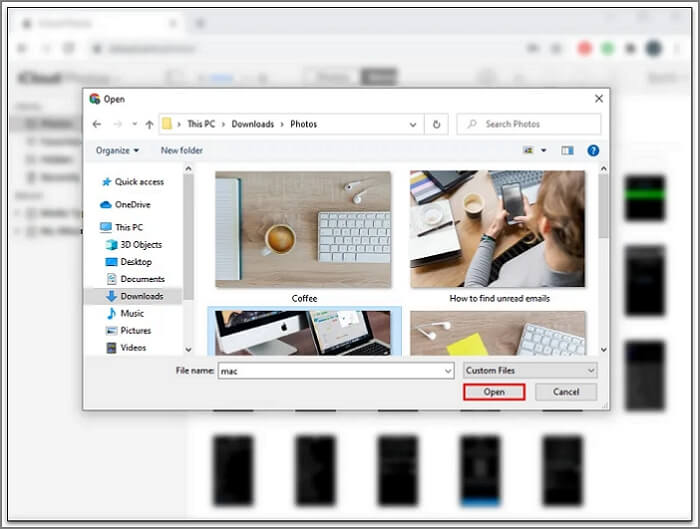
Step 2. Now, click the upload button to import the images.
Transfer Photos from Google Photos to iCloud on Mac
To transfer photos from Google Photos to iCloud on Mac, start by downloading photos from Google Drive on your Mac. Once you have the photos on your Mac, you can follow the steps to transfer them to iCloud. .
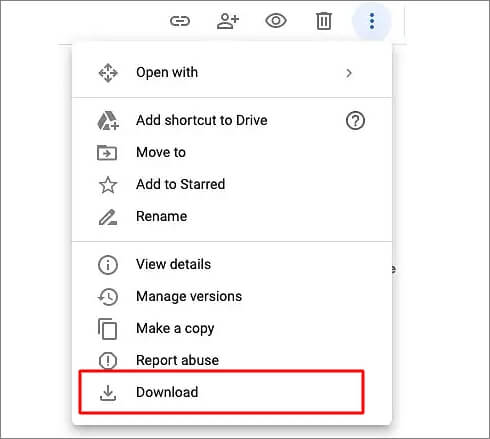
To download photos from Google Drive on a Mac, follow these steps: you can start by opening Google Drive on your Mac, then navigate to the folder containing the photos you want to download. Select the photos you want to download by clicking on them, and right-click on the selected photos to access the "Download" option.
Step 1. Open Google Drive in a new tab.
Step 2. To select multiple files at once, locate the folder containing pictures and hold the command key beside the space bar.
Step 3. To download a file, click on the three dots on the top-right menu and select the download option. Then, choose the desired location in your system to save the file.
Now follow the steps below to drag pictures to iCloud.
Step 1. Open the application of photos on your Mac OS.
Step 2. To start, open the Google Photos app on your device and navigate to the download folder. From there, you can select the pictures you want to upload to iCloud by dragging and dropping them into the iCloud folder on your device.
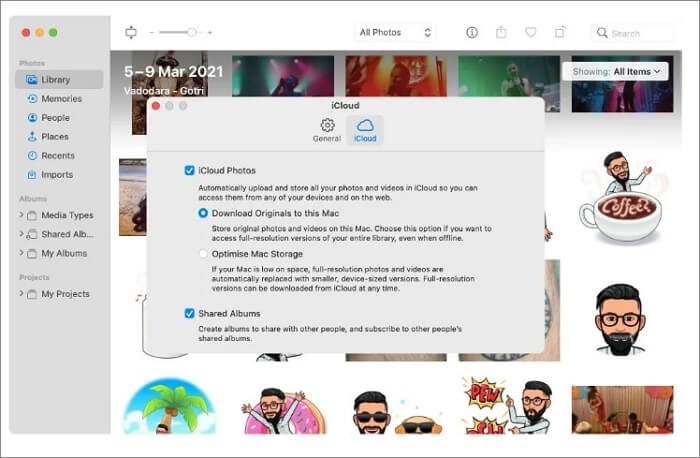
Step 3. To enable iCloud Photos, open the Photos app, go to Preferences, then click on iCloud, and ensure the option for "iCloud Photos" is toggled on.
Move Google Photos to iCloud on iPhone or Android
To transfer photos to iCloud from your iPhone, follow these easy steps. This process is specifically designed for iOS devices and is the simplest way to transfer your photos.
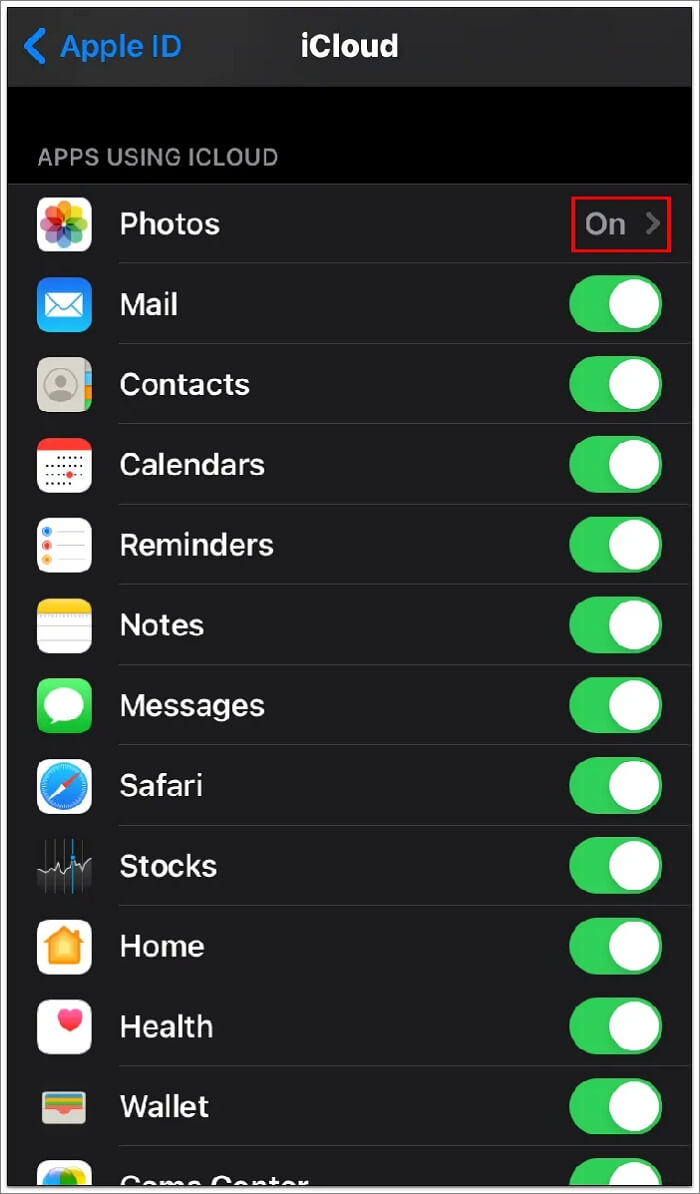
Step 1. To resolve the issue, go to your iPhone's settings, select Photos and Camera, and then toggle on the iCloud Photo Library option. This should enable the iCloud library, allowing you to access your photos across all your devices.
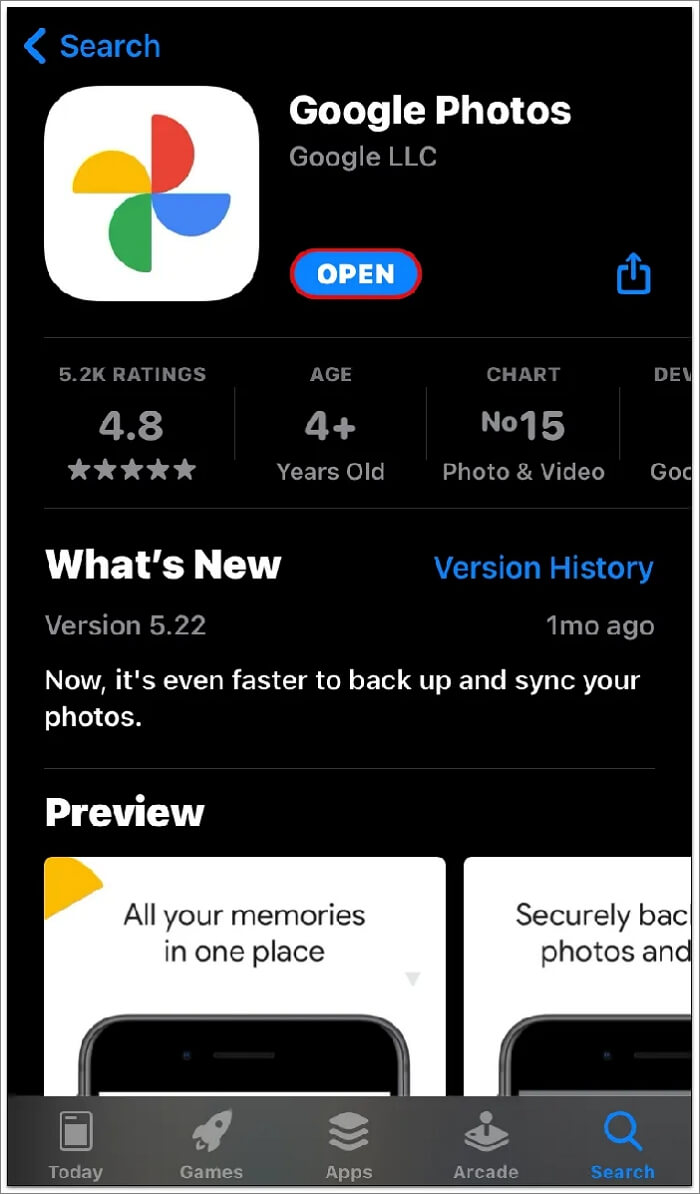
Step 2. To download Google Photos from the App Store, go to the App Store, search for 'Google Photos', tap the app icon, and then tap the 'Get' button to download and install the app.
Step 3. Enter your details to log in to your Google account.
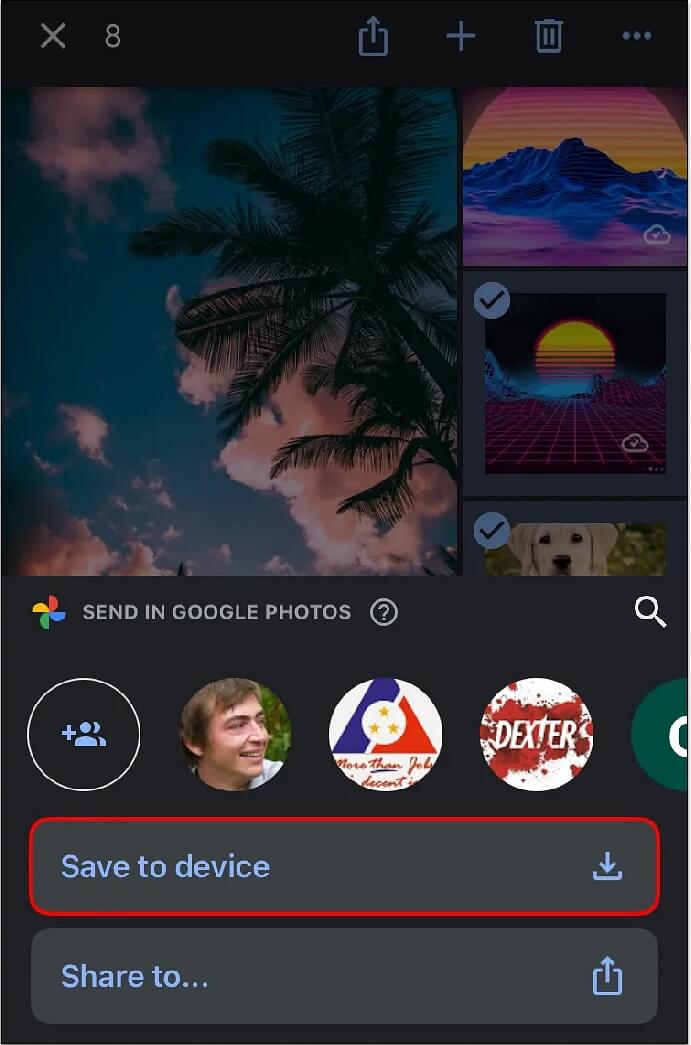
Step 4. Tap on the photos to select the desired ones.
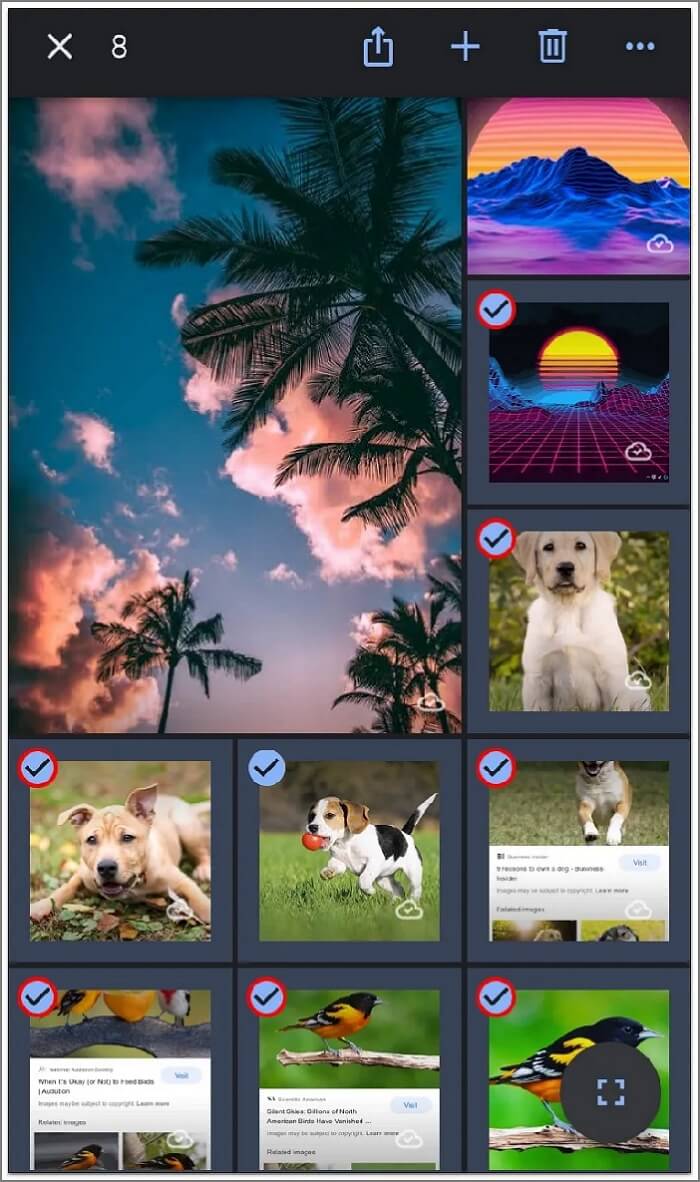
Step 5. Select the option of "Share" present on the screen at the top.
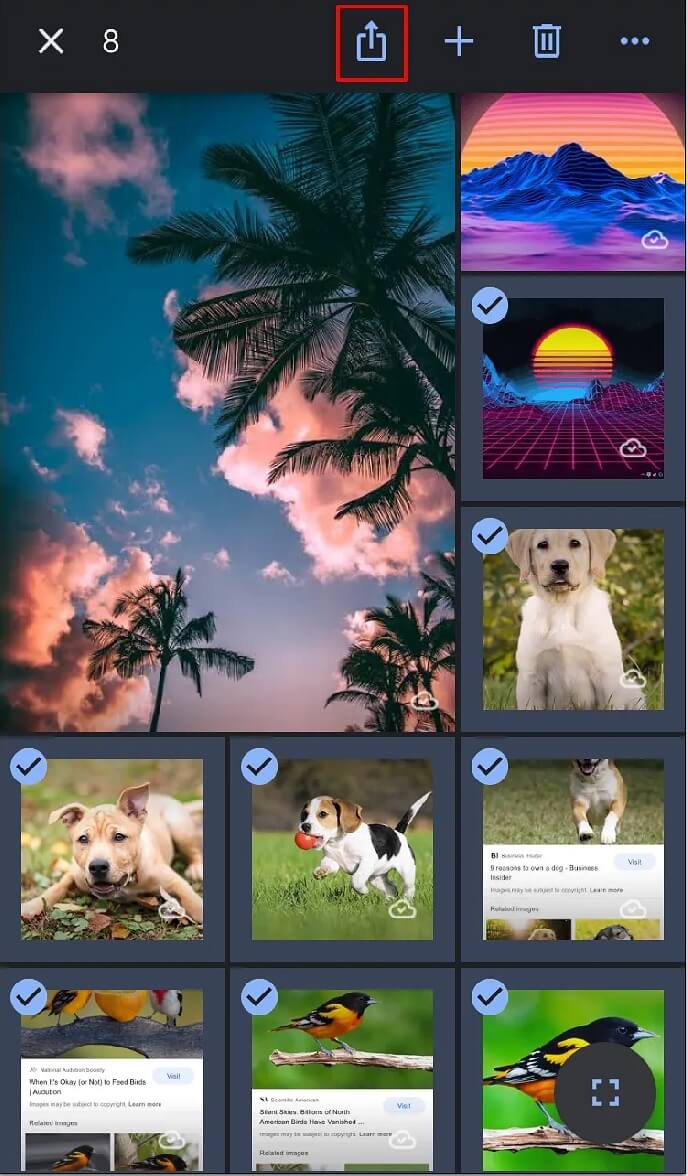
Step 6. Save all the photos you want to download to your camera, and they will be automatically synchronized in your iCloud storage.
No Space for iCloud Storage? Try Photo Transfer Software
While iCloud is a top recommendation for backup and shared storage, some users prefer to store their data locally on their devices, opting out of iCloud due to limited storage capacity. Once their storage space is maxed out, they have to purchase additional storage, making this option less desirable.
Qiling Disk Master is a great option to transfer photos without needing cloud storage, making it a convenient solution due to its ease of use and compatibility with various devices.
Here are the some of the features of Qiling Disk Master:
- Highly efficient and quick in terms of transferring the data.
- This software is simple and easy to use, requiring no expertise to operate. Just follow the on-screen instructions to transfer your data and photos.
- Qiling Disk Master enables automatic data transfer between systems. Simply install the software on both systems and start the transfer process, eliminating the need for manual intervention.
- It is available for Windows 11/10/8/7.
- This saves a lot of your time and brings improvement in efficiency.
You can follow the steps below to learn how to use this effective software:
To save local disk storage space, download Google Photos to your local disk first, then use Qiling Disk Master's Backup & Restore feature to create an image of the downloaded photos. This will help free up space on your local disk.
Step 1. Connect your USB (flash) drive/external hard drive to your source computer.
Launch Qiling Disk Master, click the "File backup" button on the Backup and recovery page.

Step 2. To create a backup file, select the specific data, applications, and accounts you want to include in the backup by choosing them in the Applications, User Accounts, and Files columns. This will allow you to create a customized backup file that contains only the items you need.

When you want to view and use the backed up photos in your Google Drive, you can restore the image with Qiling PCTrans.
Conclusion
Now that you know how to transfer Google Photos to iCloud, you can easily switch between the two services, regardless of your operating system or device. Both Google Photos and iCloud have their own unique features and benefits, making them useful in different ways. With this knowledge, you can choose the one that suits your needs and preferences.
After transferring your photos from Google Photos to iCloud, keep in mind to maintain an organized folder of your photos on your computer to save time searching for specific pictures or sets. Additionally, sync your photos regularly to prevent loss of cherished memories.
If you don't want to use any cloud storage, Qiling Disk Master is a great option for data transfer between systems, which you can download and see for yourself.
Related Articles
- How to Extract Files from a Broken Laptop [Full Guide]
- How to Move Files from SSD to HDD in Windows 10
- 4 Free Ways to Transfer Google Drive to Another Account
- How to Move Tencent Games to Another Drive/PC
- Simple & Easy: Backup External Hard Drive to Cloud
If you're concerned about storing your hard disk data in the cloud, you've come to the right place! This post is here to help you easily resolve your storage worries and find a solution that suits your needs. - [Newly Updated] How to Download and Backup Facebook Photos
We will teach you how to back up Facebook photos in two ways on this page. You can manually download photos from Facebook and back them up, or you can use professional file backup software to keep Facebook photos automatically.