How to Manage Photos on iPhone in Every Way
Why Do You Need to Manage Photos on iPhone
If you check your iPhone storage from the Settings app, you will probably find that photos take a large portion of your iPhone storage. Thus, it's important for you to manage your iPhone photos to make them well-organized and utilize your iPhone storage.
Photo management could refer to file deletion, data transfer, backup, and more. If you don't know how to manage photos on your iPhone, read this complete guide, and you will know every way of photo management on your iPhone.
How to Manage Photos on iPhone
When you want to clean up your iPhone photos, you'll need to delete photos from your iOS device. To avoid unexpected data loss, you need to back up photos on the iOS device. No matter your situation, you will find the corresponding guide in the details below.
How to Delete Photos on iPhone
How to delete photos on your iPhone is what you must know to manage your iPhone content. By removing unwanted photos from your device, you can get more free storage and make it run faster.
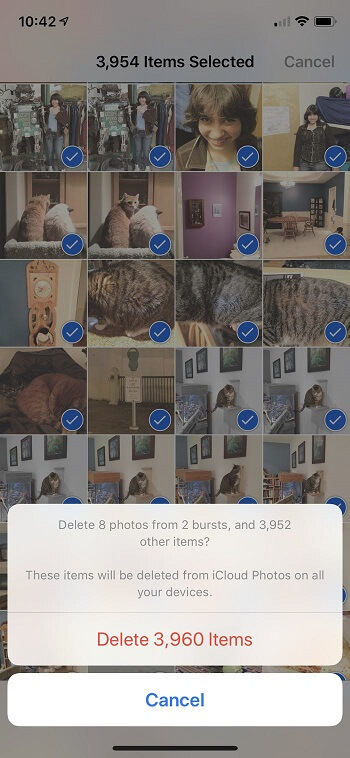
To delete iPhone photos:
Step 1. Go to the Photos app.
Step 2.Tap "Library" > "All Photos" > "Select."
Step 3. Tap to select the pictures you want to delete.
Step 4. Tap the trash icon and click "Delete" to confirm.
If you want to know other workable ways, go to learn how to delete all photos on your iPhone in detail.
How to Move Photos to Albums on iPhone
By organizing your iPhone photos by album, you can keep photos in the same category in one folder and thus make it easy for you to find specific pictures when you need to. You can also add new customized albums and move photos to these albums accordingly.
To move photos to albums on iPhone:
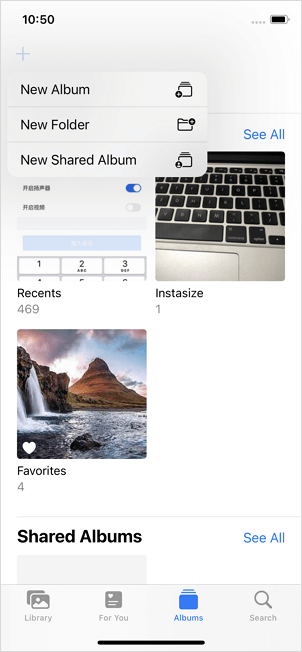
Step 1. Go to the Photos app.
Step 2. Tap the "Albums" tab, click the plus icon, and choose "New Album."
Step 3. Name the album and save it.
Step 4. Select the photos you want to add to the new album and click "Done."
You can also:
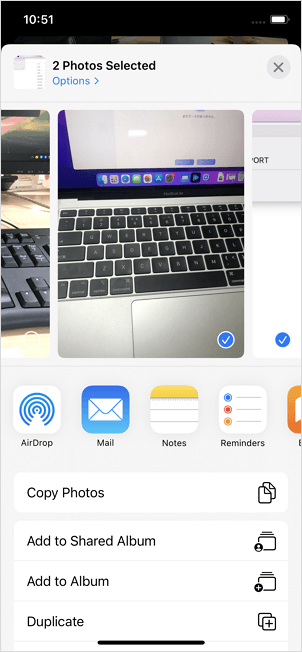
Step 1. Go to the Photos app and tap "Library."
Step 2. View all photos on your iPhone and tap "Select."
Step 3. Choose the photos you want to add to an album and tap the share icon.
Step 4. Choose "Add to Album" and select the album.
How to Transfer Photos from iPhone
It's such a common need for you to transfer photos from your iPhone. You can share photos from one iPhone to another or transfer photos from your iPhone to a computer. To transfer photos by album quickly and safely, you can try the iPhone data transfer tool - Qiling MobiMover.
With it installed on your PC or Mac, you can transfer photos, videos, music, ringtones, and more between your iPhone and the computer or from one iPhone to another.
Since it also has the HEIC conversion feature, you can convert iPhone photos to JPG after the photo transfer to view HEIC files on Windows.
To transfer photos from an iPhone to a computer:
Step 1. Connect your iPhone to your computer (Mac or PC). Launch Qiling MobiMover, then choose "Phone to PC" and click the "Next" button to continue. If you prefer to transfer photos from your iPhone to computer selectively, go to "Content Management" > "Pictures" > "Photos" instead.
Step 2. Choose "Pictures" from the displayed data categories. You can also transfer other files together to free up iPhone space or for backup. And, you are free to save the exported iPhone files on your local computer or USB flash drive.
Step 3. Then click the "Transfer" button to start transferring photos from iPhone to computer. Wait patiently for the process to finish and then go to check the exported items.
How to Back Up Photos on iPhone
Undoubtedly, photos are precious files for you. To avoid unexpected data loss that may happen, it's a necessity to back up your iPhone photos. To do so, you may think of iCloud first. However, the main function of iCloud Photos is data syncing. Once you turn on iCloud Photos, you can access these items from all devices using the same Apple ID. The reason why it's not a suitable solution for data backup is because once you delete photos from your iOS device, they will also be removed from iCloud.
Therefore, if you are looking to back up your iPhone photos, you are recommended to try Qiling MobiMover mentioned above. In addition to being an iPhone data transfer tool, it is also an iPhone backup tool that allows you to perform device backup. Whether you want to back up photos only or the whole device. You can let Qiling MobiMover help.
Step 1. Connect your iPhone to your PC or Mac, run Qiling MobiMover, then choose "Phone to PC". With this feature under 1-click transfer, you can back up all your iPhone photos to the computer at once. Click the "Next" button to move to the following step.
Step 2. Select "Pictures" from the supported data types. By default, MobiMover will save the exported files on your desktop. If you don't like, you are free to customize the storage path by clicking "Custom Path".
Step 3. Now, click the "Transfer" button to start backing up your iPhone photos to computer. Depending on the size of the files, it may take seconds or a while to completes. Wait patiently, then check these items at the destination.
How to Access iPhone Photos on PC
You can access and view your iPhone photos on a PC with a USB cable. However, you can only transfer photos from your iPhone to the computer in this way. You can't delete photos or add photos to your iPhone from the computer.
To truly access and manage your iPhone photos to PC, Qiling MobiMover will fulfill your needs well. It will load photos on an iPhone quickly, and you can choose to view them from the computer by album. Afterward, you can delete or transfer photos freely.
The Bottom Line
These are the common ways you will use to manage photos on your iPhone. You can also apply them to manage your iPhone contacts or other types of content. You may find that some photos can't be deleted. That's probably because these photos are stored in iCloud, not downloaded to your iPhone's internal storage. Thus, if you want to remove them, you can go to iCloud.com to get it done.
Related Articles
- How to Transfer Photos from iPhone to PC Without iTunes
- Two Ways to Save Text on iPhone to Computer - Messages/Notes
- How Do I AirDrop from iPhone to Mac
- Top 5 YouTube Playlist Downloaders You Should Never Miss