Recovery Partition RAW After a Windows Update
Quick Navigation:
- Why the Partition Turns RAW
- Confirm Which Partition Failed
- Check the Windows RE Status
- Rebuild the Recovery Partition
- Frequently Asked Questions
A recovery partition that reads as RAW after a Windows update is a common result of the servicing operation that refreshes the recovery image. The partition is small, hidden, and has no drive letter, so Windows never runs a check on it, and the next update that writes a new recovery image can leave the file system half written. Reset this PC then fails with a message that the recovery environment could not be found, and Advanced startup stops at the same point.
Why the Partition Turns RAW
Each feature update replaces the recovery image inside the Windows RE partition. The write happens during the same servicing window as the system files, and an interruption there leaves the FAT32 structure inconsistent while the partition entry itself stays valid. Windows then reports the volume as RAW because it cannot read a boot sector it recognizes.
The partition is also invisible to the tools that would normally catch the problem. It has no letter, it is marked as a recovery type, and the automatic maintenance tasks skip it. A power loss, a forced shutdown during the update, or a failing block in that small area therefore goes unnoticed until someone tries to use the recovery menu.
Sector-level damage produces the same symptom on a drive that is otherwise healthy. The recovery partition is often placed at the end of the disk, which is where a worn SSD block or a bridge chip that truncates writes is most likely to cause an error. A surface test tells the two causes apart.
Confirm Which Partition Failed
Look at the size and the type first. A Windows RE partition is usually 500 MB to 1 GB, has no drive letter, and carries a recovery type identifier rather than a basic data type. The EFI partition beside it is smaller and formatted FAT32, and the Windows volume is the large NTFS partition that still boots.
Check that the system volume is healthy before you plan any repair. If Windows starts normally, the recovery partition is the only damaged object, and the repair is a rebuild of that one partition rather than a reinstall. If the Windows volume is also RAW, the problem is the partition table or the disk, and the recovery partition should not be touched until the data is copied.
Note the exact position of the partition in the map. Windows expects the recovery tools to be reachable at boot, and a rebuilt partition placed in a different order still works as long as it is registered, but keeping the same offset makes the layout easier to verify afterwards.
Do not delete the partition to clear the RAW flag. It holds the only local copy of the recovery image, and once it is gone the recovery menu can only be restored from installation media. Deleting a recovery partition removes that copy for good, so copy the disk first, then rebuild.
Check the Windows RE Status
The reagentc command is a Windows built-in tool and is not part of Qiling Disk Master. Its status output is still the quickest way to see whether the recovery image is registered and where Windows believes it lives.
A status of disabled, or a reported location that points at a volume which no longer exists, matches a damaged partition. When the tool reports that it cannot find the recovery image, the partition is either unreadable or has been recreated without the image files, and the rebuild in Part 4 is the correct next step.
Run the check again after any rebuild. A partition that exists but is not enabled in the boot configuration leaves Advanced startup broken even though the volume looks correct in the disk map, and that state is fixed by re-registering the image rather than by resizing anything.
Rebuild the Recovery Partition
Qiling Disk Master shows the recovery partition with its type and size, so the damaged volume can be identified without guessing, and it can create the replacement in unallocated space of the correct size. Run it from bootable media when the recovery menu is the only thing that still works, and back up the disk before the first change. If the drive itself is being replaced, the recovery partition can instead be cloned to the new disk along with the rest of the layout.
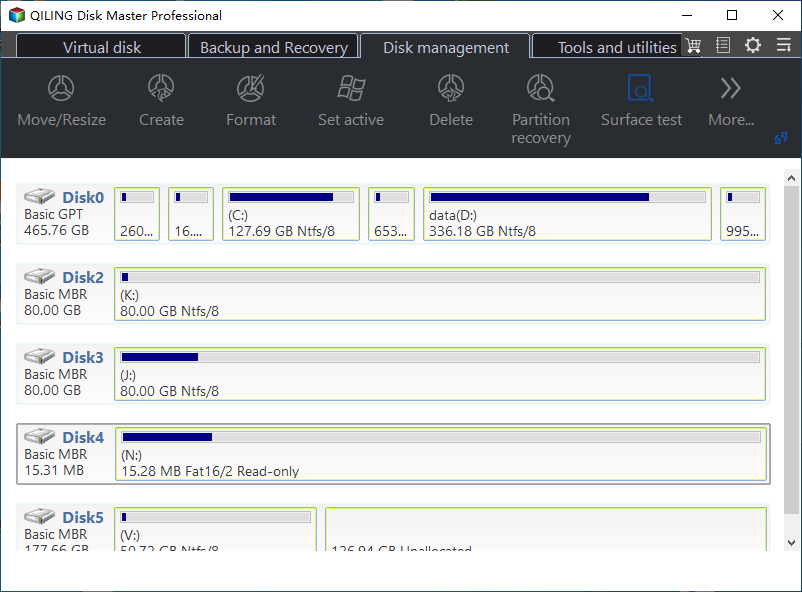
Step 1. Identify the Recovery Partition in the Map
Open the disk map and select the small partition without a letter at the end of the system disk. Confirm its size against the value recorded earlier, and check that the Windows volume beside it still shows its files.
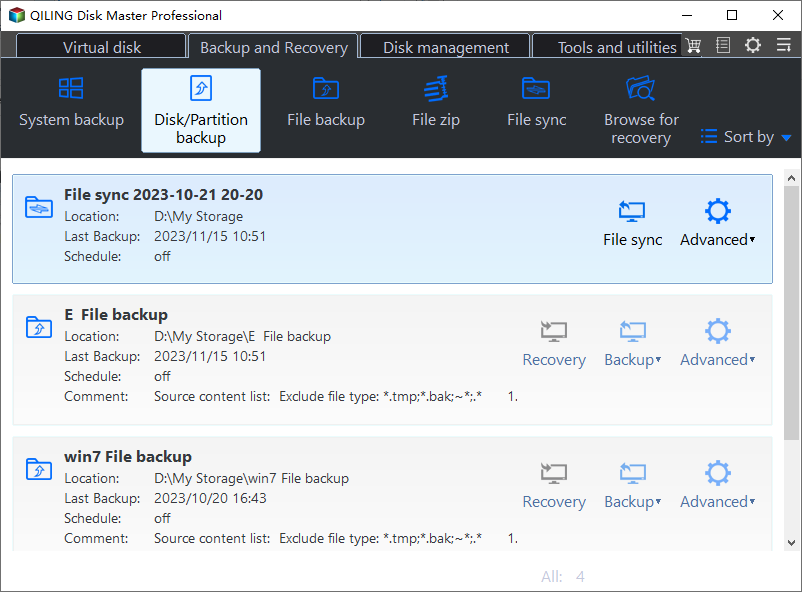
Step 2. Back Up the Disk Before Any Change
Create a disk backup of the whole system disk to an external drive. The backup captures the recovery partition in its current state, which is the only way to restore the original image if the rebuild does not produce a working environment.
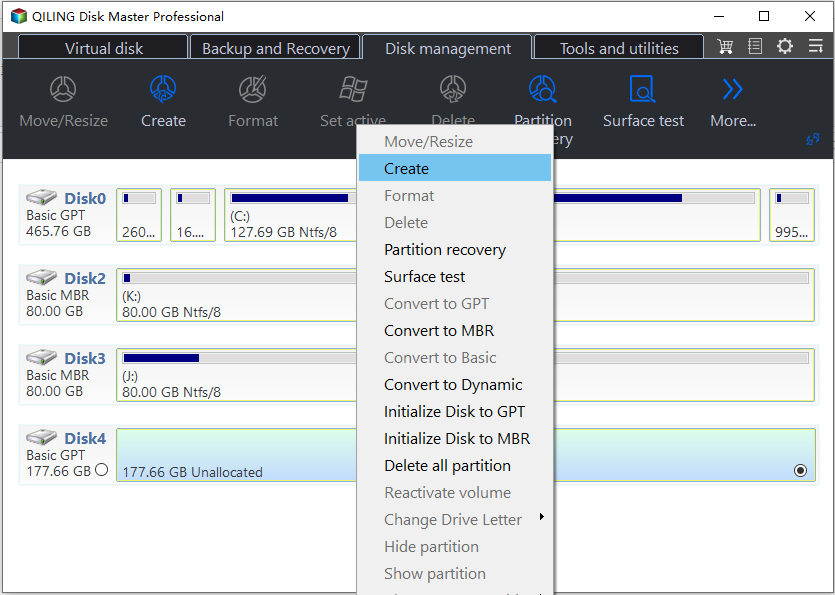
Step 3. Create the Replacement Partition
Delete the damaged recovery partition only after the backup has been verified, then create a new partition in the unallocated space with a size of at least 1 GB. Format it as FAT32 and keep the offset where the old partition started.
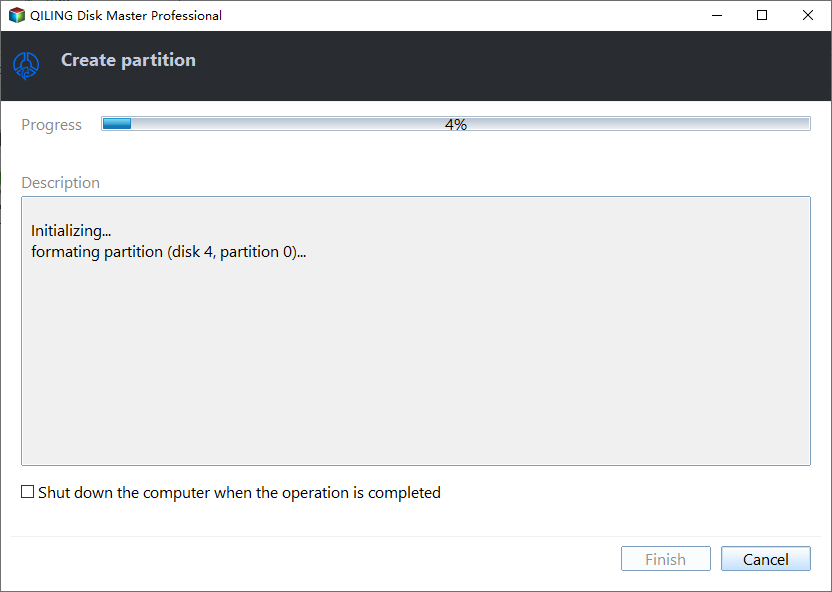
Step 4. Preview the Layout and Proceed
Review the pending operations in the task list, confirm that only the recovery area changes, and click Proceed. Once the new partition exists, re-register the recovery image from installation media so the boot configuration points at it again.
Finish by restarting into the recovery menu and opening Reset this PC far enough to see the options list, then cancel. That single check confirms that the environment loads before you rely on it during a real failure.
Frequently Asked Questions
Can I ignore a RAW recovery partition if Windows still starts?
You can, but you lose Reset this PC and every repair option that depends on Windows RE. The condition also tends to reappear during the next update, so rebuilding it early is the safer choice.
Will rebuilding delete my files?
No. The operation only touches the recovery partition, which holds no user data. The full disk backup is there for the case where a tool picks the wrong partition in the map.
Why does the partition turn RAW again after the next update?
A drive with bad blocks in that area, or a partition that is too small for the new image, fails the same way each time. Run a surface test and give the partition 1 GB or more before the next feature update.
Related Articles
- Can You Delete a Recovery Partition in Windows 11?
- Clone the Windows Recovery Partition to a New SSD
- Unallocated Space Left by a 25H2 Recovery Partition
- Move the Recovery Partition Without Losing Data
- Recovery Partition Not Showing in This PC
Products
Articles & Tutorials
- Data Recovery
- Data Backup
- File Recovery
- File Backup
- System Backup and Restore
- Disk and Partition Clone
- Technical articles
- Mobile articles
- Disk Master Help
- Windows Data Recovery Tutorials
- Windows Secure Delete Tutorials
- Windows Partition Management Tutorials
- Windows File Backup and Restore Tutorials
- Windows System Backup and Restore Tutorials
- Windows Disk Backup and Restore Tutorials
- Windows Clone Tutorials