Reformat PS4 Hard Drive for PC in Windows 10/8/7
| Workable Solutions | Step-by-step Troubleshooting |
|---|---|
| Reformat PS4 Hard Drive | Reformat PS4 hard drive with Qiling Partition Master...Full steps |
You replaced the PS4 hard drive with an SSD on your laptop, but the old PS4 hard drive isn't showing up on your Windows 10 PC. You've tried Disk Management and it only offers to convert to a Dynamic Disk. You're looking for alternative ways or software to format the old PS4 hard drive for use on your Windows PC.
The PS4 doesn't show up in Windows Explorer because it uses a file format that Windows can't read. To make it work with Windows, you need to erase the existing partition and create a new one that Windows can understand.
- Notice:
- Windows won't recognize PS4 hard drive unless you reformat it.
What can help you format PS4 hard drive for Windows PC
If you're a PS4 player looking to upgrade or replace your hard drive, you might want to repurpose your old one as an internal or external drive for your Windows PC. To do this, you'll need to reformat the PS4 hard drive to the correct file system, allowing you to use it as additional storage for your PC.
Formatting a PS4 hard drive for use on a Windows PC can be a challenge, as Windows may not recognize the drive. Many users seek help online, but a simple solution is to use a partition software like Qiling. This tool can easily format the PS4 hard drive for use on Windows 10, 8, or 7 PCs, making it a hassle-free process.
Steps to reformat PS4 hard drive for Windows 10/8/7 PC
1. Reformat PS4 hard drive with Qiling Partition Master
If you're unsure about various methods, some people even suggest buying a new hard drive. However, with the help of Qiling Partition Master, you can easily complete the process with just a few mouse clicks. To do this, you'll need to delete the existing partition and then create a new one. This professional assistant makes it simple and straightforward, saving you the hassle of buying a new hard drive.
Delete all PS4 partitions:
Step 1. Launch Qiling Partition Master on your computer.
Step 2. You can either delete a specific partition or delete all partitions on the hard drive, effectively wiping the entire drive clean. This will erase all data on the drive, so make sure you have backups of anything you want to keep.
- Delete single partition: To delete a partition, right-click on it and select "Delete..." from the menu.
- Delete all partitions: To delete all partitions on a hard drive, right-click the drive and select "Delete All..." from the context menu. This will remove all existing partitions on the drive, allowing you to start fresh and create new partitions.
Make sure that you've backed up the important data on the selected partition because this manner will compeletely remove data.
Step 3. Click "Proceed" to confirm the deletion.
Create new partition:
Step 1. Launch Qiling Partition Master. On the main window, right-click on the unallocated space on your hard drive or external storage device, and select "Create" to create a new partition.
Step 2. Adjust the partition size, file system (choose the file system based on your needs), label, etc. for the new partition, and then click "Proceed" to create the partition.
The PS4's hard drive is automatically formatted when creating partitions.
2. Reformat PS4 hard drive with Disk Management
Using Disk Management is another feasible way to format a disk, but the process can be a bit cumbersome. To format a disk using Disk Management, you will need to delete all partitions one by one, which can be a time-consuming and tedious process.
Step 1: Connect PS4 hard drive to the computer via SATA cable.
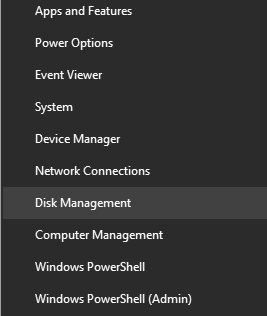
Step 2: Press Windows+X, then choose Disk Management.
Step 3. Delete all existing PS4 partition.
When you open the Windows built-in disk manager, you may find multiple partitions listed in the disk panel, exceeding 10 partitions.
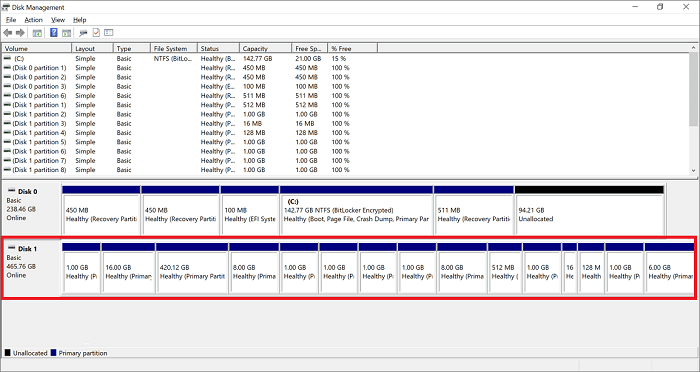
- Right-click on each partition and select Delete Volume.

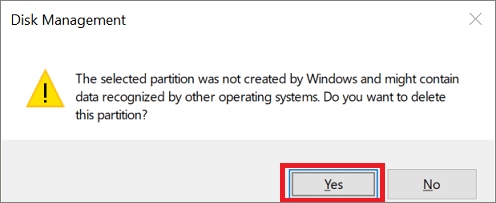
- Then this window pops up, please click Yes.
Step 4. Right-click the unallocated part, then choose New Simple Volume.
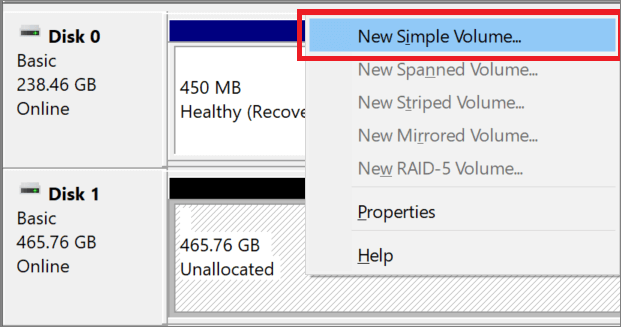
Step 5. Set new partition via New Simple Volume Wizard.
The pop-up window should display the options to set the File system, Allocation unit size, and Volume label for the new drive.
If you have finished the above steps, the PS4 hard drive will appear in the File Explorer.
Related Articles
- Fix Windows Cannot be Installed to This Disk MBR on Windows 11
- How to Partition SD Card for Android
- How to Safely Resize Partitions in Windows 11 Without Losing Data
- Why Is Windows Server Slow and Tips to Speed Up Windows Server in 2022
- 3 Safe Ways to Format SSD With No Harm to It
Can I format SSD with no harm to it? Sure! This page lists three ways and a step-by-step guide on how to format an SSD safely. Dive into learning the guides. - How to Format SSD with OS on It [Reliable Solution] - Qiling
How to format SSD with OS on it? The