Storage Spaces Lost Communication: Recover the Data
Quick Navigation:
- What Lost Communication Means
- Restore Power and Connection First
- Three Rules Before You Scan
- Recover the Data from the Pool
- Frequently Asked Questions
A Storage Spaces disk that reports Lost Communication is one of the least reassuring messages Windows can produce. The volume may still appear in Explorer but refuse to open, or vanish entirely, and every repair button in the pool panel looks helpful and is not. The data is often intact on the members; the pool simply cannot reach one of them.
The order of operations matters more than in an ordinary drive failure, because Storage Spaces spreads your files and its own mapping across several disks.
What Lost Communication Means
Storage Spaces does not report a disk as failed the way a RAID controller does. It reports that the disk stopped answering within the expected time, because of a loose cable, a failing connector, a renegotiated port, a controller reset, or a slow-spinning drive. The pool keeps its record and marks the disk disconnected rather than forgotten.
The pool then cannot assemble every slab it needs. A two-way mirror may stay readable in a degraded state, while a simple or parity space can turn inaccessible, show as RAW, or disappear from This PC. None of those outcomes means the files were deleted, and none is fixed by a rebuild.
Where the metadata lives matters. Storage Spaces writes pool configuration and slab maps to every member, so a single surviving disk can sometimes describe the whole layout. That redundancy is your best asset, and it is destroyed the moment you remove a member or create a new pool.
Restore Power and Connection First
Start at the physical layer. Power down, reseat the data and power cables, and try another port or enclosure. Listen for the drive spinning up and check whether the firmware screen sees it at boot.
Do not press Remove Disk in the pool panel. That command deletes the pool's record of the member and starts redistributing its slabs, which rewrites the surviving disks. Do not recreate the pool, and do not accept a repair that offers to reset the volume.
If the disk returns and the volume mounts, copy the important folders to another disk and treat the pool as unreliable until the member is replaced. If the disk returns but the volume will not open, stop and move to a read-only scan. An inaccessible pool is not a recovery platform, because Windows needs a healthy pool to show the volume.
Three Rules Before You Scan
Rule one: stop writing to the members. Do not format the volume, create a new pool, or run a repair, and keep backups and indexing off every disk that belonged to it. If it is still mounted, disconnect it.
Rule two: keep every member, including the one with lost communication. A disk that looks dead can still hold the slab map that makes sense of the others. Removing it destroys that chance.
Rule three: when the pool cannot be mounted, image the single disk before scanning it. A sector-by-sector image captures the pool metadata exactly as it was and lets you scan repeatedly without loading a failing drive. If the disk clicks or drops out, image it even when the pool is still browsable.
For a mirrored space, an image of either member is enough, because each holds a full copy. For a parity space, image every member you can reach, since no single disk holds a complete file.
Recover the Data from the Pool with Qiling Data Recovery
Disk-level reading is handled by Qiling Disk Master, and the standalone scan below uses the same engine to read a member below its file system. It does not need the pool online, which is why it works after Storage Spaces has given up.
A sector image of the member is the safest source. Mount it as a virtual disk or point the scan at the drive, and preview before saving. Similar cases appear in recovering files after a Storage Spaces pool is deleted and in reading data from a single RAID member disk.
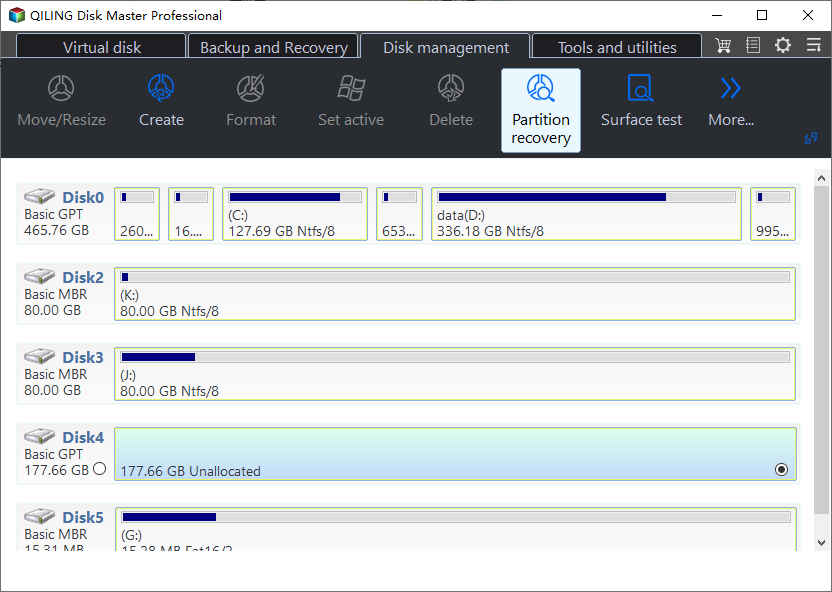
Step 1. Select the Member Disk or Its Image
Choose the physical disk that dropped out, identified by model and capacity, or the image file you made from it. Never select the disk that will receive the recovered files.
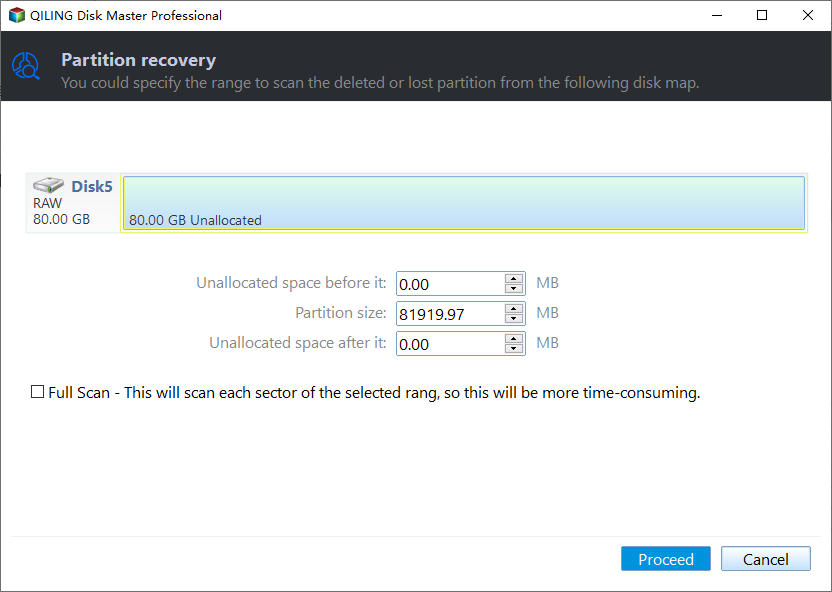
Step 2. Scan the Full Range of the Disk
Scan the whole disk rather than a guessed range. Storage Spaces places slabs at offsets that do not follow ordinary partition boundaries, so a full scan gives the best chance of finding the records that belong to your volume.
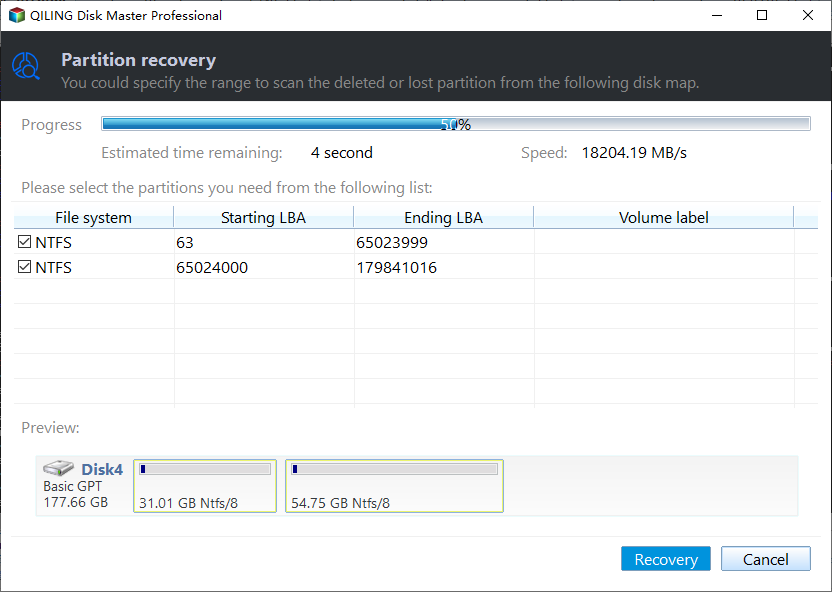
Step 3. Review and Save to Another Disk
Preview several file types before selecting a batch, then write the results to a disk that was never part of the pool. Keep the members untouched until the important files open correctly.
Once the data is out, the pool is a separate decision: retire the failing member, rebuild on healthy disks, and copy the files back. Until then, leave the pool as it is, since its broken state still records where your files live. If a member shows read errors, the guidance on recovering files from a drive with bad sectors explains how to image around them.
Frequently Asked Questions
The pool says lost communication but the disk appears in Disk Management. Which view is right?
Both. The disk is visible to Windows, but Storage Spaces cannot complete an I/O within its timeout, so the pool treats it as unreachable. That gap is why a disk-level scan can still read data the pool refuses to use.
Can I remove the bad disk and let the pool rebuild?
Not while you still need the data. Removal rewrites the surviving members and redistributes slabs, and a rebuild on already stressed disks is how a recoverable failure becomes permanent. Copy the files out first.
Do I need every disk to get anything back?
For a two-way mirror, no: one member holds a complete copy. For parity or simple spaces you need enough members to cover the missing slabs, so image them all before scanning.
Related Articles
- Recover Deleted Files from a Storage Spaces Volume
- Recover Files from an Uninitialized External Disk
- How to Recover Files from an External Hard Drive
- Recover Files from a Corrupted or Failed Hard Drive
- Recover Files from Bad Sectors on a Hard Drive
Products
Articles & Tutorials
- Data Recovery
- Data Backup
- File Recovery
- File Backup
- System Backup and Restore
- Disk and Partition Clone
- Technical articles
- Mobile articles
- Disk Master Help
- Windows Data Recovery Tutorials
- Windows Secure Delete Tutorials
- Windows Partition Management Tutorials
- Windows File Backup and Restore Tutorials
- Windows System Backup and Restore Tutorials
- Windows Disk Backup and Restore Tutorials
- Windows Clone Tutorials