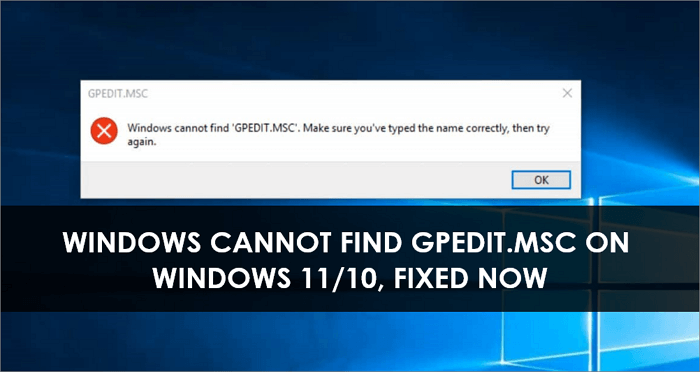
Windows Cannot Find GPEDIT.MSC on Windows 11/10, Fixed Now!
Fix Windows cannot find GPEDIT.MSC issue in 6 ways:
| Workable Solutions | Step-by-step Troubleshooting |
|---|---|
| Fix 1. Check your Windows version | Start the Run tool and type winver and press Enter. The window version info dialogue box will open...Full steps |
| Fix 2. Update Windows | Click on Start and go to "Settings." In the setting menu, click on "Update & Security"...Full steps |
| To enable the Group Policy Editor, you can create a batch file that runs the command "gpedit.msc" and save it with a .bat extension. | First, obtain the Enable_GPEDIT.ZIP file from the internet. Then, extract its contents...Full steps |
| Fix 4. Run System File Checker | Press the Windows key + X, then select "Command Prompt (Admin)" from the menu...Full steps |
| Fix 5. Repair Windows | To repair the Windows OS, you need a bootable disk or USB. Insert the bootable device into your PC...Full steps |
| Fix 6. Reinstall Windows | Go to Settings and then "Update and Security". Click on "Recovery" and choose the "Get started" option...Full steps |
Using Windows OS can be frustrating, especially when errors like "Windows Cannot Find GPEDIT.MSCon Windows 11/10" appear. This error typically indicates that the group policy editor is not enabled or is experiencing issues, making it a common problem for users to troubleshoot.
If you're experiencing the error, this article is for you. We'll discuss various easy-to-use methods to fix the issue and also explain the group policy editor and its efficiency.
What Is Group Policy Editor
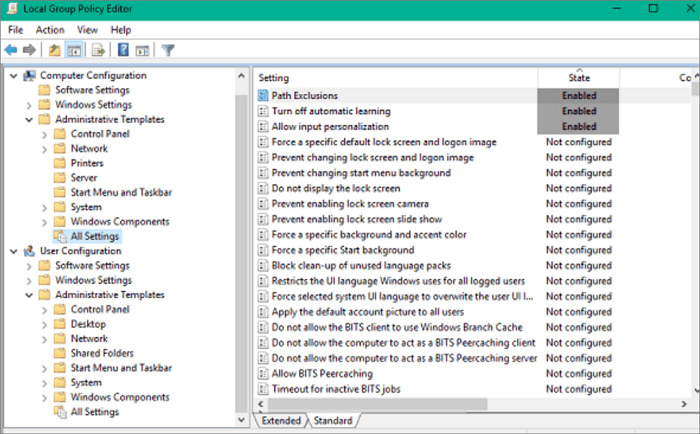
Group Policy Editor is a powerful tool that allows you to manage settings for Windows, enabling you to change everything from how the Start menu works to which programs are allowed to run on your PC. It's essential to understand how it works before making any changes, as it's a critical part of Windows management.
Group Policy Editor is a feature in Microsoft Windows that allows administrators to manage settings on computers or networks. It can be used to control user actions, such as running programs, accessing files, and viewing registry keys, providing a level of customization and control over what users can do on their computer.
The Group Policy Editor is a powerful tool that allows administrators to make significant changes to a system, but they should first understand how it works before making any modifications.
Windows Cannot Find GPEDIT.MSC Error Introduction
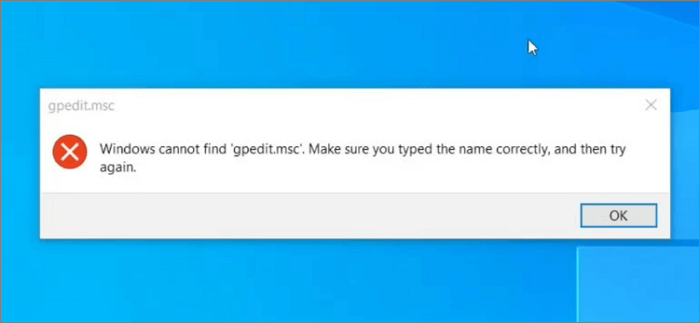
If you're getting the "Windows cannot find GPEDIT.MSC" error on your Windows 10 computer, it's likely that the Group Policy Editor is not included or installed in your version of Windows 10.
To fix the error, you can try repairing or updating your Windows OS, or enable the group policy editor using a batch file. This should resolve the issue.
To resolve the error, you can either update your Windows OS to the latest version or enable the Group Policy Editor, which can be done by typing "gpedit.msc" in the Run dialog box and pressing Enter. This should allow you to access the Group Policy Editor and make any necessary changes.
How to Fix Windows Cannot Find GPEDIT.MSC on Windows 10/11
The Windows Cannot find GPEDIT.MSC Windows 11 error can be resolved through various methods. Six step-by-step methods can help eliminate this error, each of which works by addressing the issue from a different angle. These methods can be explored to find the one that best suits the user's needs and provides a solution to the problem.
Fix 1. Check Your Windows Version First
The error "Windows was unable to locate GPEDIT.MSC" is likely due to using an unsupported version of Windows, as only Professional and Enterprise versions include the Group Policy Editor.
To fix the error, first check your Windows version. Both Windows 10 and 11 home editions do not come with a group policy editor, so you'll need to check your version to proceed.
Step 1. Press Win + R to start the Run tool. Type winver and press enter.

Step 2. The following window dialogue box will open. Here the system will show the version of the copy of Windows that is installed on your PC or laptop.
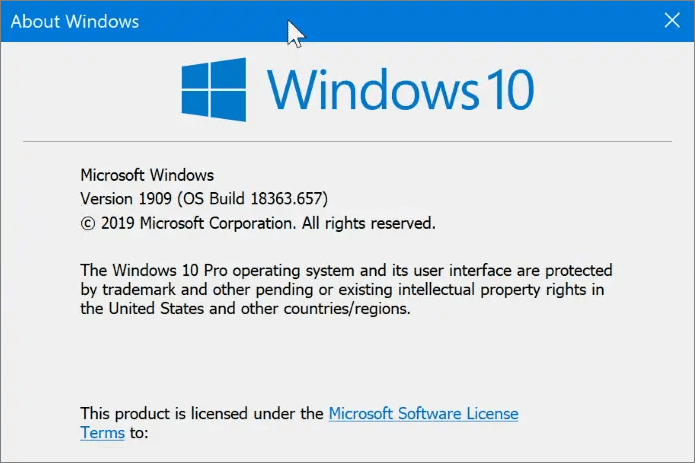
If it says you have Windows 10 or 11 Home edition installed, the Group Policy Editor is missing, as it's only available in Pro and Enterprise editions.
Fix 2. Update Windows
Once you've found the Windows version, it's time to upgrade it, as Windows 10/11 Home doesn't come with GPE.
To resolve the error, upgrade your Windows 10 to Pro or higher by following the steps.
Step 1. To update Windows, click on Start and go to "Settings" and then click on "Update & Security."
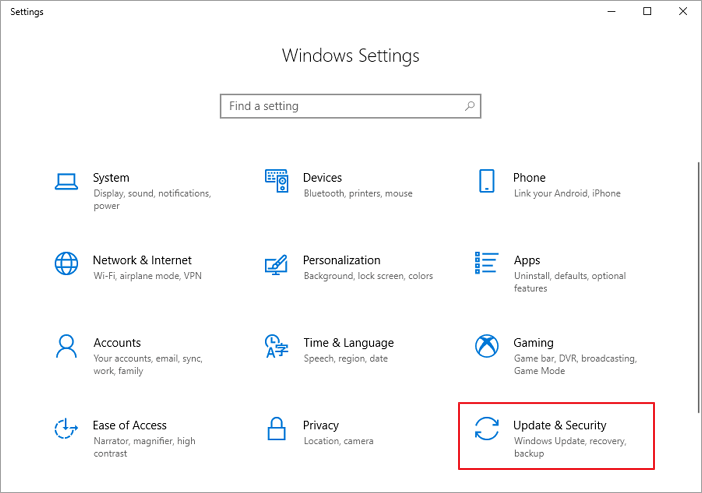
Step 2. Click on "Activation", and then select the "Go to Store" option.
Step 3. After upgrading, you'll be able to access GPEDIT.MSC without any issues, and then you can purchase the upgrade from the store.
Fix 3. Enable the Group Policy Editor with a Batch File
Enabling the Group Policy Editor on a Windows computer is a straightforward process that involves running a simple batch file. This batch file enables the GPEDIT.MSC snap-in, allowing users to make changes to group policy settings and customize their system's configuration.
Step 1.To utilize this technique, you'll first need to obtain the Enable_GPEDIT.ZIP file from the internet.
Step 2.Once you've obtained the file, extract its contents to a folder on your computer's hard drive.
Step 3.You'll find two files in this folder: an executable file and a .reg file.

Step 4.Double-click the file to start it, and if prompted by User Account Control, click "Yes" to continue. This provides all users on your computer access to the Group Policy Editor.
Fix 4. Run System File Checker
To scan for and fix any corrupt files on your system, you can use the System File Checker tool. To do this, open the Command Prompt as an administrator, type "sfc /scannow", and press Enter. This will scan all protected system files and replace any that are found to be corrupt with a cached copy from Windows Update.
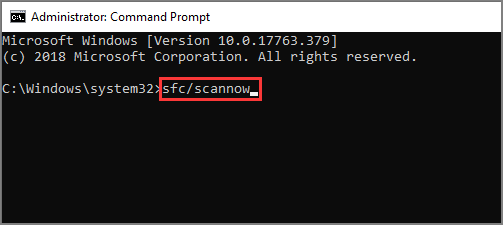
Step 1. Press the Windows key + X on your keyboard, then select "Command Prompt (Admin)" from the menu that appears.
Step 2.To run a System File Checker (SFC) scan, type the command "sfc /scannow" into the Command Prompt and press Enter. This will scan all system files on your computer and attempt to repair any that are found to be corrupt.
Step 3. After scanning your computer, restart it and attempt to open GPEDIT.MSC again. It should now function properly.
Fix 5. Repair Windows
If you're experiencing errors, it's possible that corrupted Windows files are to blame. In this case, repairing your Windows OS is a viable solution. To do this, follow these simple steps:
Step 1.To repair the Windows OS, insert a bootable disk or USB into your PC or laptop and turn it on. Press any key when prompted to boot from the disk or USB. This will initiate the repair process.
Step 2.Select your preferred language for the Windows setup interface.
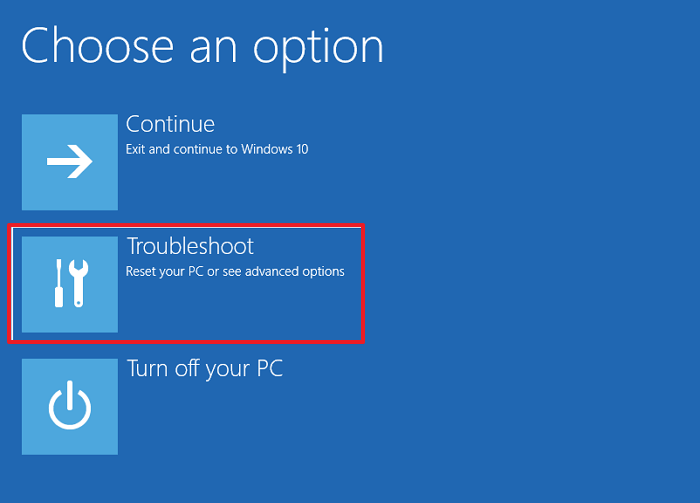
Step 3. Now choose "Troubleshoot" to proceed further.
Step 4. The interface provides you different options. Here, you have to choose the third option, which says "Automatic Repair."
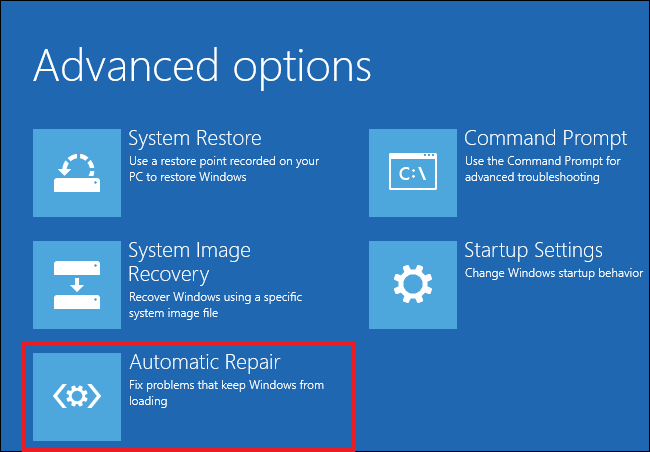
Step 5. Windows will automatically repair itself. Just wait until the process is complete.
Fix 6. Reinstall Windows
If system repair doesn't work, you may need to consider reinstalling Windows. A fresh install of Windows 10/11 (Pro versions or higher) is unlikely to cause issues like these, so you can try reinstalling the operating system. To do this, follow these simple steps.
Step 1. Go to Settings and then go to "Update and Security".
Step 2. Click on "Recovery" and choose the "Get started" option.
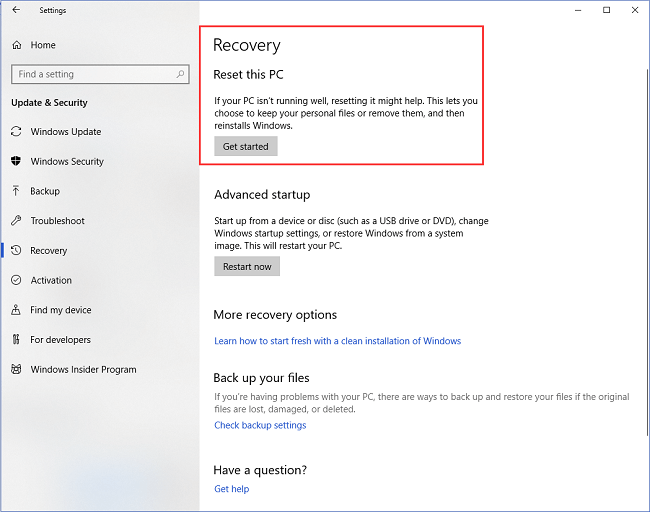
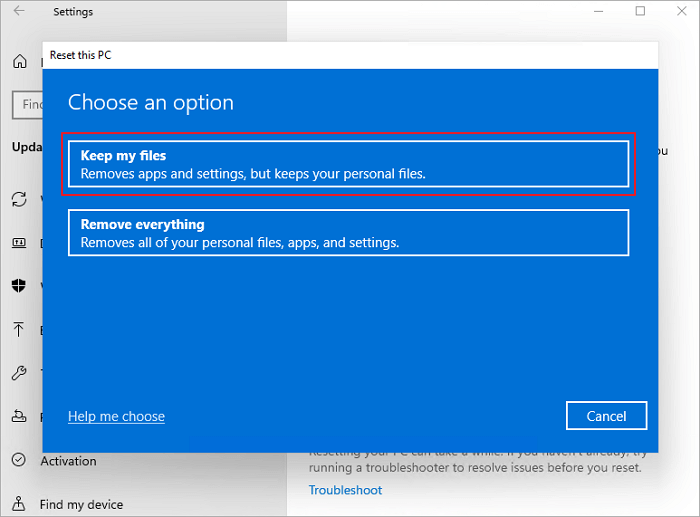
Step 3.Clicking on "Reset this PC" will bring up a blue screen with two options. To keep your files and remove other settings, click on "Keep my files", or to perform a clean install, click on "Remove everything".
Step 4. Once you've chosen one of the available options, the Windows will be reinstalled.
How to Recover Lost Data on Windows 10/Windows 11
Regardless of the method you choose, your primary concern should be preventing data loss. Fortunately, Deep Data Recovery can help in this regard.
Deep Data Recovery is an all-in-one data recovery tool that quickly and easily recovers various types of data files, including documents, videos, audio files, and system files.
Whether your system crashed due to a corrupted file or won't boot up at all, you can use this tool to recover your data files. It's 100% safe and secure, and works with all Windows versions, including Windows 11, 10, 8, and 7. The tool can restore files from various devices, including the Recycle Bin, HDD, SSD, SD card, pen drive, USB flash drive, and camera.
Step 1. Select file types that you want to recover
Launch Deep Data Recovery, allowing for quick filtering of scanned files by category, such as Pictures, Videos, Documents, Audio.

Step 2. Choose the drive where you lost files and start scanning. This software allows you to recover lost data from various devices, including HDD, SSD, USB drive, SD card, pen drive, and camera.

Step 3. Qiling data recovery software allows you to browse full scan results and choose the file type you need by clicking on the file type filter, supporting over 1000 file types such as photos, videos, documents, emails, audio files, and more.

Step 4. Select the files you want to preview. Click "Recover" and set a storage location to save the recovered data.
Conclusion
To fix the Windows Cannot Find GPEDIT.MSC on Windows 11/10 error, you can use one of the six methods shared earlier, or for an even better and easy way, download Deep Data Recovery.
This data recovery tool helps you overcome technical errors that lead to data loss, featuring a clean interface that allows you to recover various types of data, including document and video file formats, which it supports.
Related Articles
- [Solved] USB Pen Drive Not Showing Data, Files, and Folders
- Fix I/O Device Error on External Hard Drive/USB Drive in Windows
- What is GPT Disk? How to Recover GPT Partition Data Easily
- Is It Safe to Delete Windows Update Cleanup Folders/Files? Get Answers Here
- How to Fix System_Service_Exception in Windows 10/11 Without Data Loss
The system_service_exception error occurs when a system service crashes, causing a thread exception. To fix this issue in Windows 10 or Windows 11, you can try using Deep Data Recovery to restore lost data without data loss, or use other methods to resolve the issue. - How to Fix USB Flash Drive Not Formatted Error Without Losing Data
Here are three parts to solve the USB flash drive not formatted error without losing data. Follow one by one and recover data from not formatted USB flash drive or hard drive. Please note that the solution may vary depending on the specific situation, and it's always recommended to consult a professional if you're unsure.