How to Use Recovery Disk in Windows 7 to Restore Sony Vaio
Quick Navigation:
- Step 1. Install Deep Data Recovery
- Step 2. Select the file types to recover
- Step 3. Select hard drive to scan
- Step 4. Recover files from Sony VAIO
If you're careful enough, you must prepare your computer for a rainy day. It is a necessity because nobody knows what will happen to a computer. If you're using Sony VAIO, you're supposed to create a Sony VAIO recovery disk. Here are the steps for how to create a Sony VAIO recovery disk in Windows 7.
Go to Start > All Programs > VAIO Care.
Select Recovery and restore > then click "Recovery". Next, click "Create Recovery Media".
Follow the on-screen instruction to create your Windows 7 recovery disk. After then, if there is any problem with your computer, say your computer can't run properly, you can use the Sony VAIO recovery disk for Windows 7 to restore it to factory settings. Check out the steps here:
Option #1. If you have used an external hard drive to create the Sony VAIO recovery disk in Windows 7, then power on a press F11 to enter the boot options menu. From there, select the USB drive. Or you can insert the recovery disk into your computer and reboot the computer.
Option #2. If you have used a partition on your computer to create the recovery disk on Sony VAIO, then you need to Power on the computer and press F10 several times. Choose Start Recovery Wizard and follow the on-screen option to restore your computer.
You need to know that before restoring Sony VAIO in Windows 7 with the recovery disk, you should back up all important data from your computer. If you haven't had done that, all data will be erased permanently. If you're not lucky enough to do the backup, then you need to try data recovery software to see whether you can retrieve any data from the restored computer.
There are dozens of data recovery tools for free download on the Internet. Before installing any of them to your computer, you should make clear what types of files you need to recover, they're supported by the tool or not. Here, I'd like to recommend you try Deep Data Recovery. It is developed for users to recover deleted or lost data, including videos, photos, audio files, documents, archives, emails and more from the computer running in Windows 7, Windows 10, Windows 8, Windows XP, Windows Vista and all versions of macOS. It also can easily unformat SD card, SSD, hard drive, partition and more. Check out its main features below.
Your Safe & Effective Data Recovery Software
- Standalone and need no extra software to recover data from Sony VAIO.
- Separate versions for both Windows PC and Mac.
- Simple interface with navigated windows, making it quite easy to use. You don't need to know much techniques to recover data from Sony VAIO.
- Supports more than 200 types of files in various format, including videos, photos, songs, documents, and archives, etc.
Here in the following, I'm going to guide you through the whole process of how to use Deep Data Recovery to recover data from Sony VAIO.
Step 1. Install Deep Data Recovery
Click the download button below to download the installation package of Deep Data Recovery. After then, install it on your computer. It is virus-free. Feel free to install it. If you're using macOS, a pop-up might remind you of risky because it is not downloaded from App Store. Don't worry. You just need to tick the option "Download from App Store and Identified developers" in the "Security and Privacy".
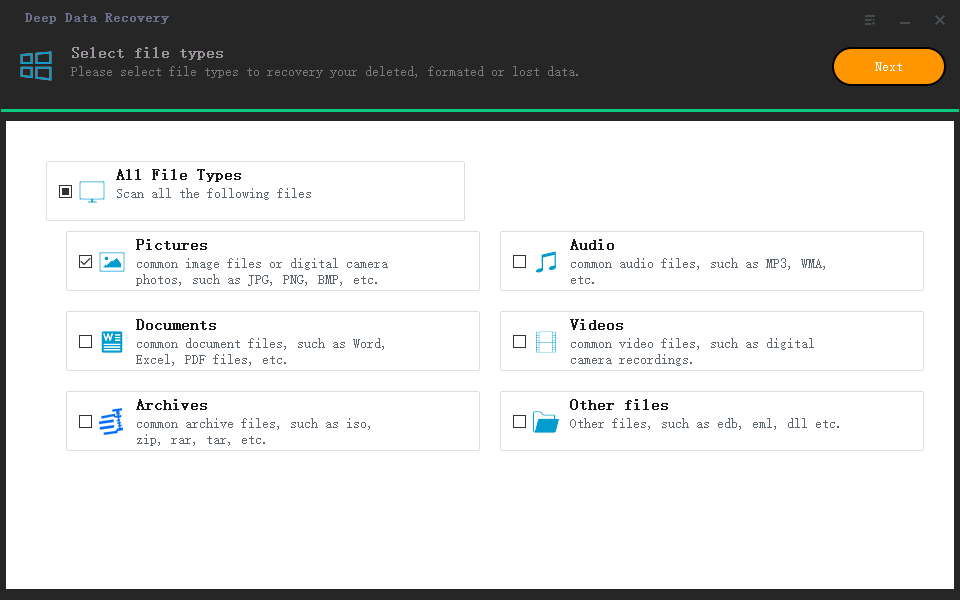
Step 2. Select the file types to recover
Launch the data recovery software. From the startup window, you're supposed to select the file types you want to recover. By default, all supported file types are selected. To make it more efficient for you to find the files you need, a better option is to keep the needed file types selected only and click "Next". It saves time for the scanning process.
Step 3. Select hard drive to scan
All drives on your Sony VAIO will be displayed in the next window. From there, please select the hard drive from where you have lost files. After then, click "Scan" to let the software scan the deleted or lost data for you.

Step 4. Recover files from Sony VAIO
It might take longer if you have multiple files to scan or recover. After then, you can see all the found files are listed in the result window and sorted by category. Next, you can select the file type on the left side, even the file extension, and then preview the file on the right side. When finding the target files, select them and click "Recover" to save them on your Sony VAIO.

Related Articles
- How to Fix SSD Not Showing up in Windows 10/7/8
- How to Fix RAW drive/partition to NTFS/FAT and Recover RAW Drive data
- How to Recover Lost Files after System Restore in Windows 7
- PCIe 3.0 VS 2.0: What are the differences and similarities?
PCIe 3.0 and 2.0 are two of the most vital aspects of the computers. But, what exactly are they and how are they different or similar? In this article, we'll answer those questions and explore the key traits of both these types. - [Fixed] Pen Drive Not Showing/Detected in My Computer in Windows
Here step-by-step tutorials teach you how to fix pen drive not showing in my computer in Windows 10/8/7 is created. Try it fix your USB pen drive, flash drive, external hard drive or other external USB devices when it detected but not show in my computer. - [2023 HOT] Plist File on Windows: What Is It and How To Open It?
Mac OS X Property List Files (.PLIST) provide information about various system settings. For your convenience, we have included below a detailed guide on accessing the PLIST file on both Windows and Mac.