Auto Backup VMware with Best VMware Backup Software
Solution: backup VMware data automatically with the best VMware backup software
To automatically back up VMware data to external storage devices, consider using professional VMware backup software like Qiling Backup, which compresses data into an image and supports all Windows systems including Windows 10/8/7/Vista.
To create a backup plan for backing up all your data to external hard drives, download Qiling Windows backup software and follow the next steps to start auto-backup VMware data.
How to auto back up VMware with Qiling Backup
Preparations:
- Connect your external hard drive to your computer.
- Download Qiling Disk Master backup software
Step 1. Launch Qiling backup software and choose the "File backup" option on the main window.
Step 2. To backup files, select the desired files or folders, and then choose the external hard drive as the destination for the backup.
You can enter "Plan name" and "Description" to specify your file backup details.

IMPORTANT NOTE:
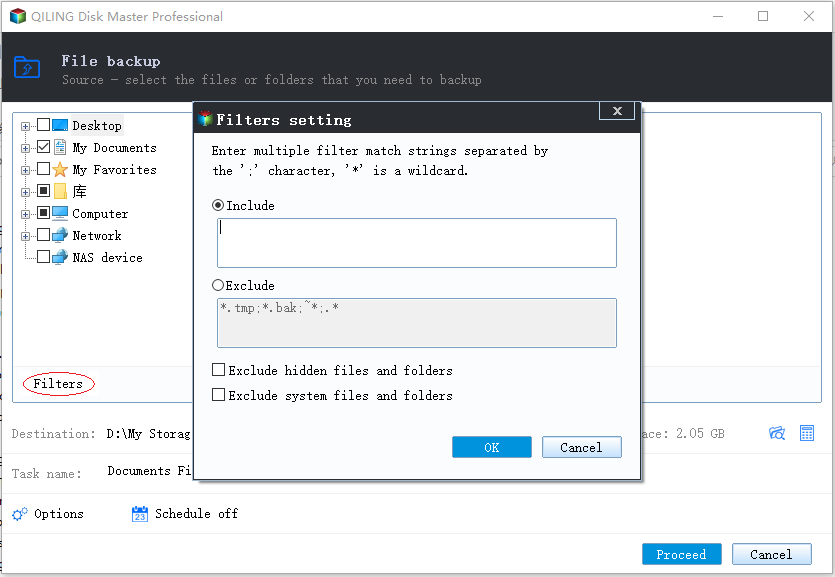
Here, multiple types of files including Documents Files, E-mail, Financial Files, Music Files, Picture Files, and Video Files, etc can be selected.
Step 3. To create a scheduled backup plan, click the "Schedule" option, which opens the Backup Scheme window where you can set up a plan to automatically backup files at a later time, on a daily, weekly, or monthly basis, or even upon a specific event.

The schedule for creating an automatic backup plan is not a prerequisite, it's simply a plan to have backups in place.
Step 4. Click "Proceed" to back up folders or files to the external hard drive.
With this software, you can automate the process of backing up your VMware data by saving new VMware data into a specific location where you've stored data to be backed up. This eliminates the need to manually copy each file again and again. Simply plug in a USB drive and the software will automatically back up all your VMware data for you.
Related Articles
- Top 6 Best Incremental Backup Software for Windows 10 [2021 Guide]
- Hard Disk Drive Imaging Software: Qiling Backup to Protect Your Data
- WD SmartWare Backup Alternative for Windows 10/8/7
- How to Install an SSD without Reinstalling Windows
- How to Ghost Windows 10 64-bit System and Applications Easily
- Cloned SSD Won't Boot? Make Cloned SSD Bootable [5 Ways]
Don't worry if the cloned SSD won't boot on Windows10/8/7. On this page, you'll learn the symptoms of cloned SSD won't boot, reasons of why is SSD not booting, and how to make SSD bootable in 5 powerful ways.