The Settings You Should Change in Windows 11
Is your computer suffering from the low performance? Then follow along, as changing these settings might help you.
Windows 11 has been affected by issues such as constant crashes, decreased gaming performance, and a generally frustrating user experience, leaving many users disappointed.
To improve Windows 11 performance, consider tweaking settings such as disabling animations, adjusting power settings, and enabling the Windows 11 built-in performance monitor. Additionally, consider disabling unnecessary startup programs, adjusting disk cleanup settings, and enabling the Windows 11 built-in disk defragmenter. These adjustments can help optimize system performance and make Windows 11 run more smoothly.
- 1. Recommended Items
- 2. Notification and Ads
- 3. Privacy & Security
- 4. App Permissions
- 5. Block Apps
- 6. Startup Apps
- 7. Sign In With a Local Account
Introduction To Windows 11 & It's Settings
Windows 11 is Microsoft's latest premier operating system, offering a complimentary upgrade to those who purchased the final edition of Windows 10. However, the rollout has been marred by issues, with many users encountering problems.
Since October 2021, many users have returned to Windows 10, with some even labeling the transition as a "failure." This is not surprising, given the ongoing issues that have plagued users, making it difficult to argue against their frustrations.
However, Microsoft soon got on the case and started fixing the bugs and troubles by sending constant, minor, and significant upgrades, addressing issues such as bugs, glitches, and system crashes.
- Problems with UI, such as inconsistency in loading times
- Taskbar and start menu not performing well
- Bloatware and other tools that reduce performance
- Heavily reduced gaming performance, even on the latest heavy-hitting hardware
- Countless bugs and troubles with in-built tools and programs
Microsoft is still working on fixing Windows 11's issues, but many users have already switched back to stable Windows 10 releases, making it a challenging task to save the operating system. However, it's not too late to make amends and improve Windows 11.
Let's explore the various ways you could be fixing issues in Windows 11. We'll dive into the seven settings you need to change to resolve common problems.
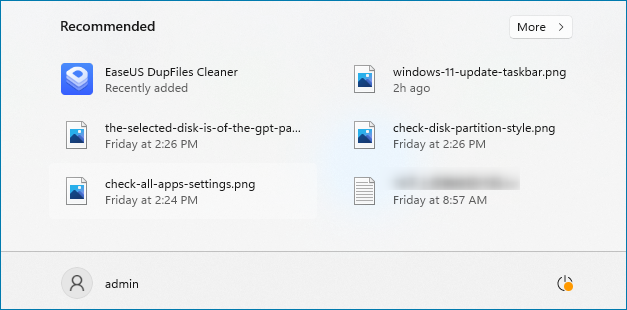
1. Recommended Items
The recommended settings in Windows 11 can be a bit buggy, especially with the start menu. To avoid this, it's suggested to turn off this feature, which is still in its early stages of development. This can provide a smoother experience.
Here's how to turn it off:
Step 1. Click on the Start button and head to Settings.
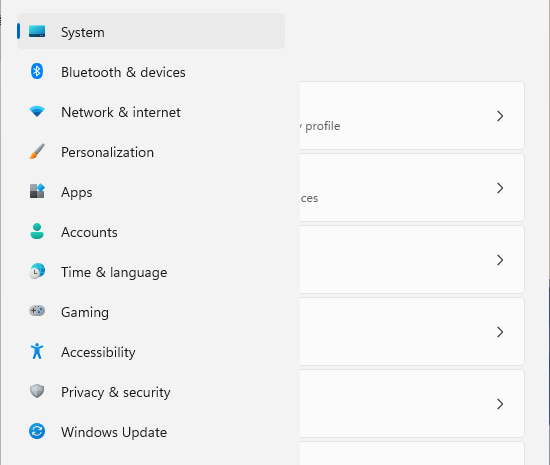
Step 2. Click on Personalization in the sidebar.
Step 3. Head into the "Start" Section.
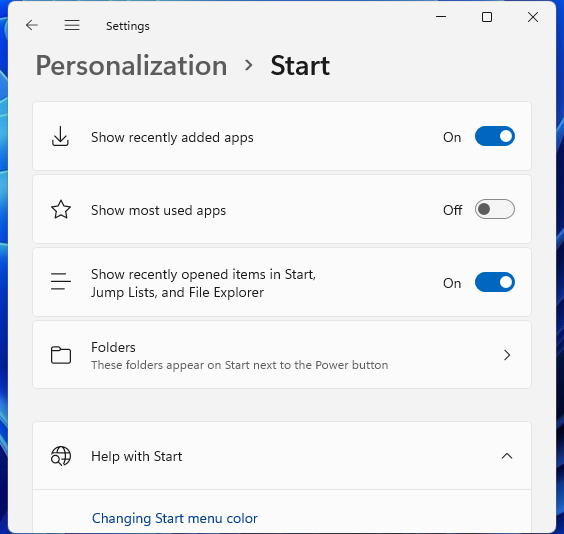
Step 4. Turn off "Show recently added apps".
Step 5. To disable the feature of showing recently opened items in Start, Jump Lists, and File Explorer, uncheck the box labeled "Show recently opened items in Start, Jump Lists, and File Explorer".
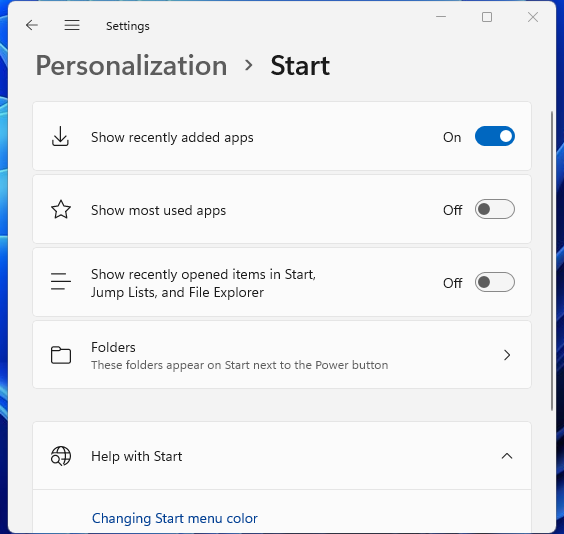
By following these instructions, you can expect a significant improvement in your Windows performance.
Also Read:
2. Notification and Ads
Here's how to change notification and ads settings in Windows 11:
Step 1. To change the notification settings on Windows, go to Windows Settings, navigate to System, and select Notifications.

Step 2. Turn off any inconvenient options.
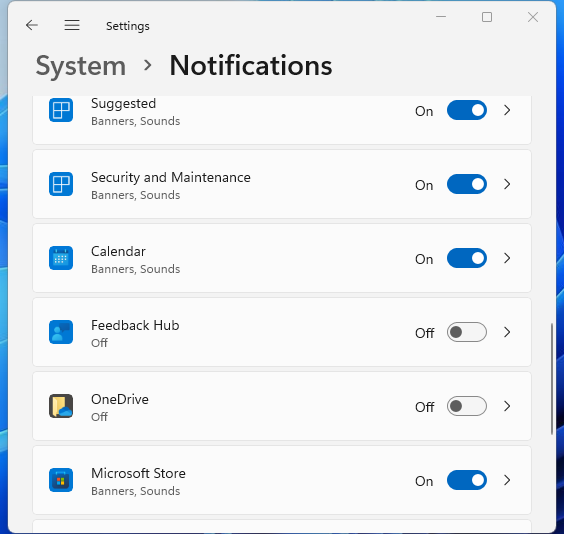
Turning off unnecessary Windows features can help free up memory and processor resources, resulting in a slight improvement in performance. This is achieved by disabling features like Windows Search, Windows Update, and other background processes that consume system resources. By doing so, the system will no longer be bogged down by these processes, and users may notice a marginal increase in performance.
3. Privacy & Security
In Windows 11, privacy settings are similar to those in Windows 10, but it's still essential to keep certain settings up to date, particularly Windows updates. To ensure your device's security and data protection, consider adjusting a few key settings, such as ensuring Windows updates are enabled.
Step 1. Open up Settings from your Start menu.
Step 2. Click on Privacy & Security in the sidebar.
Step 3. Scroll down to "General".
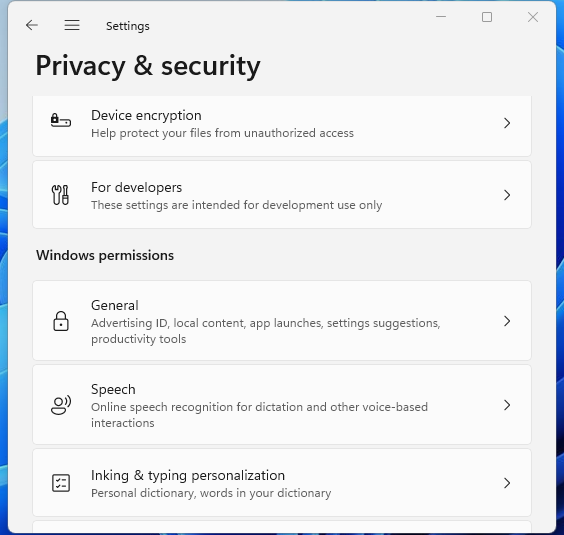
Step 4. Turn off all the settings one after the other.
Disabling these settings will prevent data from being sent from your computer, which can help conserve bandwidth and system memory.
4. App Permissions
To deal with app permissions that may be slowing down your computer or making your internet drowsy, head to your settings and review the permissions you have granted to various apps. This can help identify and limit any unnecessary permissions that may be consuming system resources.
Step 1. Click on Apps in the sidebar.
Step 2. Browse the list and take note of unnecessary/unused apps.
Step 3. Turn off permissions such as Camera or Microphone.
To improve your PC's performance, you can minimize unnecessary app uses of your hardware by doing this. This will help your PC run more efficiently and effectively, leading to improved overall performance.
5. Block Apps
To free up space on your computer, go to Settings, then click on the "System" icon. From there, click on "Storage" and then "This PC" or "Computer". You can also click on "Manage" and then "Disk Cleanup" to remove temporary files and system files that you don't need.
Step 1. Open Settings, and head to Apps.
Step 2. Click on Apps & features.
Step 3. On the top, click on "Choose where to get apps".
Step 4. Change the setting to "Microsoft Store only".
While this setting will ensure that your apps don't get updated besides the Microsoft store, you still need to stop specific apps from accessing the internet. So, open the Windows Defender Firewall on your computer to block internet access for certain apps.
Step 5. Head to Advanced settings
Step 6. Click on Exit Rules on the left side
Step 7. Make a new rule, and pick the program you wish to stop accessing the internet
Step 8. Click on "Block connection" in the next frame
Step 9. To create a firewall rule, enter the name of the rule, then click "End Up" to finish the process.
This feature will prevent specific apps from accessing the internet without your permission.
6. Startup Apps
To turn off startup applications, go to the Start menu, type "msconfig" in the search bar, and press Enter. In the System Configuration window, click on the "Startup" tab. From there, you can uncheck the boxes next to the applications you don't need to run at startup. Click "OK" to save your changes. If you're not sure which apps to disable, you can also use the Task Manager to see which apps are using the most resources.
Step 1. Right-click on Taskbar and click Task Manager
Step 2. Click on the app you wish to stop running at startup and select the "Disable" or "Don't start" option to prevent it from launching automatically.
Step 3. Then click on the "Disable" button in the bottom-right corner
To stop other apps from starting up, you can follow these steps: disable the startup programs, uninstall unnecessary apps, and close unused apps. This will help free up space on your device and prevent unnecessary background activity.
Step 1. Press Win+R on your keyboard.
Step 2. Type "MsConfig" in Run.
Step 3. Head to the "Services" tab.
Step 4. Click on "Hide All Microsoft Services".
Step 5. To disable the Windows Defender Firewall, go to the Control Panel, click on "System and Security", then click on "Windows Defender Firewall", and click on "Turn Windows Defender Firewall on or off". Select the option to "Turn off Windows Defender Firewall" for both the private and public network settings.
7. Sign In With a Local Account
To avoid unnecessary updates and other elements, you can change the default setting by creating a local account. To do this, follow these steps:
Step 1. Open Settings
Step 2. Head to Accounts
Step 3. Click "Family & other users."
Step 4. Click on "Add account."
Step 5. Then instead of entering an email or phone number, use the "I don't have this person's sign-in information" open underneath it
Step 6. Click on Add a user without a Microsoft account
Step 7. Add username and password, then a security question
Wrap Up
To boost your PC's performance, follow a series of Windows 11 setting tweaks, which can be summarized as follows: make sure to change these settings thoroughly and keep a checklist of the tweaks.
Related Articles
- Disk & System | How to Clone Windows 11 to SSD
- How to Copy/Move Recovery Partition to USB or Another Hard drive [2 Ways]
- How to Use System Restore in Windows 10
- Backup and Sync No Longer Available: Try Another Way
- What Is Windows File System: Definition & Comparison & Conversion
Learn what a Windows file system is and compare NTFS, FAT32, and exFAT for compatibility, file limits, and storage use. - What Size Flash Drive Do I Need to Backup my Computer?
Learn what size flash drive you need to back up your computer. Estimate backup space for files, system images, and Windows recovery drives.