Windows Solution: Can't Create Restore Point Windows 10
Windows 10's System Restore feature creates a copy of critical system and registry files as Restore Points, helping to resolve uncertain system failures and data corruption issues. However, many users are experiencing issues creating system restore points, resulting in various errors. To resolve this issue, users can try the solutions mentioned in this article, which provide effective ways to eliminate the problem and enable system restore points to be created successfully.
Overview of Can't Create Restore Point Windows 10
The "can't create restore point" issue in Windows 10 can be caused by various reasons, but some of the most common causes include.
- Improper Functioning of Event System & Task Scheduler Services
- Third-Party Antivirus Software
- Fault With System Restore Service
- Issues With Volume Shadow Copy
- Hard Disk Errors
- Disabled System Protection
- Third-Party Applications Interruption
1. Ensure System Restore Is Enabled
One solution to this issue is to ensure that the System Restore feature is enabled. You may need to use the Group Policy Editor to check the same. Follow the below-mentioned steps to check whether the System Restore option is disabled or not.
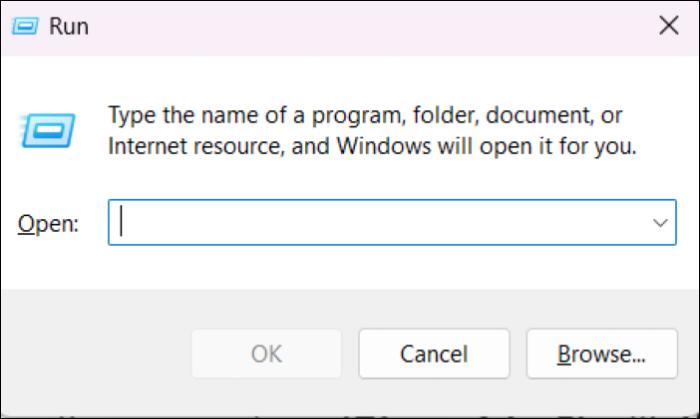
Step 1. Press the Windows key + R to open the Run program.
Step 2. Type gpedit.msc in the Open section.
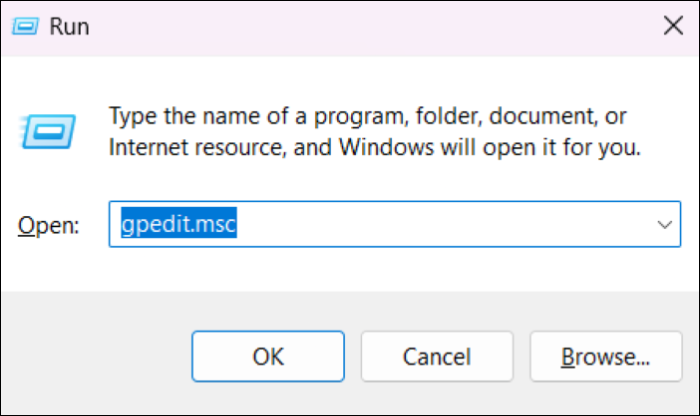
Step 3. Hit Enter to open the Group Policy Editor.
Step 4. To configure System Restore settings, go to Computer Configuration -> Administrative Templates -> System -> System Restore in the Group Policy Editor.
Step 5. The Turn off Configuration and System Restore options in the State column are currently in a state of being turned off. The Turn off Configuration option is currently in a state of being turned off, and the System Restore option is also in a state of being turned off.

Step 6. To disable the "Turn off Configuration" option, double-click on it, select "Not Configured" and click "Apply".
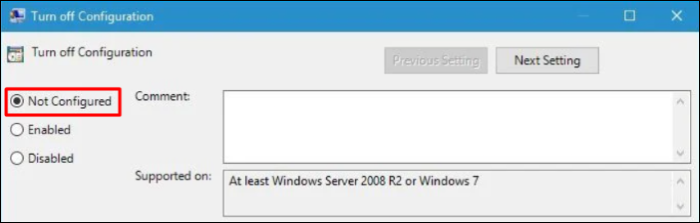
Step 7. Do the same with the Turn off System Restore option.
Step 8. Reboot your system and try creating a restore point again.
2. Disable Built-in Antivirus & Third-party Antivirus Software
Antivirus software may be causing the issue. Try disabling real-time protection and third-party antivirus tools, then create a system restore point.
2.1 Disable Built-in Real-time Protection Feature
Step 1. Press the Windows key + I key to open the Settings app.
Step 2. Go to the Update & security section and click on Windows Security.
Step 3. Click on "Manage settings" under the "Virus & threat protection settings" section.

Step 4. Disable the Real-time protection option by clicking on the toggle.

Step 5. Once the Real-time protection is disabled, try creating a restore point to see if it's working.
2.2 Disable Third-Party Antivirus Software
Step 1. To access the Windows Settings, press the Windows key in the taskbar and type "Settings".
Step 2. To access the Apps & features tab, click on the Apps icon and then select the Apps & features tab.
Step 3. Search for the antivirus tool in the Apps section, then right-click on it.
Step 4. Select Uninstall from the options and confirm the uninstall.
Quick Tip: Instead of disabling the antivirus software entirely, you can disable the shields of the tool for a short period of time.
Step 5. If the restore point isn't working, try resetting the system restore point to see if it resolves the issue. To do this, open the system restore window, select the most recent restore point, and click on 'Next' to begin the restore process. If the restore point still doesn't work, you may need to reinstall the software or contact the manufacturer for further assistance.
3. Turn on System Protection Option
System Protection is an essential Windows function that protects all the data stored on the system. To eliminate an issue on your Windows 10 system, you need to ensure that the System Protection option is enabled. This can be done by following the steps to turn on the System Protection feature.
Step 1. Press the Windows key, and type System Restore in the Search Bar.
Step 2. To create a system restore point from the "Best match" section, follow these steps: Go to the "System Restore" tab, then click on the "Create" button. In the "Restore point" field, enter a name for the restore point, and optionally, select a disk where the restore point will be stored.
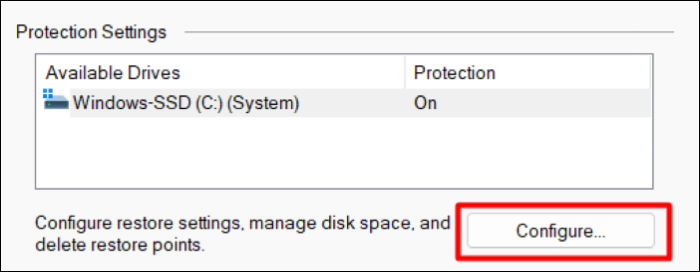
Step 3. Click on Configure.
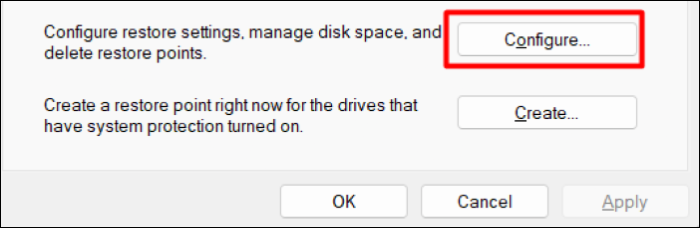
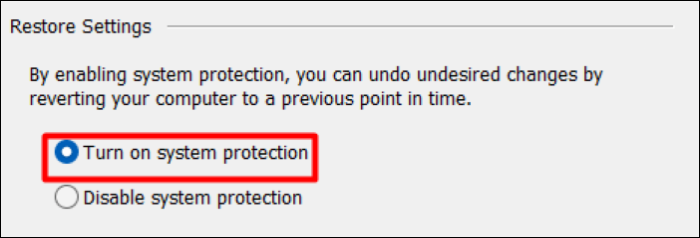
Step 4. Ensure that the Restore settings option is set to Turn on system protection.
Step 5. Click Apply and then OK.
4. Check Essential Services Are Enabled
Many Windows 10 users have been asking the same question in the Microsoft Community, and a Windows expert has come up with a solution. To resolve the issue, you can try turning on the Volume Shadow Copy service and setting it to Automatic. This can be done by following the steps below, which should help enable the Volume Shadow Copy service.
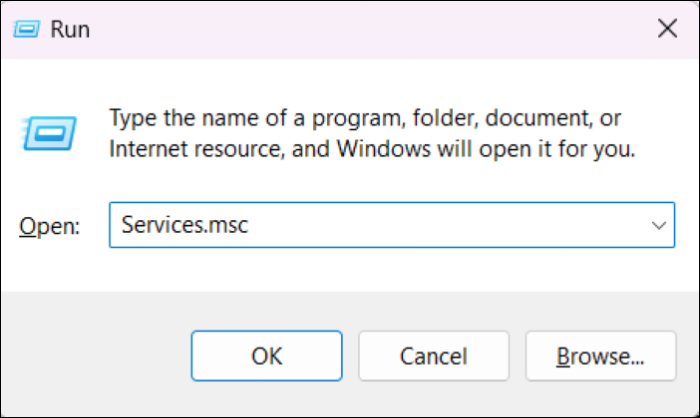
Step 1. Open Run and type services.msc in the Search Box.
Step 2. To fix the issue, go to the Services section and double-tap on the Volume Shadow Copy entry. This will allow you to start the service, which may resolve the problem.

Step 3. Ensure the service is running. If not, click on the start button to enable it.
Step 4. Set the Startup type setting to Automatic, not Manual.
Step 5. Follow the same steps (Step 1-Step 4) with Event System and Task Scheduler services.
5. Check For Hard Disk Error
Errors on your hard drive could also be the cause of this issue. To fix existing hard drive errors, you can execute a command in the Command Prompt. To do this, follow the below-mentioned steps.
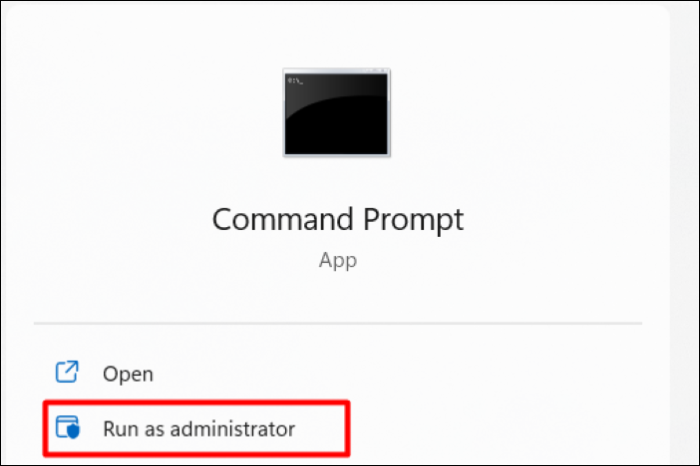
Step 1. Run the Command Prompt with administrative privileges.
Step 2. Copy-paste chkdsk /r X in the Command Prompt and hit Enter.
Note: To scan your computer for malware, go to the Start menu and type in the search bar 'Windows Defender' or 'Windows Scan'. Click on the result to open the app.
Step 3. Once the command is executing, type 'Y' and press the Enter key.
Step 4. Reboot the system "Run a disk check to scan for errors on your hard disk and fix them. This process can help identify and repair any corrupted files, bad sectors, or other issues that may be affecting your computer's performance."
6. Run DISM and SFC Scan
The improper working of System Restore is often caused by corrupted system files, but a quick command can fix this issue by replacing the corrupted files. To resolve the problem, follow these steps: [insert steps here].
6.1 Run Deployment Image Servicing and Management Scan to Repair Windows 10 Image
Step 1. Open Command Prompt with admin rights.
Step 2. Run the command DISM /Online /Cleanup-Image /CheckHealth and press the Enter key.
Step 3. You need to wait for a few minutes to let the repair process complete.
Step 4. Once the DISM command is executed, reboot the PC and create a restore point.
6.2 Run System File Checker Scan to Fix Corrupted Files
Step 1. Run Command Prompt with admin rights.
Step 2. Type SFC /scannow and hit the Enter key.
Step 3. A scan will now start and may take a few minutes to finish.
Step 4. After completing the scan, restart the PC, and you should be able to create and restore system restore points.
7. Ensure Enough Memory Is Assigned to System Restore
To allocate more storage to System Restore in Windows 10, go to the Control Panel, click on System and Security, then click on System, and select System Protection. In the System Protection window, click on Configure, then adjust the slider to increase the space allocated to System Restore. You can also change the disk space to be used by System Protection by selecting the drive you want to use and adjusting the slider accordingly. This will ensure that System Restore has enough space to create and store restore points.
Step 1. Open the System Restore settings.
Step 2. To access the System Protection tab, go to the System Restore settings.

Step 3. Click on the Configure button.
Step 4. You can now see a slider at the bottom of the pop-up. Use the slider to change the disk space assigned to the System Restore function, assigning at least 300MBs for correct working.

Step 5. Click on Apply and at last, OK.
8. Try Creating Restore Point Manually
If your system isn't making system restore points, you can manually create a system restore point by following these steps:
Step 1. Open the System Restore settings and move to the System Protection tab.
Step 2. Click on Create in the System Protection tab.
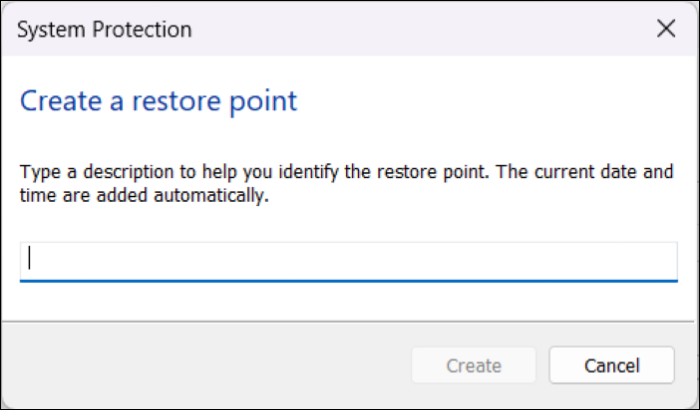
Step 3. Give a name to your restore point on the Create a restore point pop-up.
Step 4. Click on the Create button to add the restore point.
Step 5. Once you've created a restore point, you'll receive a completion message.
9. Run System Restore from Safe Mode
To troubleshoot issues with System Restore, you can try running it in Safe Mode, which isolates the problem and helps identify if a third-party app is causing the issue. To use System Restore in Safe Mode, restart your computer, open the Run dialog, type 'rstrui', and follow the prompts to select a restore point and complete the restore process. This can help you determine if a third-party app is interfering with System Restore.
Step 1. To check for updates in Windows, open the Settings app, then move to the Update & security section.
Step 2. Click on Recovery in the Update & security tab.

Step 3. Click on Restart under the Advanced startup section.
Step 4. Your system will now restart and display advanced startup settings. Choose "Troubleshoot" on the "Advanced options" page.
Step 5. Click Startup settings on the Advanced options section.
Step 6. Select Restart to get some extra booting options.
Step 7. Press F or F5 on your keyboard to boot into Safe Mode with Networking.
Step 8. Press the Windows key + R to open the Run dialog box, then type "msconfig" in the search bar.
Step 9. Go to the Boot tab and select the checkbox next to Safe Mode.
Step 10. To resolve the issue, hit the Apply button and restart your PC. During the reboot process, press the number 8 on your keyboard to boot into safe mode.
Step 11. Open the System Restore settings, then create a system restore point.
10. Tweak System Restore Settings From Registry Editor
Many Windows 10 users have reported that tweaking System Restore settings from the Registry Editor can fix issues, and modifying these settings can be done by following specific steps.
Step 1. To open the Registry Editor, type "Regedit" in the Windows Search bar.
Step 2. Navigate to the mentioned path:
HKEY_LOCAL_MACHINESOFTWAREMicrosoftWindows NTCurrentVersionScheduleTaskCache
Step 3. To take a backup of the TaskCache registry key, right-click the TaskCache registry key and select Export.
Step 4. To create a backup key, go to the "Security" section of your account settings, click on the "Backup codes" tab, and then click on the "Generate" button. Give a name to this backup key and save it in a secure location, such as a locked box or a password-protected digital note. This will ensure that you can recover your account if you lose access to it.
Step 5. Once done, head to the mentioned path:
HKEY_LOCAL_MACHINESOFTWAREMicrosoftWindows NTCurrentVersionScheduleTaskCacheTreeMicrosoftWindows
Step 6. Right-click on the key and select the Delete option from the system.
Step 7. In the end, close all the windows and restart your computer.
11. Reset the Windows 10 PC
If none of the previous solutions work, don't worry, as the last resort is to reset your PC without deleting existing files and apps. To do this, follow the steps to reset your Windows 10 PC. This will resolve the can't create restore point issue.
Step 1. Head to System Setting's Update & recovery section.
Step 2. Click on Recovery to open additional settings.
Step 3. Click on the "Reset this PC" button under the "Get Started" section.
Step 4. Select the "Keep my files" option to keep your system files intact while refreshing the system.
Step 5. Try using the feature again after the reboot is complete.
What Other Way You Can Use to Protect Your Computer?
It's recommended for Windows users to utilize the built-in backup tool and features as a precautionary measure, as the System Restore feature may not always be reliable.
The Qiling Backup tool is a perfect option for taking automatic system backups, which can be especially useful if the System Restore option doesn't work.
With the Qiling Backup tool, you can back up your Windows 10 system with ease, and even if your system breaks down, you'll have a backup just a click away. You can recover your backups anywhere, anytime, and on any PC. Plus, you get 250GB of free cloud storage to store your backups or other files. This tool is a must-try for timely backups of your Windows 10 system.
Frequently Asked Questions
Here, we've discussed some frequently asked questions about the "can't create restore point" issue in Windows 10, providing answers to common queries and concerns. This information aims to clarify and resolve any doubts related to this specific problem.
Why Can't I Create a Restore Point in Windows 10?
Third-party antivirus tools are often the cause of the "Volume Shadow Copy Service" issue. This can be due to improper functioning of the Volume Shadow Copy service, but the main reason is usually the interference of third-party antivirus tools.
How Do I Force a Restore Point?
To create a restore point in Windows, open the System Protection settings, click on Create, enter a name for the new restore point, and then click on the Create button. The restore point can be viewed in the System Protection setting by clicking on System Restore.
Final Thought
Creating system restore points before upgrading and installing a new application is a good way to prepare your Windows system for uncertain conditions. However, some Windows 10 users are unable to create system restore points. Fortunately, the solutions mentioned above can help resolve this issue, providing relief in this situation.
Related Articles
- How to Format External Hard Drive for PS4 [2022 Full Guide and Choice]
- How to Recover Deleted Emails from Hotmail
- Fix Windows 10 Doesn't Recognize or Detect Second Hard Drive Error
- Google Chrome Syne Keeps Pausing? Find Fixes Here
- Windows 10 File History Backup, Everything You Should Know
This passage covers a detailed introduction to File History. Besides, it elaborates on the specific steps to perform a Windows 10 File History backup. - How to Fix Windows 7 Backup Error 0x80041321 [Four Ways]
Windows 7 backup error 0x80041321 occurs when the backup process fails due to various reasons, including corrupted system files, incorrect backup configuration, or hardware issues. To resolve this issue, try the following steps: Run the System File Checker (SFC) to scan and replace corrupted system files; Check and correct the backup configuration in the Windows Backup settings; Run the Check Disk (chkdsk) utility to identify and fix disk errors; and, if the issue persists, try running a full system restore or seeking professional help from a computer technician. These troubleshooting steps can help identify and fix the root cause of the backup error, allowing you to successfully backup your system.