How to Clone a Kingston SSD to a New Drive
Kingston sells its SSDs with a free copy of Acronis True Image for Kingston, so many buyers expect the clone to be a one-click job. In practice the bundled tool only unlocks while a Kingston drive is installed, and it can refuse a USB-connected target or an older BIOS setting.
This guide covers the bundled tool, its limits, and a second path with Qiling Disk Master that works with any Kingston model, including NVMe drives on PCIe slots.
PAGE CONTENT
- How Kingston Cloning Works
- Prepare the Kingston SSD
- Pick the Clone Method
- Clone with Qiling Disk Master
- Boot from the Kingston SSD
- FAQs About Kingston Clones
- Back Up Before the Clone
How Kingston Cloning Works
- The OEM tool is tied to one brand. Acronis True Image for Kingston only activates when a Kingston SSD is present.
- It unlocks through Kingston SSD Manager. The SSD Manager app downloads and activates the clone tool.
- It clones whole disks by default. The automatic mode copies every partition on the source.
- It has no backup module. The OEM build focuses on clone and restore, not scheduled imaging.
- It works best on an internal port. A USB bridge can hide the drive model and block activation.
The bundled tool is a genuine freebie, but it assumes the Kingston SSD is already inside the machine. When the upgrade uses an enclosure or an external adapter, a general clone utility is the more reliable route.
Prepare the Kingston SSD
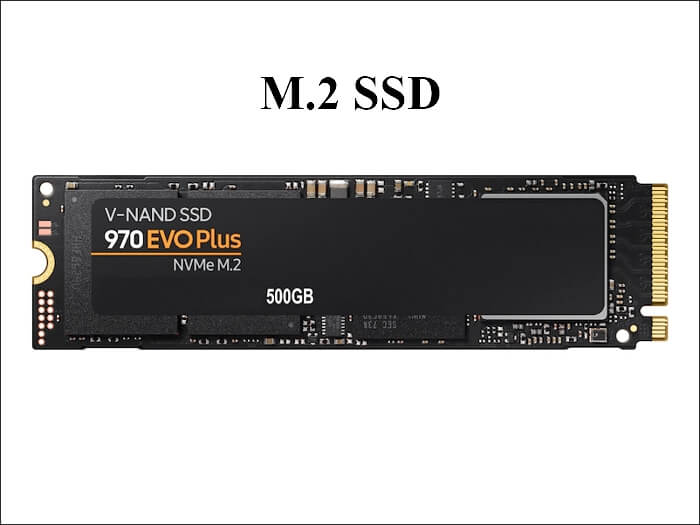
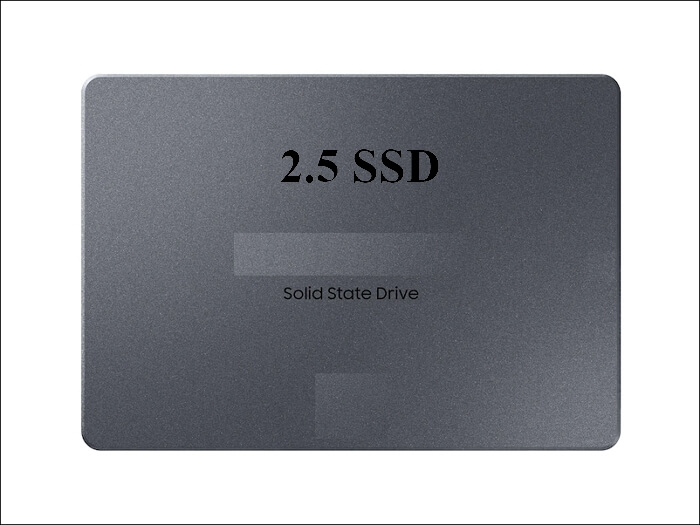
- Install the drive first. Fit the M.2 or 2.5-inch SSD before you open any clone tool.
- Initialize it if asked. A new drive may appear as unallocated in Disk Management.
- Set SATA mode to AHCI. RAID or IDE mode can hide the drive from the clone wizard.
- Update the firmware. Kingston SSD Manager checks and applies firmware updates.
- Free up space on the source. Used data must fit inside the Kingston capacity.
Do not format the new drive by hand unless you plan a manual file copy. A clone overwrites the target anyway, and formatting first only hides the model from the setup screen.
Pick the Clone Method
- Intelligent clone for most upgrades. It copies used sectors only and resizes to the target.
- Sector-by-sector for exact replicas. Required when the source is BitLocker-encrypted.
- System clone for a smaller SSD. It moves Windows and the boot partitions alone.
- Skip encryption software. Disable third-party encryption before the clone, then re-enable it.
- Match MBR or GPT. The target must use the same partition style as the source.
If the Kingston drive is larger than the old disk, intelligent clone with a fit-to-disk option uses the extra room. A raw sector copy would leave that space unallocated.
Clone with Qiling Disk Master
Qiling Disk Master does not care which brand the target carries, so it works with Kingston A400, KC3000, NV2, and older HyperX drives alike. Install the SSD, then run the clone wizard.
Watch the video tutorial below to clone the drive step by step with Qiling Disk Master.
Step 1. Open Qiling Disk Master, choose Clone, and then select Disk Clone.

Step 2. Select the source disk and click Next.

Step 3. Select the Kingston SSD as the destination and confirm that its data will be replaced.

Step 4. Choose intelligent clone and fit the partitions to the Kingston capacity.

Step 5. Click Proceed, wait for the copy to finish, then shut the machine down before you remove any cable.

Boot from the Kingston SSD
- Power off, not restart. Swap or remove the old drive while the machine is off.
- Set the boot order. Put the Kingston SSD first in the UEFI or BIOS boot list.
- Match Secure Boot to the disk style. GPT wants Secure Boot on; MBR wants it off.
- Test alone. Boot with only the Kingston drive to prove it stands on its own.
- Check the firmware. Enable NVMe boot on older boards that default to legacy storage.
If the Kingston SSD does not appear in the boot list, the drive may be in a slot that shares lanes with a disabled port. Move it to the primary M.2 slot and retry.
FAQs About Kingston Clones
Why does Acronis for Kingston ask for product activation?
The tool only activates while a Kingston SSD is installed and visible. Fit the drive internally and open Kingston SSD Manager to activate it.
Can I clone to a Kingston SSD that is connected by USB?
Sometimes. A plain USB bridge can hide the model. Use a direct M.2 or SATA connection, or use a tool that ignores the brand.
Does the Kingston clone tool work on Windows 11?
Yes, the current OEM build supports Windows 11. Older bundled installers may need an update from Kingston SSD Manager.
Will cloning a smaller SSD to a larger Kingston drive use the extra space?
Only if the tool fits the partitions to the new disk. Choose that option, or extend the volume afterwards.
Can I clone an encrypted drive to a Kingston SSD?
Suspend BitLocker and use intelligent clone, or keep it encrypted and use a sector-by-sector copy.
Back Up Before the Clone
A Kingston upgrade replaces the system disk, so a failed clone leaves you without a working PC. Create a full image first and keep it on a separate drive.
Watch the video tutorial below to back up Windows and restore it if the clone fails.
Step 1. Open Qiling Disk Master and select System Backup to include the boot partitions.

Step 2. Save the image to a drive other than the target disk and start the backup.

Step 3. Click Proceed to start the system backup and wait patiently until it finishes. You can also tick Shut down the computer when the operation is completed to power off automatically.

Step 4. If the Kingston SSD will not boot, restore the image to the old drive and clone again with the correct mode.

Conclusion
Kingston bundles a capable clone tool, but it only unlocks with a Kingston drive installed and prefers an internal connection. Prepare the SSD, choose intelligent clone for a larger target, and confirm the boot order after the copy. When the bundled build refuses the drive, a brand-neutral tool finishes the same upgrade.
For more on brand SSD upgrades, see How to Clone a Hard Drive to a SanDisk SSD, Samsung Data Migration Not Working, How to Clone an SSD to a Larger SSD, and Best Free Disk Cloning Software in 2026.
Related Articles
- How to Clone a Hard Drive to a SanDisk SSD
Move Windows to a SanDisk drive safely. - How to Clone a Toshiba (KIOXIA) SSD
Toshiba drives now carry the KIOXIA name. Copy one to a new SSD without losing the boot files. - How to Clone an SSD to a Larger SSD
Grow the system onto a bigger drive. - Best Free Disk Cloning Software in 2026
Pick a free clone tool for the upgrade. - Kingston SSD Manager Clone: Can It Migrate Windows?
Check whether SSD Manager can move Windows.
Products
Articles & Tutorials
- Data Recovery
- Data Backup
- File Recovery
- File Backup
- System Backup and Restore
- Disk and Partition Clone
- Technical articles
- Mobile articles
- Disk Master Help
- Windows Data Recovery Tutorials
- Windows Secure Delete Tutorials
- Windows Partition Management Tutorials
- Windows File Backup and Restore Tutorials
- Windows System Backup and Restore Tutorials
- Windows Disk Backup and Restore Tutorials
- Windows Clone Tutorials