Sony VAIO Boot Menu: Everything You Should Know
Sony VAIO Boot Menu & Hot Keys for Sony VAIO
The Sony VAIO boot menu key is F11.
The hotkeys may vary for different computer models, so check your Sony VAIO PC's model number first to see which hotkeys are available.
- To launch the DirectX Diagnostic Tool, simply turn on your computer, open the Run window, type "dxdiag", and hit Enter.
- You can check the specific model of your Sony PC in the System tab.
To access the boot menu, you can enter the boot menu according to the specific model and use the following hotkeys: F2, F12, Del, or Esc.
| Models | Boot Menu Key | BIOS Key |
|---|---|---|
| VAIO Duo, Pro, Flip, Tap, Fit | Assist Button(use the button when the computer is off, not when it is booting) | F2 |
| VAIO, PCG, VGN | F11 | F1, F2, F3 |
| VGN | Esc, F10 | F2 |
If the above hotkeys don't work or don't work for your Sony computer, try restarting your computer and finding the BIOS or boot menu key in the short boot screen. Once you know the boot menu key, you can enter the BIOS.
- Press the Boot Menu key when the computer logo is displayed, then power on the computer.
- If the Boot Menu key is a secondary button, press it when the computer is turned off, not at startup, to access the Boot Menu.
To change the boot drive in the BIOS to boot from USB, you can access the BIOS settings by pressing a specific key during boot-up (usually F2, F12, or Del), navigate to the boot settings, and select the USB drive as the primary boot device. Once done, save the changes and exit the BIOS settings. This should allow your computer to boot from the USB drive.
How to Boot Sony VAIO from USB Drive
To boot your Sony computer from a USB, you first need to create a bootable USB drive. This can be used to install Windows or troubleshoot boot issues.
Stage 1. Make a Bootable USB
Qiling Disk Master Professional is a software that enables you to create Windows 11/10 installation media via ISO file, as well as a data recovery USB and perform a PC rescue job in case of boot failure. For instance, you can follow a detailed guide to make a Qiling Disk Master recovery USB.
Step 1. To create a bootable disk of Qiling Disk Master, prepare a storage media such as a USB drive or CD/DVD disc, and correctly connect it to your computer.
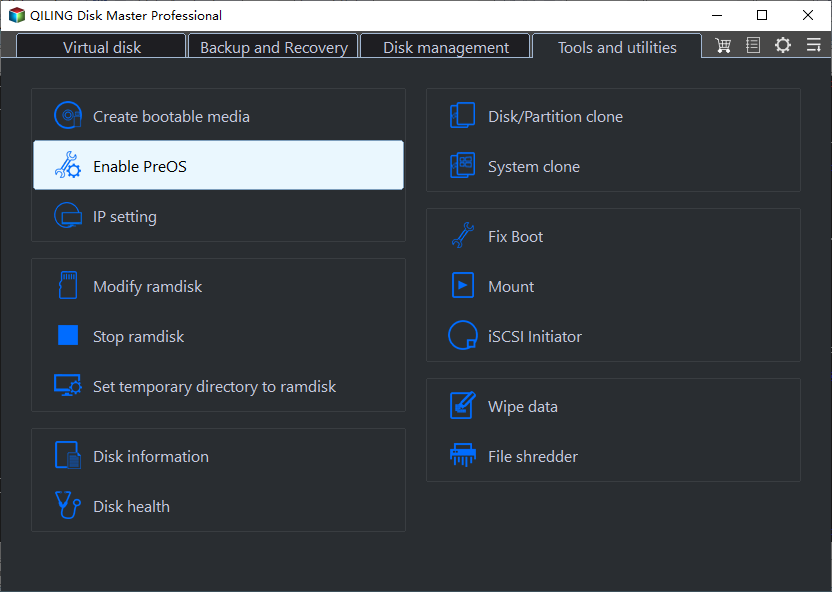
Step 2. Launch Qiling Disk Master, and click on the "Bootable Media" feature on the left.
Step 3. You can choose to save the ISO file to a USB, CD/DVD, or local drive. If you don't have a storage device, you can save the ISO file to your local drive and burn it to a storage media later. Once you've made your selection, click the "Proceed" button to start the process.
- Check the Warning message and click "Yes".
Step 4. After the process is complete, a pop-up window will appear, asking if you want to restart your computer from the bootable USB.
- Reboot Now: To restart the current PC and enter Qiling Bootable Media to manage disk partitions without OS, you can reboot the computer and immediately enter the BIOS settings. From there, you can set the boot order to prioritize the Qiling Bootable Media, and then save the changes.
- Done: You want to use the bootable USB on a new PC, not restart the current one.
Note: To use the bootable disk on a new PC, restart the target computer and enter its BIOS by pressing F2/F8/Del key, then set the USB bootable disk as the first boot disk.
Your computer will automatically boot up from the USB bootable media and enter the Qiling WinPE desktop after a brief wait.
To create installation media for other operating systems, select the "Burn ISO" function, and for details on installing Windows from ISO, refer to the provided article.
Stage 2: Change BIOS to enable Sony VAIO to boot from the USB drive
Once you've created the correct bootable media, you can use your VAIO computer's BIOS function to boot from an external device, allowing you to install an operating system or run a live session from a USB drive or CD/DVD. To access the BIOS, press the designated key (usually F2, F12, or Del) while booting up your VAIO, and navigate to the boot settings to select the external device as the primary boot source.
Step 1. Connect the external device/bootable installation media to the Windows computer.
Step 2. To boot into the BIOS, you can use the boot menu, BIOS key, or UEFI function, depending on your computer model. Alternatively, you can press the ASSIST button and access the VAIO Care screen while your VAIO computer is turned off.
Step 3. Select Start from media on the VAIO Care screen.

Note: This guide is based on Sony's official user guide, providing reliable information that you can trust and refer to with confidence.
Read Also:
Bonus Tip: Sony VAIO Boot Menu Key Not Working
Some users experience an issue where the Sony VAIO startup menu button fails to work, causing them to get stuck on the startup menu. A quick fix can be achieved by trying the following options:
1. Enter BIOS through other menus
If the BIOS button doesn't work, you can try accessing the BIOS through WinRE, which is an option provided by Microsoft.
Step 1. To access the Windows Recovery Environment, go to Settings > Update and Security > Recovery > Advanced Boot, then restart your computer.
Step 2. Press and hold shift, restart your computer, and use the command line "exe/r/o."
Step 3. To resolve the issue, navigate to the Troubleshooting section in the WinRE window, select Advanced Options, and then choose UEFI Firmware Setup. Reboot into the BIOS window to make any necessary changes.
2. Disable Fast Boot
To disable fast startup and enter the BIOS settings smoothly, press the Windows key + X and select Power Options. Click on Choose what the power buttons do and select Change settings that are currently unavailable. Uncheck the box next to Turn on fast startup (recommended) and click on Save changes.
Step 1. To access the Power Options, go to the Control Panel, then click on System and Security, and finally select Power Options. This will allow you to customize your computer's power settings.
Step 2. Click to select the function of the Power button.
Step 3. To disable the "Turn on Fastboot" option, click on "Change settings that are currently unavailable" after selecting it.
3. Try the Boot Repair Tool
If the boot menu doesn't work as expected, you can use the Boot Repair feature in Qiling Disk Master to resolve the issue. This tool is designed to identify and fix boot-related problems, and it has been trained on many boot issues, allowing it to intelligently diagnose and repair the cause of the problem.
Download Qiling Disk Master for free to easily fix all boot errors.
Conclusion
The Sony VAIO startup menu is a crucial feature that allows you to control the performance of your device. It provides a boot menu, enabling you to boot your Sony computer from a USB drive, which is essential for various tasks.
Tools like Qiling Disk Master offer solutions to boot-related issues, allowing you to create bootable installation media or recover a USB.
FAQs About Sony Boot Menu
1. What is the BIOS key for SONY VAIO?
To access the BIOS on a Sony VAIO, press the F2 key when the first Sony screen appears. This will allow you to enter the BIOS setup utility.
2. How do I boot from USB on SONY VAIO?
To boot your VAIO PC from an external device, start by creating a bootable USB media using Qiling Disk Master. Once you have the bootable USB, follow the steps to boot your VAIO PC from it.
Step 1. Connect the external device to the PC.
Step 2. To access the Boot Menu Key or ASSIST button, you'll need to press and hold it while your VAIO computer is turned off. This will take you to the VAIO Care (Rescue Mode) screen.
Step 3. To boot from media, select the "Select Boot from Media (USB device/CD)" option on the VAIO Care screen.
3. How do I open the boot menu on a SONY VAIO?
Before proceeding, ensure the VAIO is completely shut down. Then, restart the VAIO and repeatedly press the F8 button to access the Windows boot menu.
Related Articles
- How to Run PS5 SSD Speed Test [100% Working Solutions]
- 8 Fixes: Can't Install Windows on GPT or Windows Cannot Be Installed to This Disk Error
- Fix "Not Enough Space on the Disk in Windows Server"
- Windows Convert to GPT Grayed Out? Solve it Easily!
If you're unable to convert a disk to GPT in Disk Management, don't worry! There are ways to successfully convert a disk to GPT. You can try using other tools or methods to achieve this. - How to Format a Disk or Drive in Windows 10, Help
Do you know how to format a disk or drive in Windows 10? This short article focuses on this issue and provides detailed guides on it. - How Can I Format a USB Having Multiple Partitions on Windows 11/10
Do you know how to format a USB having multiple partitions on Windows 11/10? Don't worry. This article gives a detailed guide on how to perform this action.