Sony Handycam Camcorder Video Recovery
Deleted Videos from Sony Handycam
"I usually use my Sony Handycam Camcorder for video recording. It is small, lightweight, and easy-to-use. I have recorded thousands of videos of memorable moments. It always works well. But tonight when I was celebrating my son's birthday and recording videos of that moment, I was so busy with the occasion. I accidentally pressed the Delete All option! As a result, all the present videos and pictures were erased. How to recover deleted videos from the camcorder for free? It's Sony Handycam AX53 4K Flash Memory Camcorder, by the way."
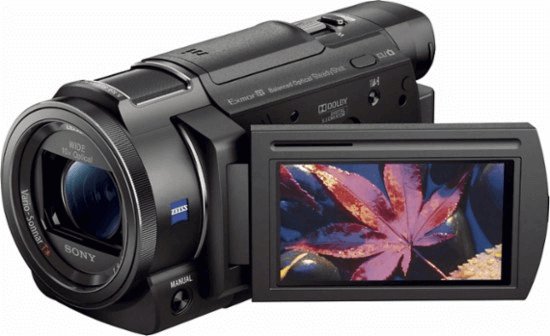
Today, DSLR cameras and camcorders are ubiquitous, often seen on vacation or at ceremonies. Enthusiastic amateurs and professional photographers alike carry massive digital photo and video collections, with some storing terabytes of data in their cameras. Sony, a leading digital camera brand, is particularly popular for its sleek design and high-definition imaging technology, with its Handycam series being a standout favorite among users.
Backing up camera videos regularly helps prevent the loss of precious memories and photographic works in case of data loss or damage to the device.
List of data loss scenarios on a Sony camera & camcorder
- Accidentally deleting all files while trying to remove a single file
- Interrupting file transfer from camera/camcorder to your computer
- Various error codes can lead to data loss, corruption, and inaccessibility.
- The storage card, such as an SD card, flash memory card (Memory Stick Pro Duo), or USB flash drive, was formatted.
How to Recover Deleted Videos from Sony Handycam for Free
Among the many camera photo and video data recovery software options, it can be overwhelming to make a choice. However, Deep Data Recovery stands out as a top contender, offering a range of beneficial features, including data recovery capabilities, support for various file types and storage devices, and the ability to preview files before recovery. This makes it a perfect choice for users.
- Support Sony 4k camcorder series
- Sony camcorders support a wide range of file formats, including DV, HDV, MPEG-2, AVCHD, H.264, and MPEG4, allowing users to capture and store video content in various resolutions and compressions.
- The software should support RAW image files, specifically those with an extension of "ARW", which are commonly used in Sony cameras.
Download Sony video camera free data recovery software, and follow the guide below to recover videos and images after the deletion or accidental SD card formatting.
Connect your Sony Handycam camera or camcorder to your PC, or remove the SD card for connection, and follow the video recovery guide to recover your data.
Step 1. Run Deep Data Recovery. Choose file types and click "Next" to start the recovery process.

Step 2. To recover deleted videos, select the location or device where the videos were lost or deleted, and then click "Scan" to initiate the recovery process. This will allow the software to search for and potentially restore the missing videos.

Step 3. After the scan, go to the "Videos" tab, select the desired videos from "Lost" or "All", and click "Preview" to view them.

Step 4. Select the video files you want to recover, then click "Recover" to save them to a secure location on your PC or external storage device.
The Bottom Line
To ensure the safekeeping of your cherished videos and image files, it's crucial to back them up on your camera or other devices with a storage card. A full backup guarantees a 100% data recovery in case of a disaster.
Related Articles
- Fix USB Access Denied Without Data Loss
- How to Solve Can't Format SD Card on Android Phone, Camera, and Windows PC
- Fix Micro SD Card Not Detected in PC, Android Mobile Phone or 3DS
- How Long Do Hard Drives or External Hard Drives Last (If Unused)
- How to Recover Deleted Files from Recycle Bin After Empty Windows 11/10
Is it possible to recover deleted files from Recycle Bin after empty? We provide you with three ways to recover deleted files from Recycle Bin after empty. You can restore permanently deleted files from Recycle Bin with ultimate data recovery software. - How to Recover Lost Genshin Impact Data and Account in 2023
If you've lost Genshin Impact data and account, you can restore them using Qiling game data recovery software. This software allows you to recover lost game saves and account information with just a few clicks.